Actions
Only users that belongs to Terrakube administrator group can create and edit actions. This group is defined in the terrakube settings during deployment, for more details see Administrator group
Terrakube actions allow you to extend the UI in Workspaces, functioning similarly to plugins. These actions enable you to add new functions to your Workspace, transforming it into a hub where you can monitor and manage your infrastructure and gain valuable insights. With Terrakube actions, you can quickly observe your infrastructure and apply necessary actions.
Key Benefits of Terrakube Actions:
Extend Functionality: Customize your Workspace with additional functions specifics to your needs.
Monitor Infrastructure: Gain real-time insights into your infrastructure with various metrics and monitoring tools.
Manage Resources: Directly manage and interact with your resources from within the Workspace.
Flexibility: Quickly disable an action if it is not useful for your organization or set conditions for actions to appear, such as if a resource is hosted in GCP or if the workspace is
Dev.Cloud-Agnostic Hub: Manage multi-cloud infrastructure from a single point, providing observability and actionability without needing to navigate individual cloud portals.
Examples of Terrakube Actions:
Manage Infrastructure: Restart your Azure VM or add an action to quickly navigate to the resource in the Azure portal directly from Terrakube.
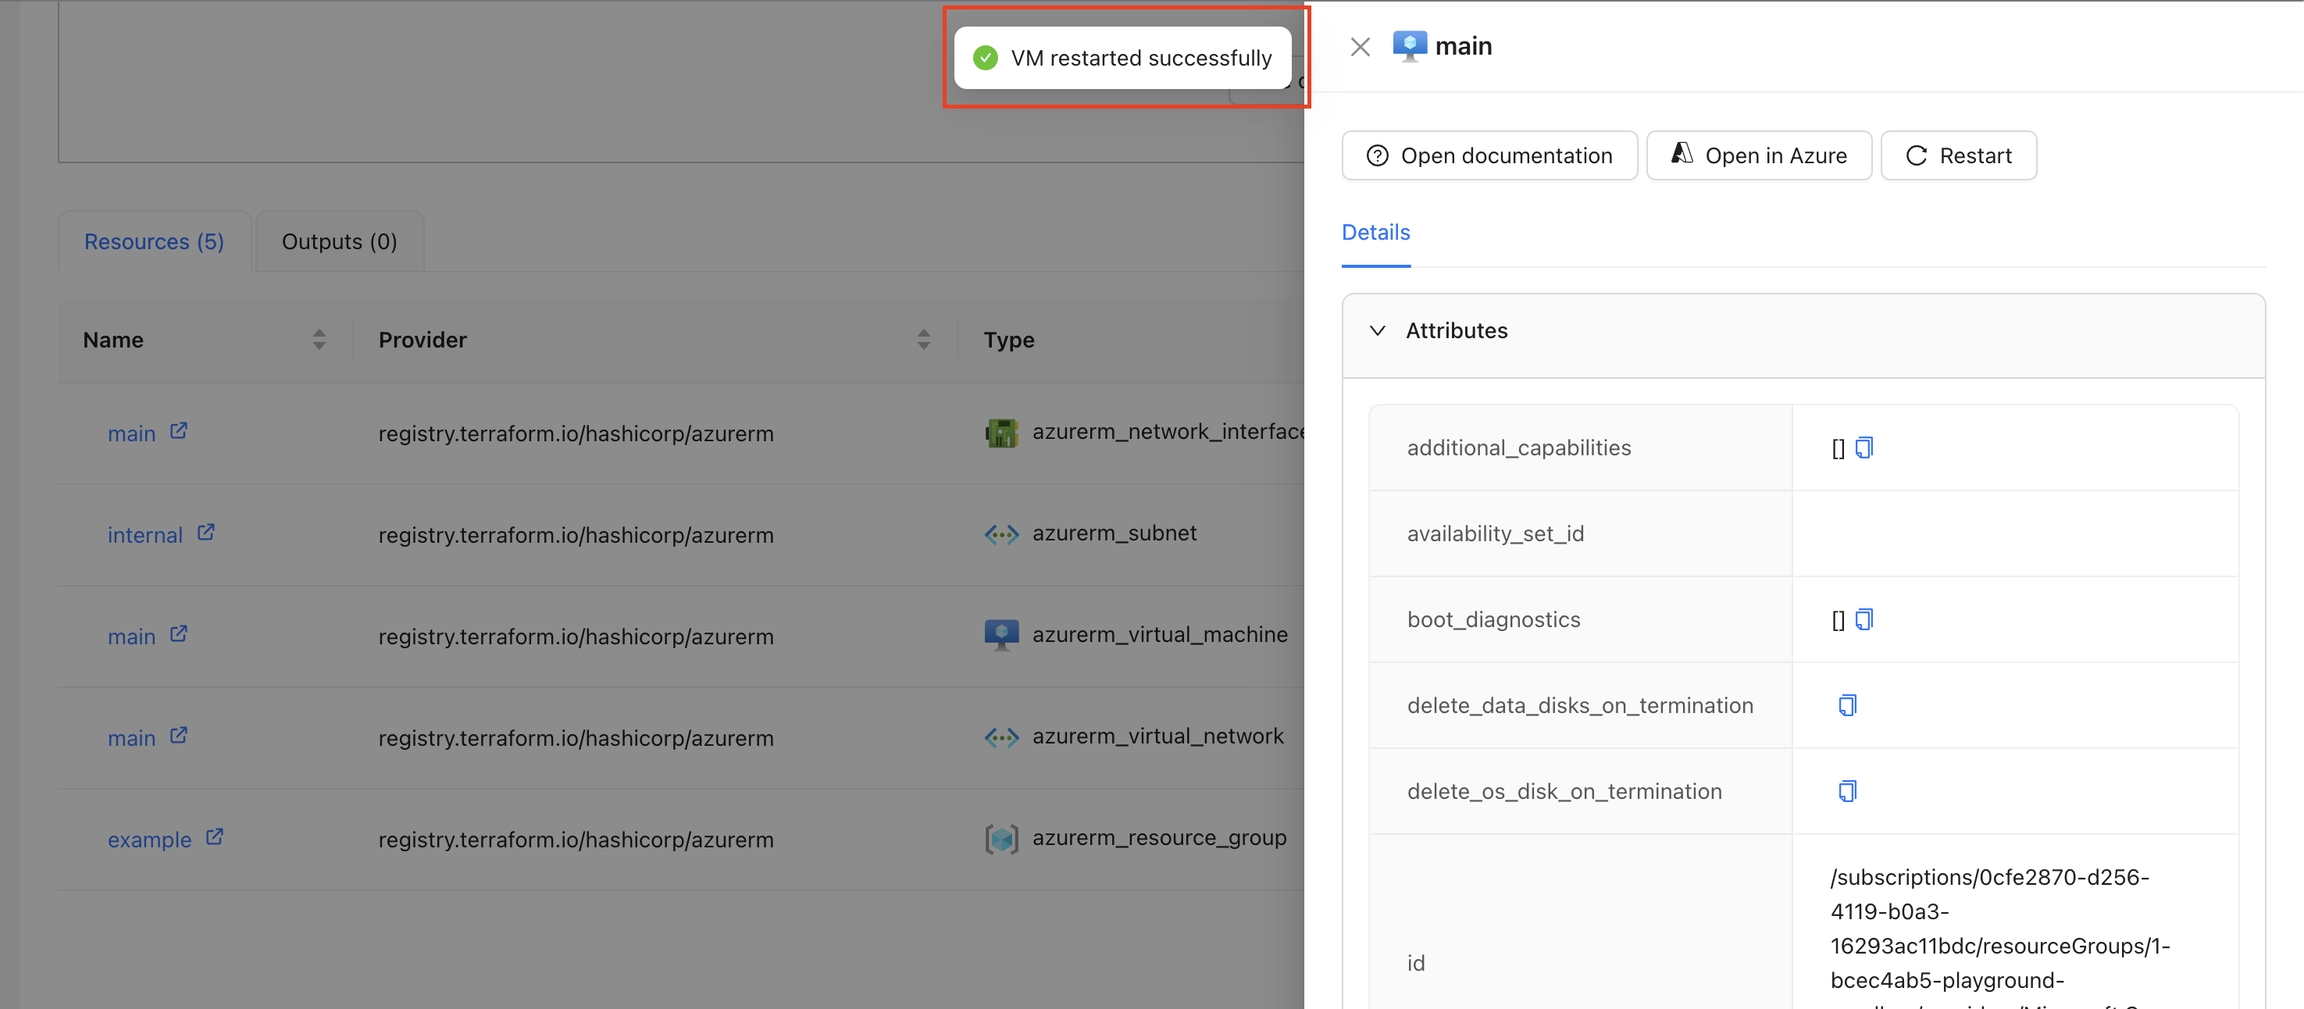
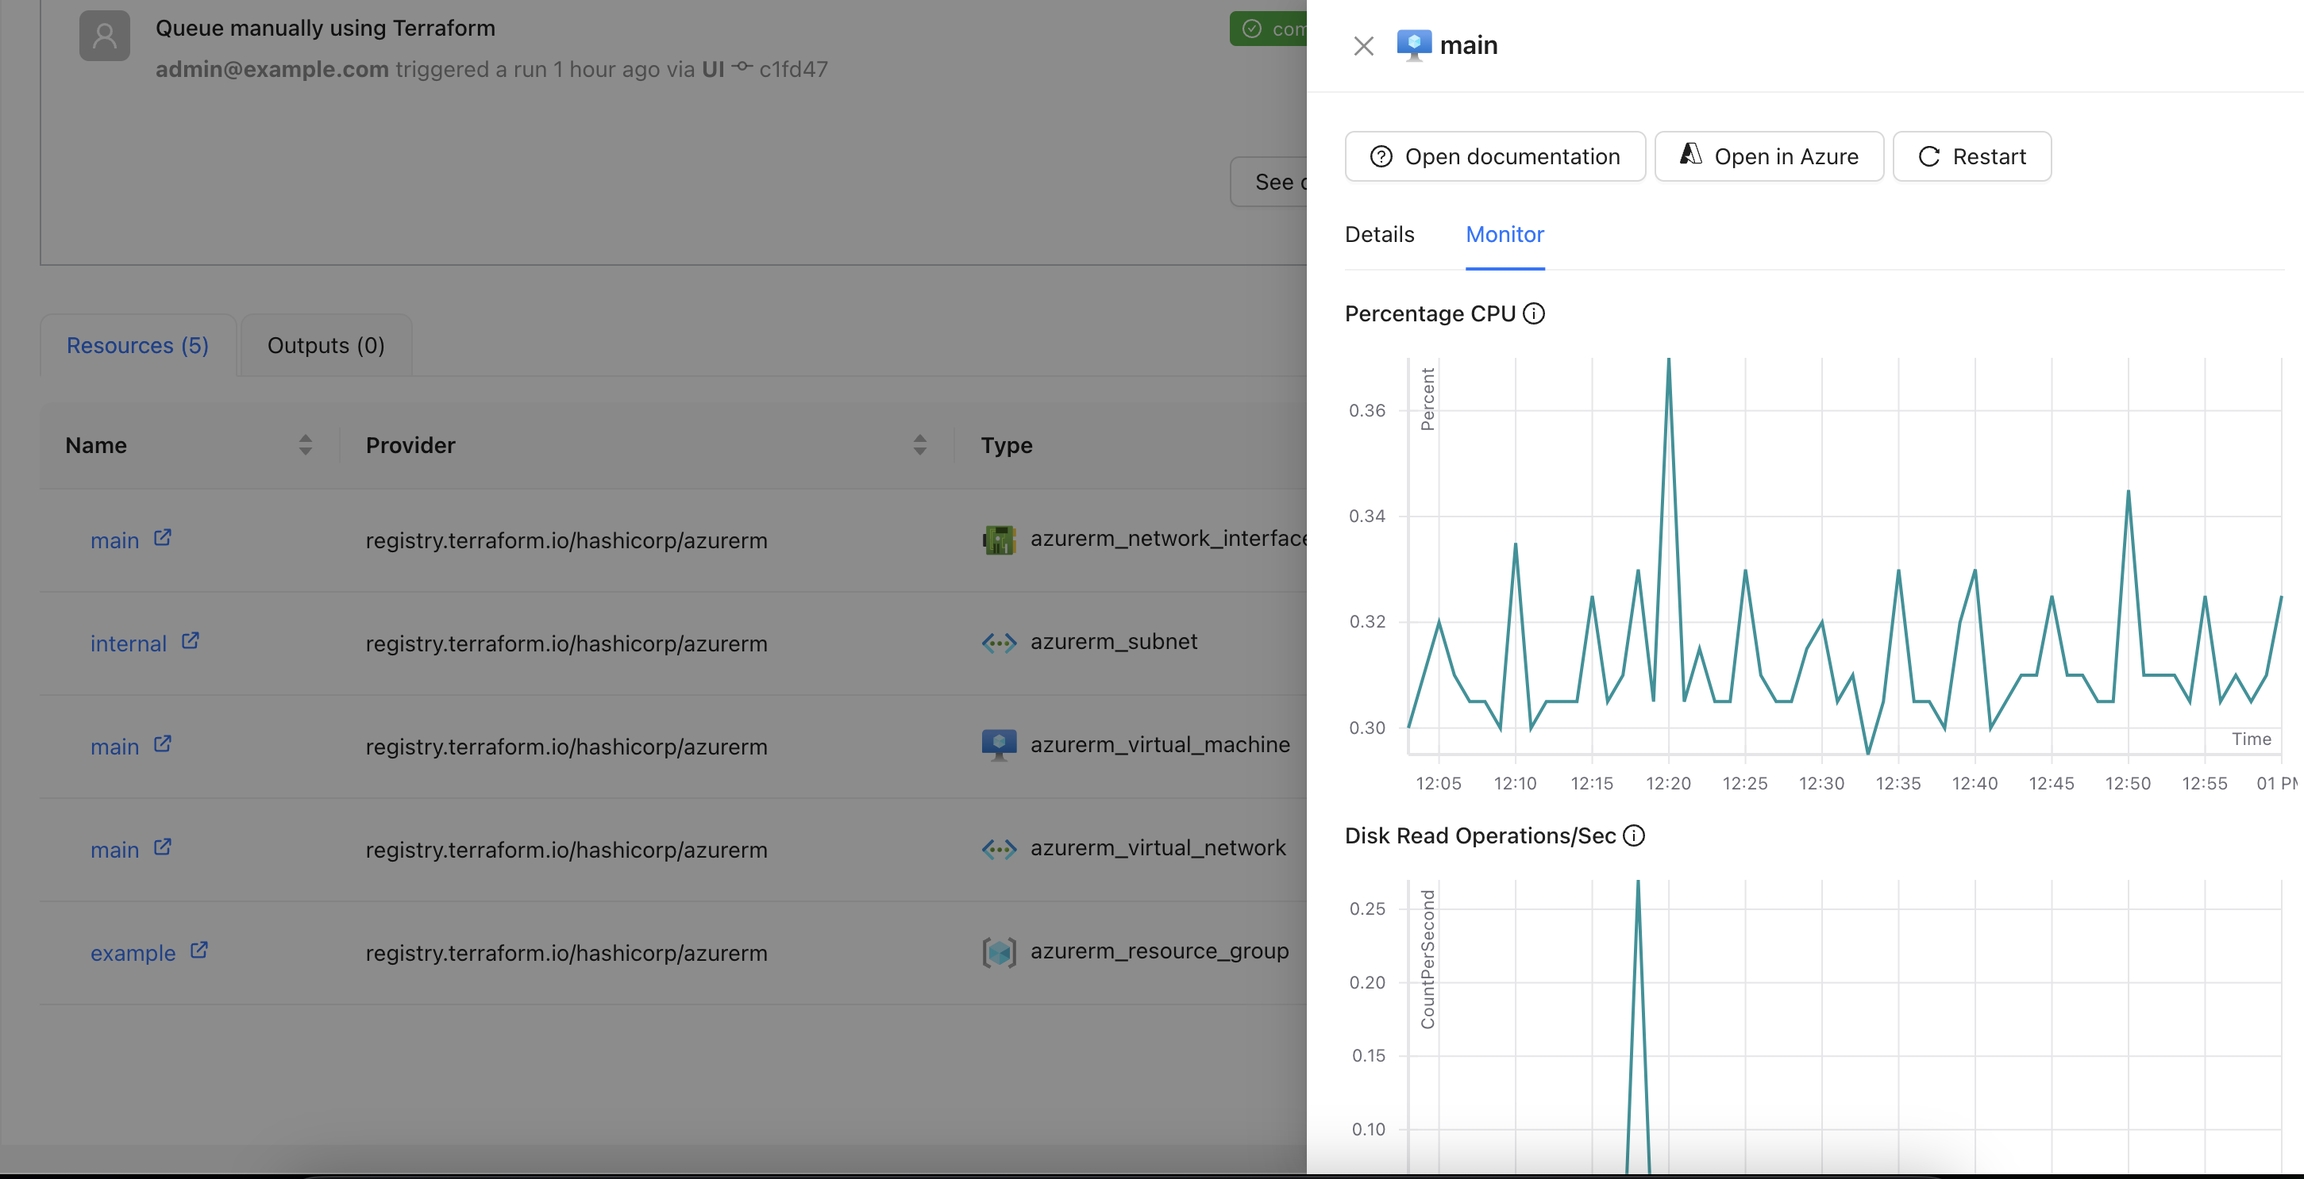
Monitor Metrics: Track and display resource metrics for performance monitoring using tools like Prometheus, Azure Monitor or AWS Cloudwatch.
Integrate with Tools: Seamlessly integrate with tools like Infracost to display resource and Workspace costs.
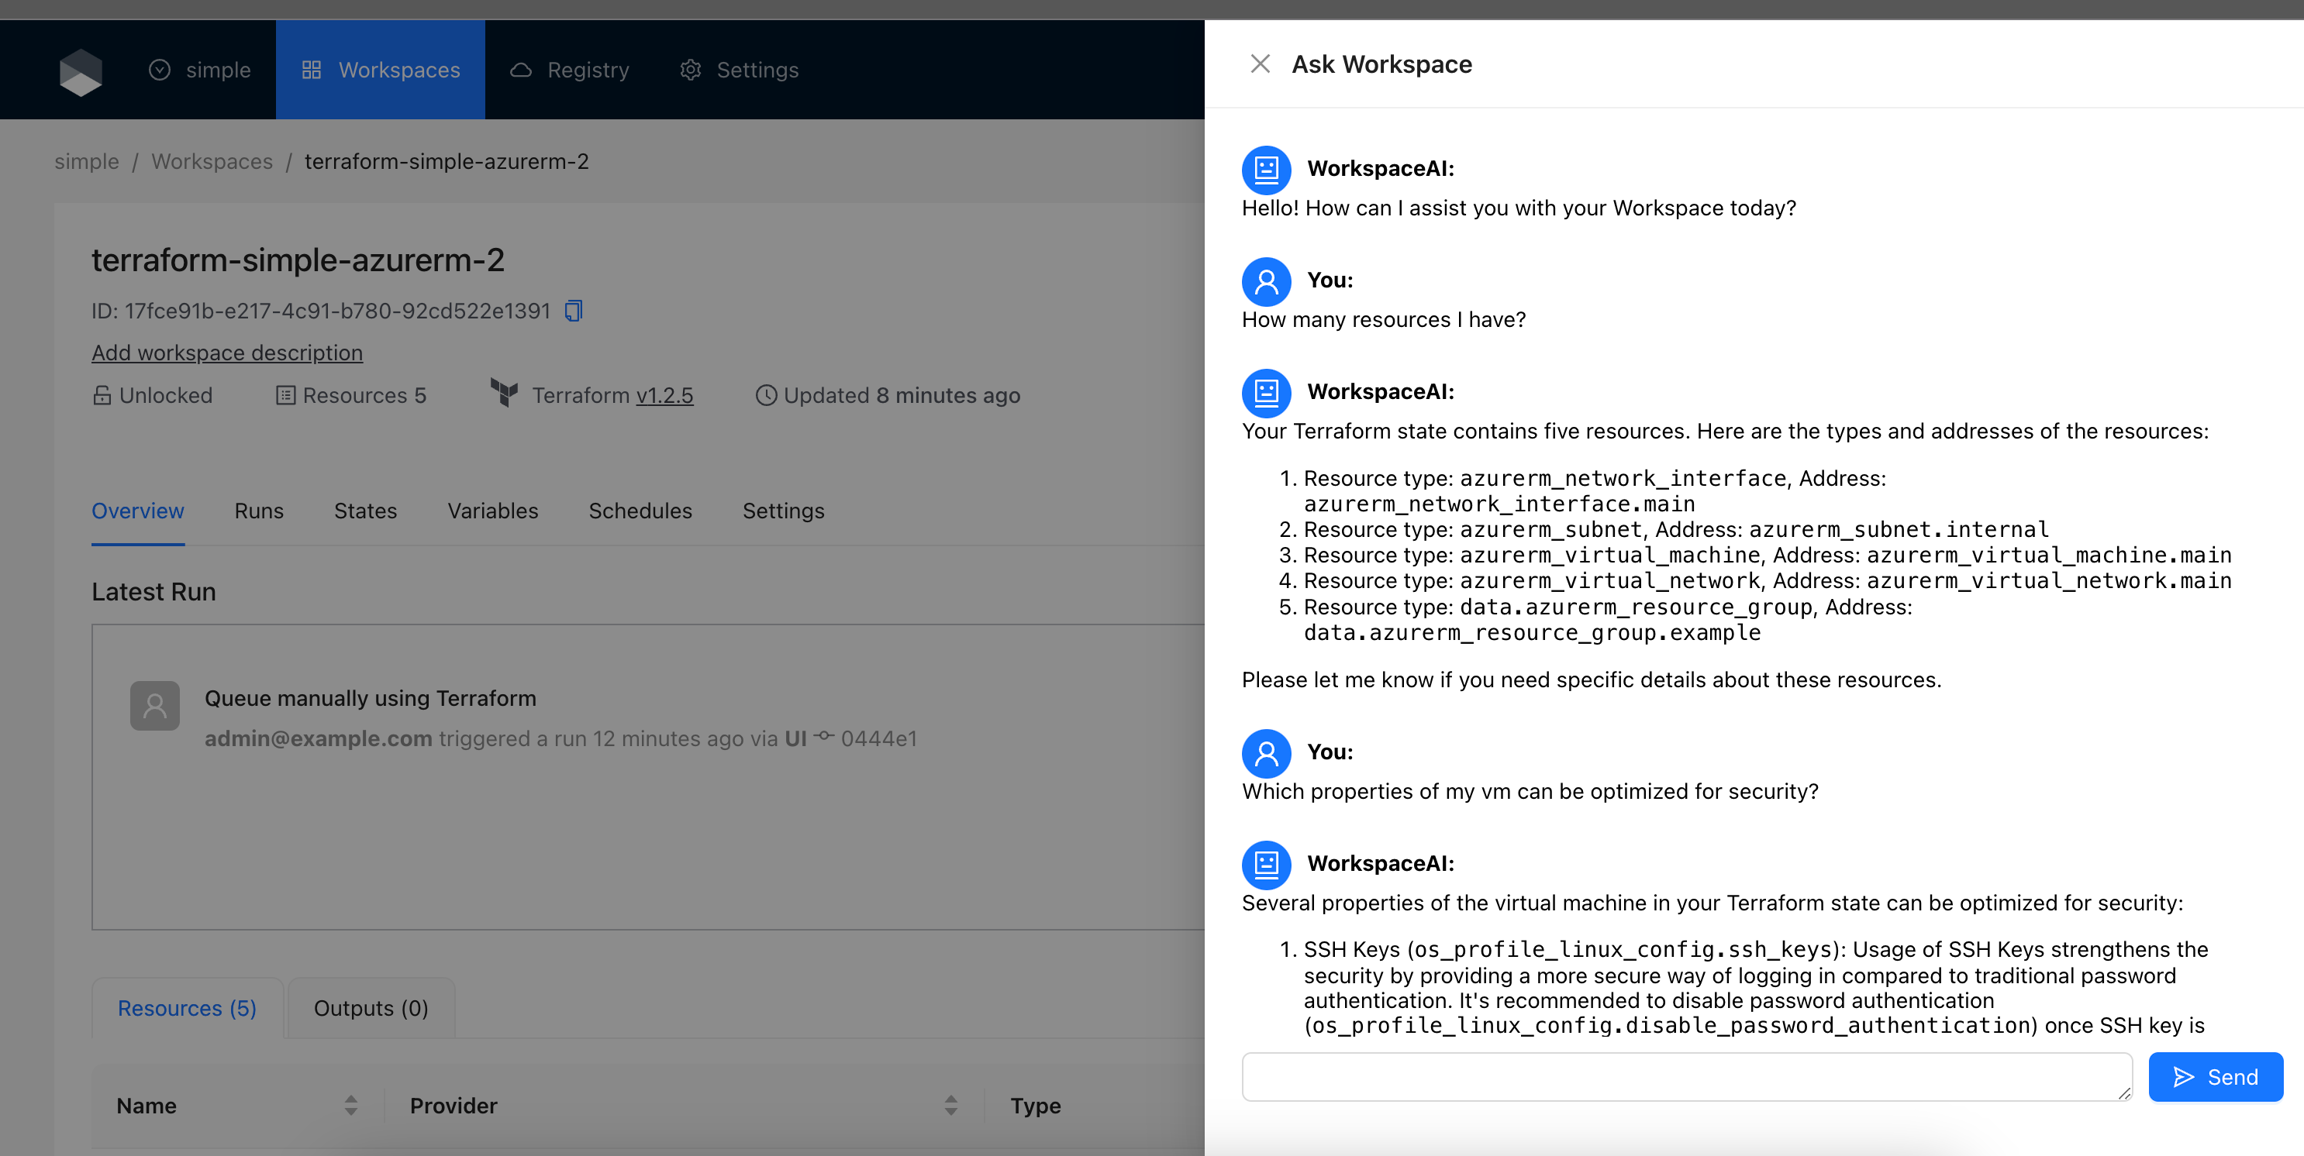
AI Integration: Use AI to diagnose issues in your Workspaces. By integrating with models like OpenAI, Claude, and Gemini, you can quickly resolve errors in your infrastructure.
Project and Incident Management: Integrate with Jira, GitHub Issues, and ServiceNow to identify Workspaces with pending work items or reported errors.
Documentation: Link your Confluence documentation or wiki pages in your preferred tool, allowing quick access to documents related to your Workspace infrastructure.
Built-in Actions
Terrakube provides several built-in actions that you can start using some are enabled by default. Please refer to the documentation for detailed information on each action, including usage and setup instructions.
Developing Actions
If you are interested in creating your own actions, you only need knowledge of JavaScript and React, as an action is essentially a React component. For more details please check our quick start guide, or visit our GitHub Terrakube Actions repository to see some examples, contribute new actions or suggest improvements.
Creating an Action
After you develop your action. To create a new action in Terrakube:
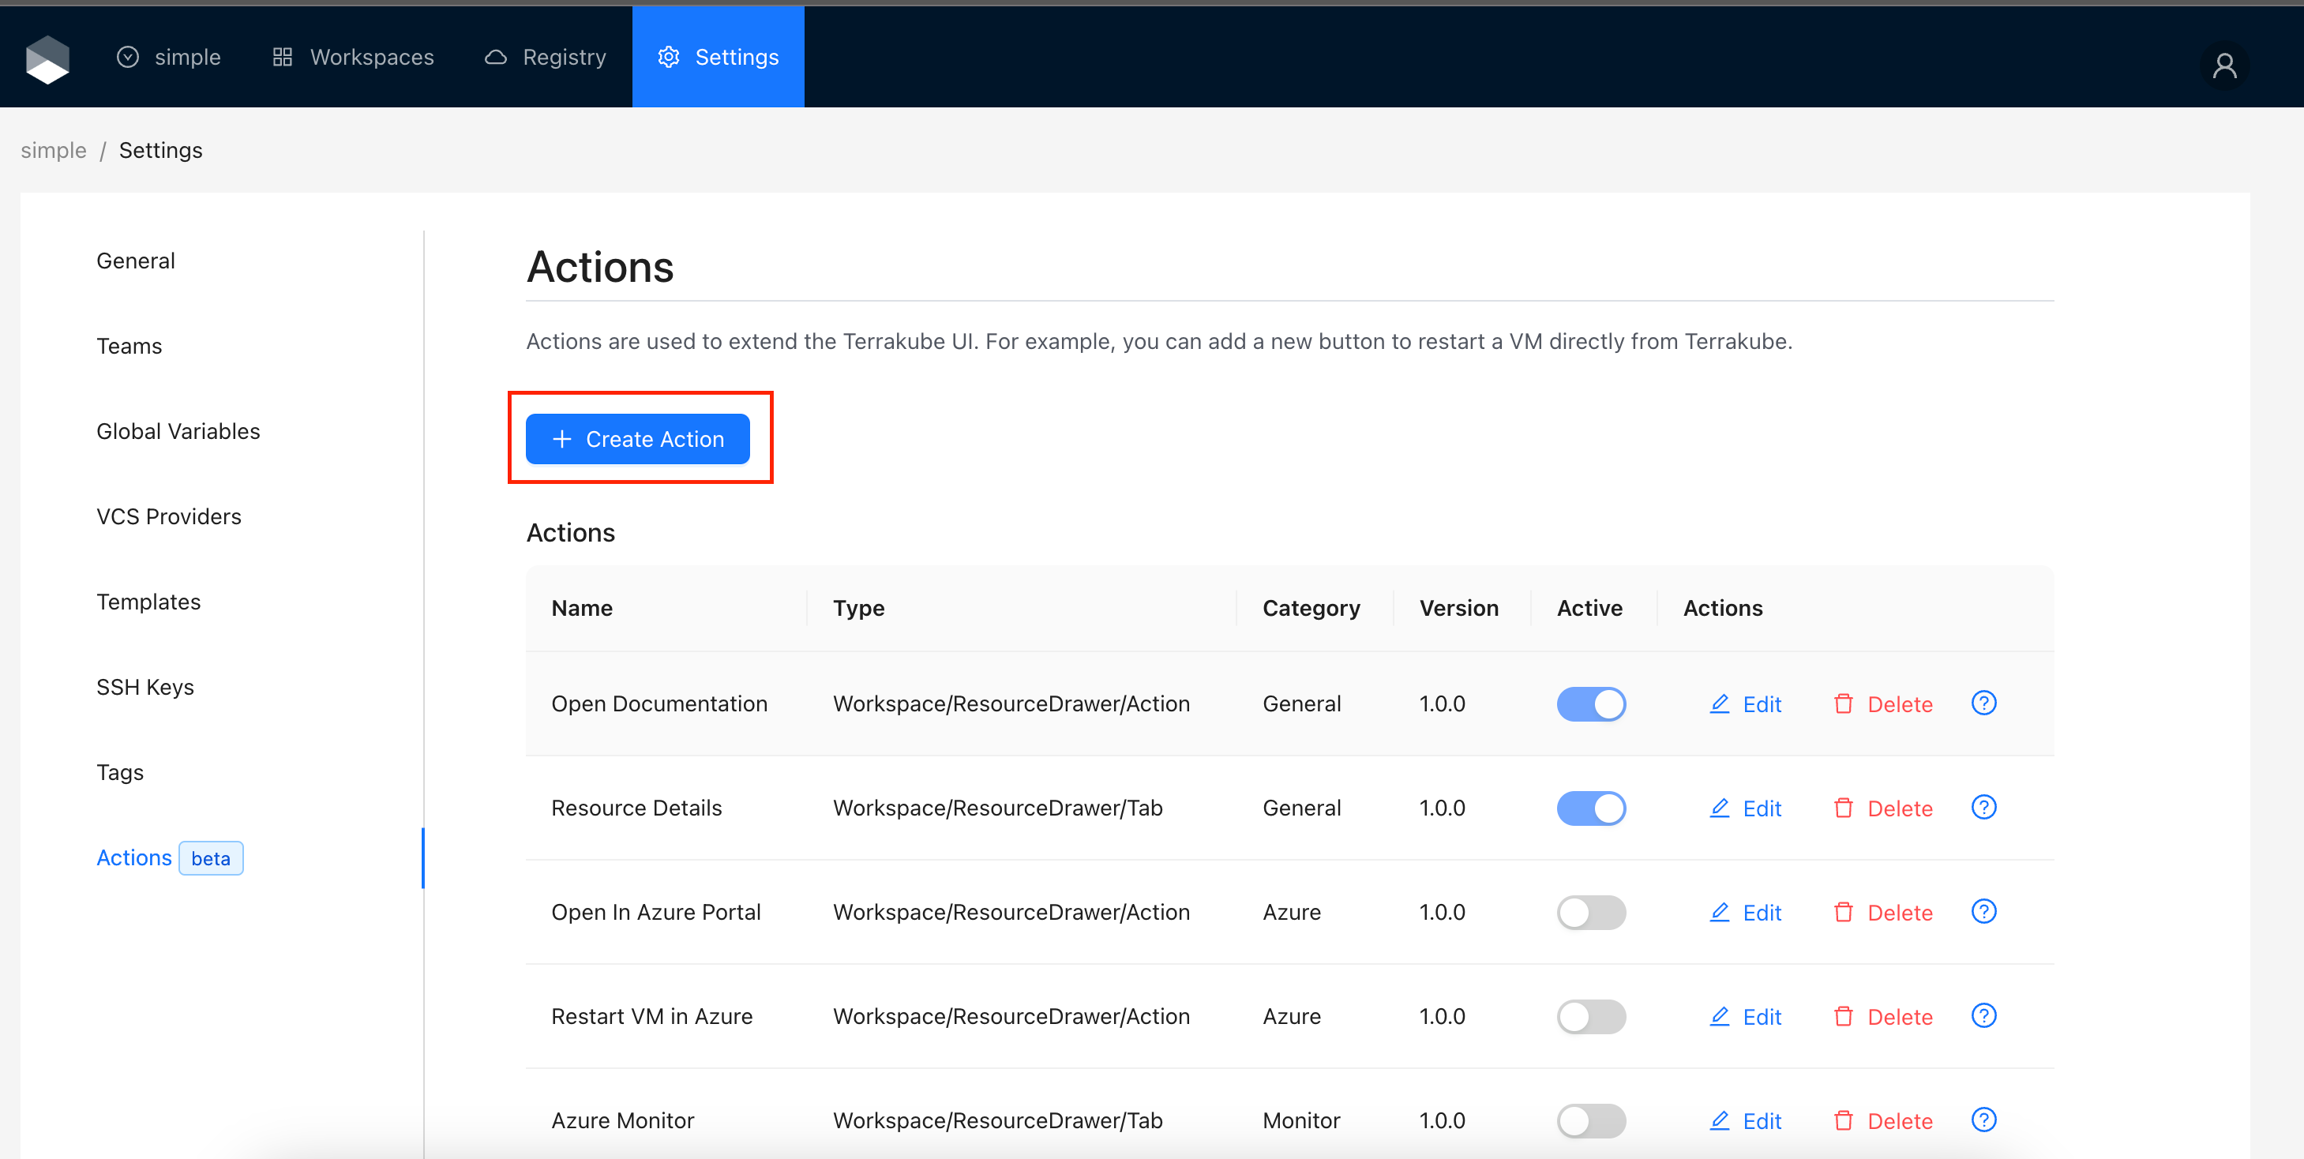
Navigate to the settings in any Terrakube organization.
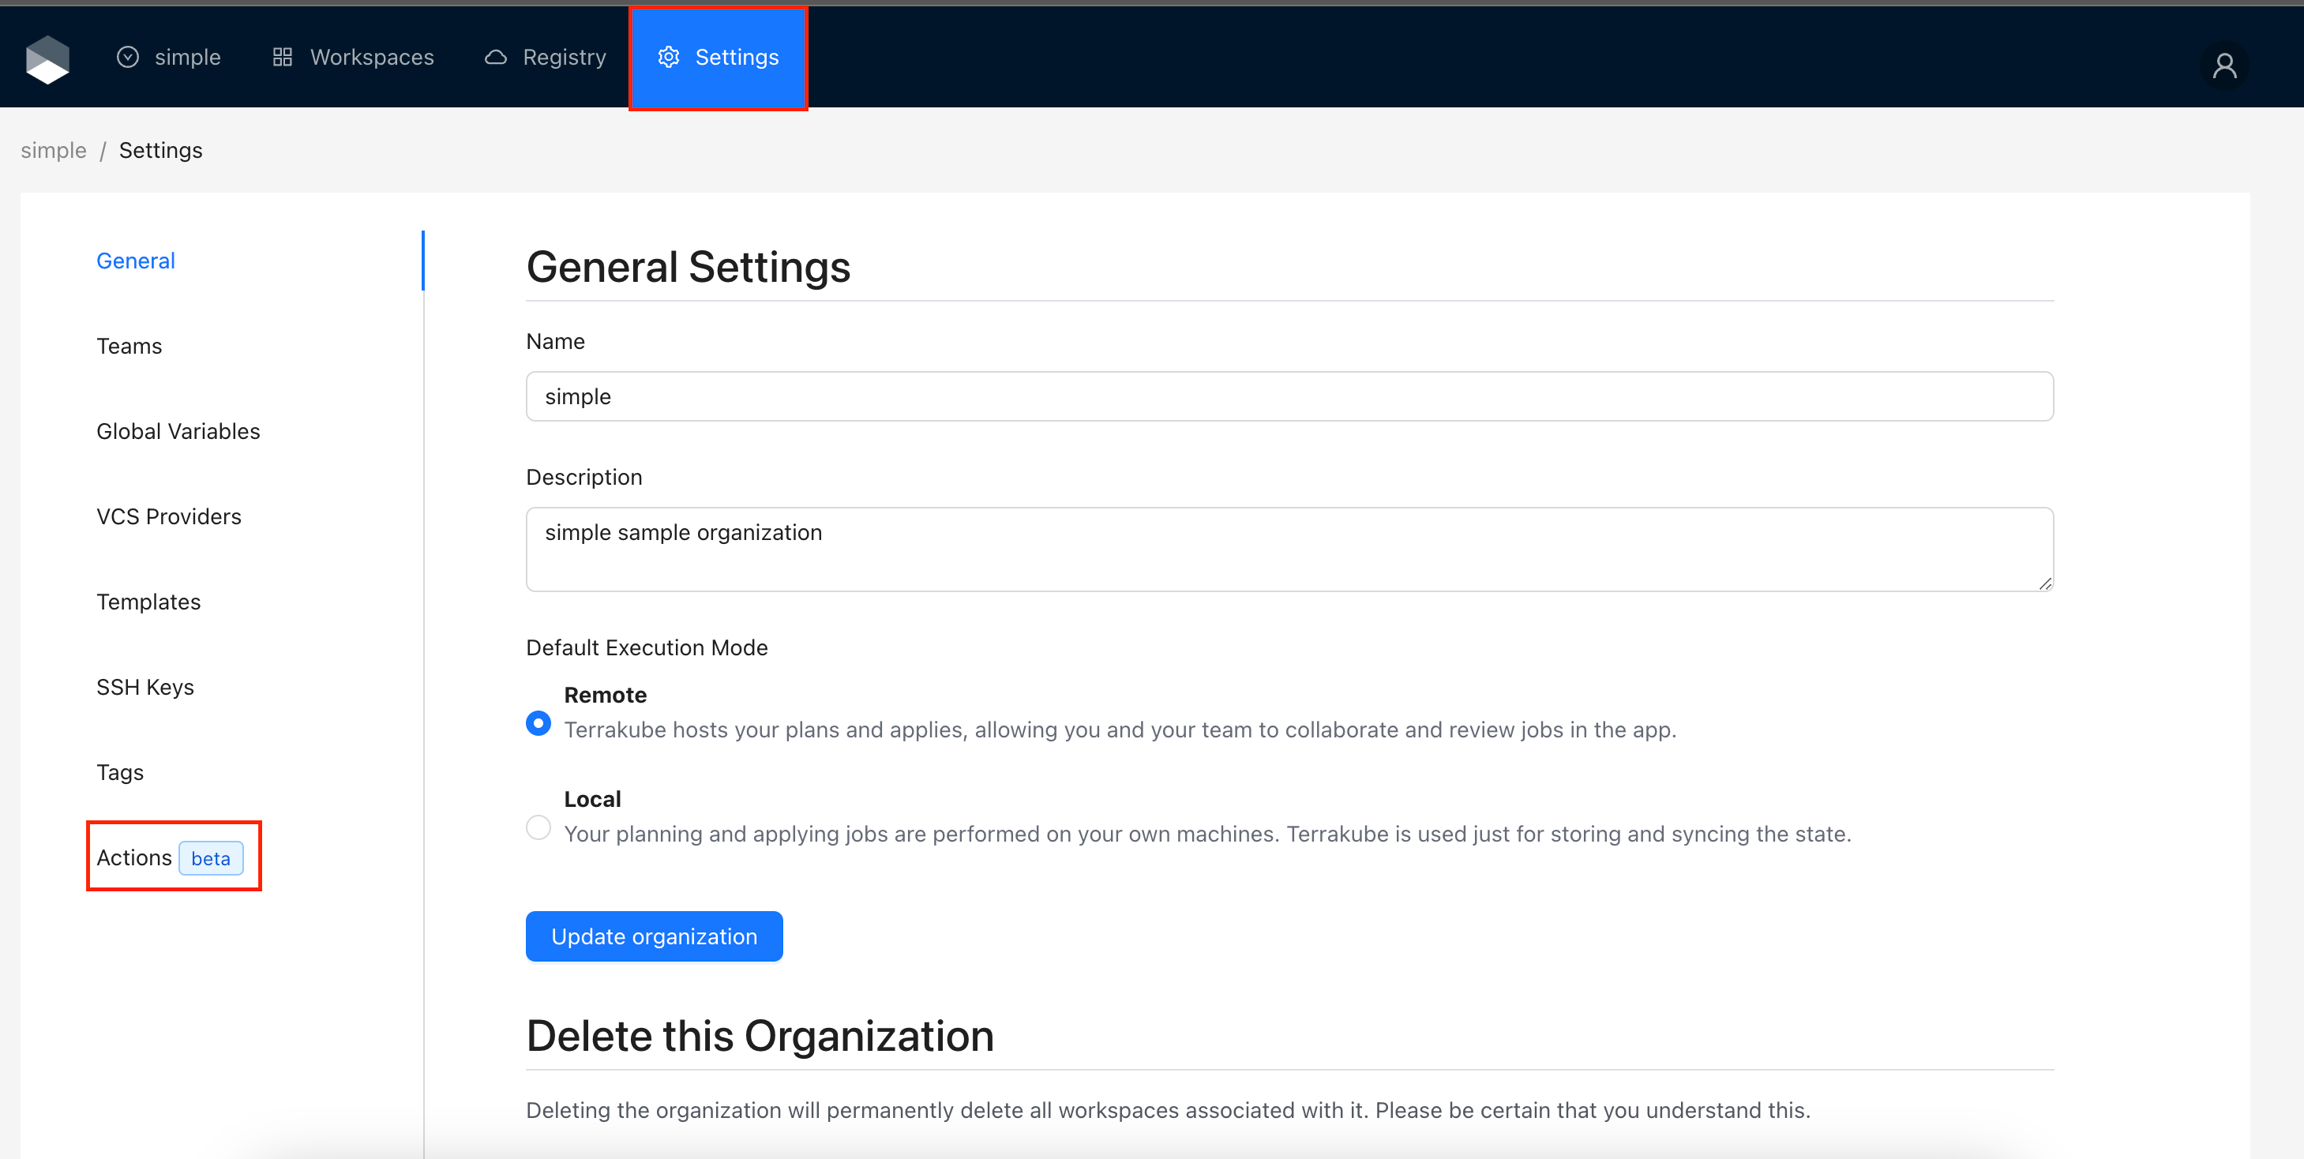
Click the
Add Actionbutton.
Provide the required information as detailed in the table below:
ID
A unique ID for your action. Example: terrakube.demo-action or myorg.my-action
Name
A unique name for your action.
Type
Defines the section where this action will appear. Refer to Action Types to see the specific area where the action will be rendered.
Label
For tabs actions, this will be displayed as the tab name. For action buttons, it should be displayed as the button name.
Category
This helps to organize the actions based on their function. Example: General, Azure, Cost, Monitor.
Version
Must follow semantic versioning (e.g., 1.0.0).
Description
A brief description of the action.
Display Criteria
Defines the conditions under which the action should appear based on the context. For more details, check the Display Criteria documentation.
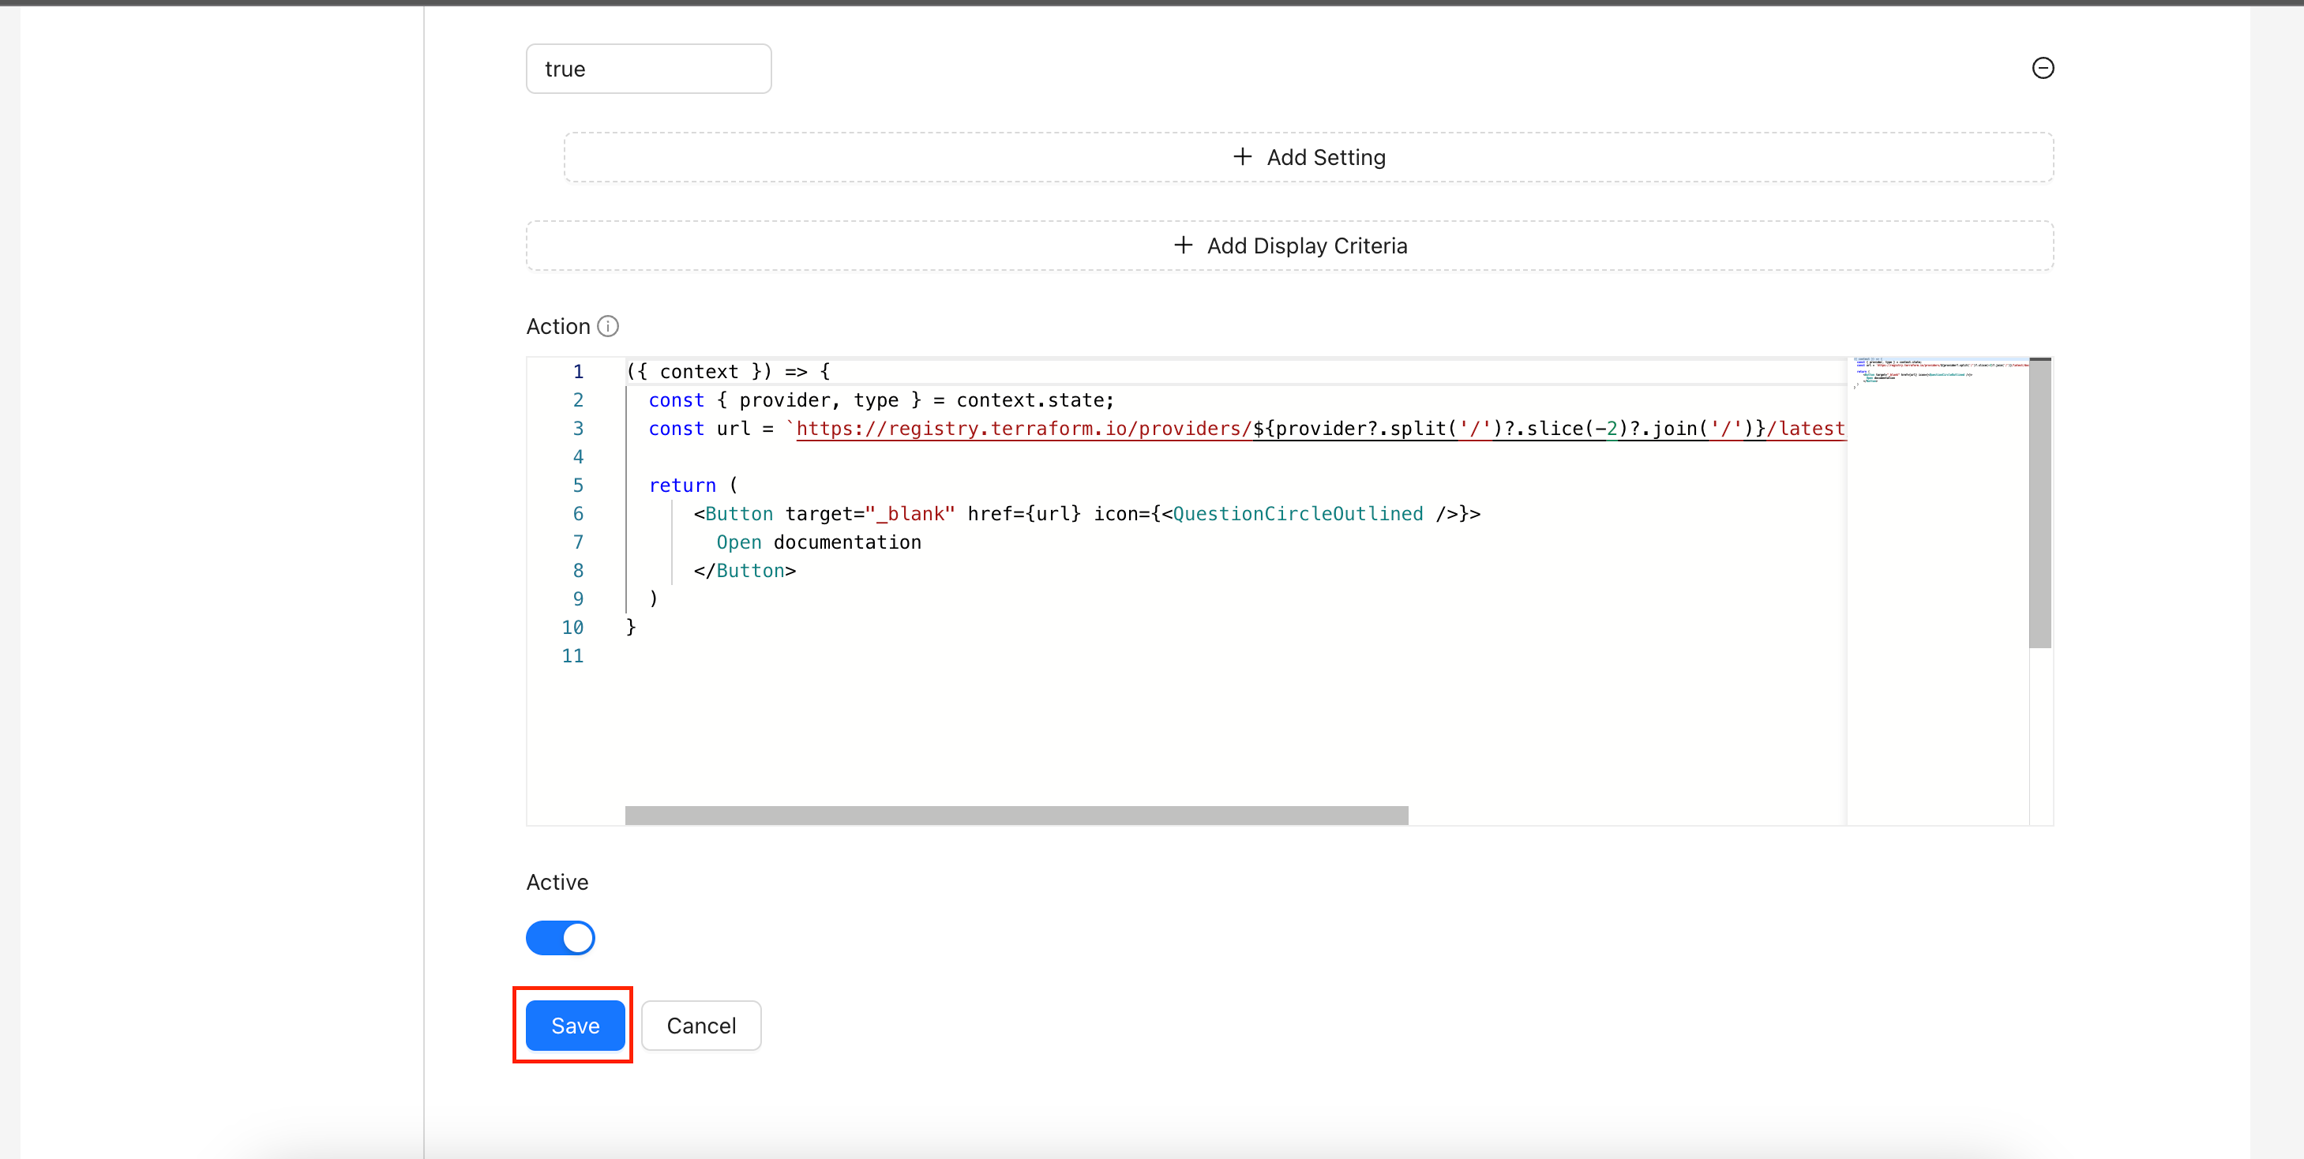
Action
A JavaScript function equivalent to a React component. Receives the context with some data related to the context. See our quick start guide to start creating actions
Active
Enables or disables an action.
Click the
Savebutton.
Was this helpful?