Creating Workspaces
Manage Workspaces permission is required to perform this action, please check Team Management for more info.
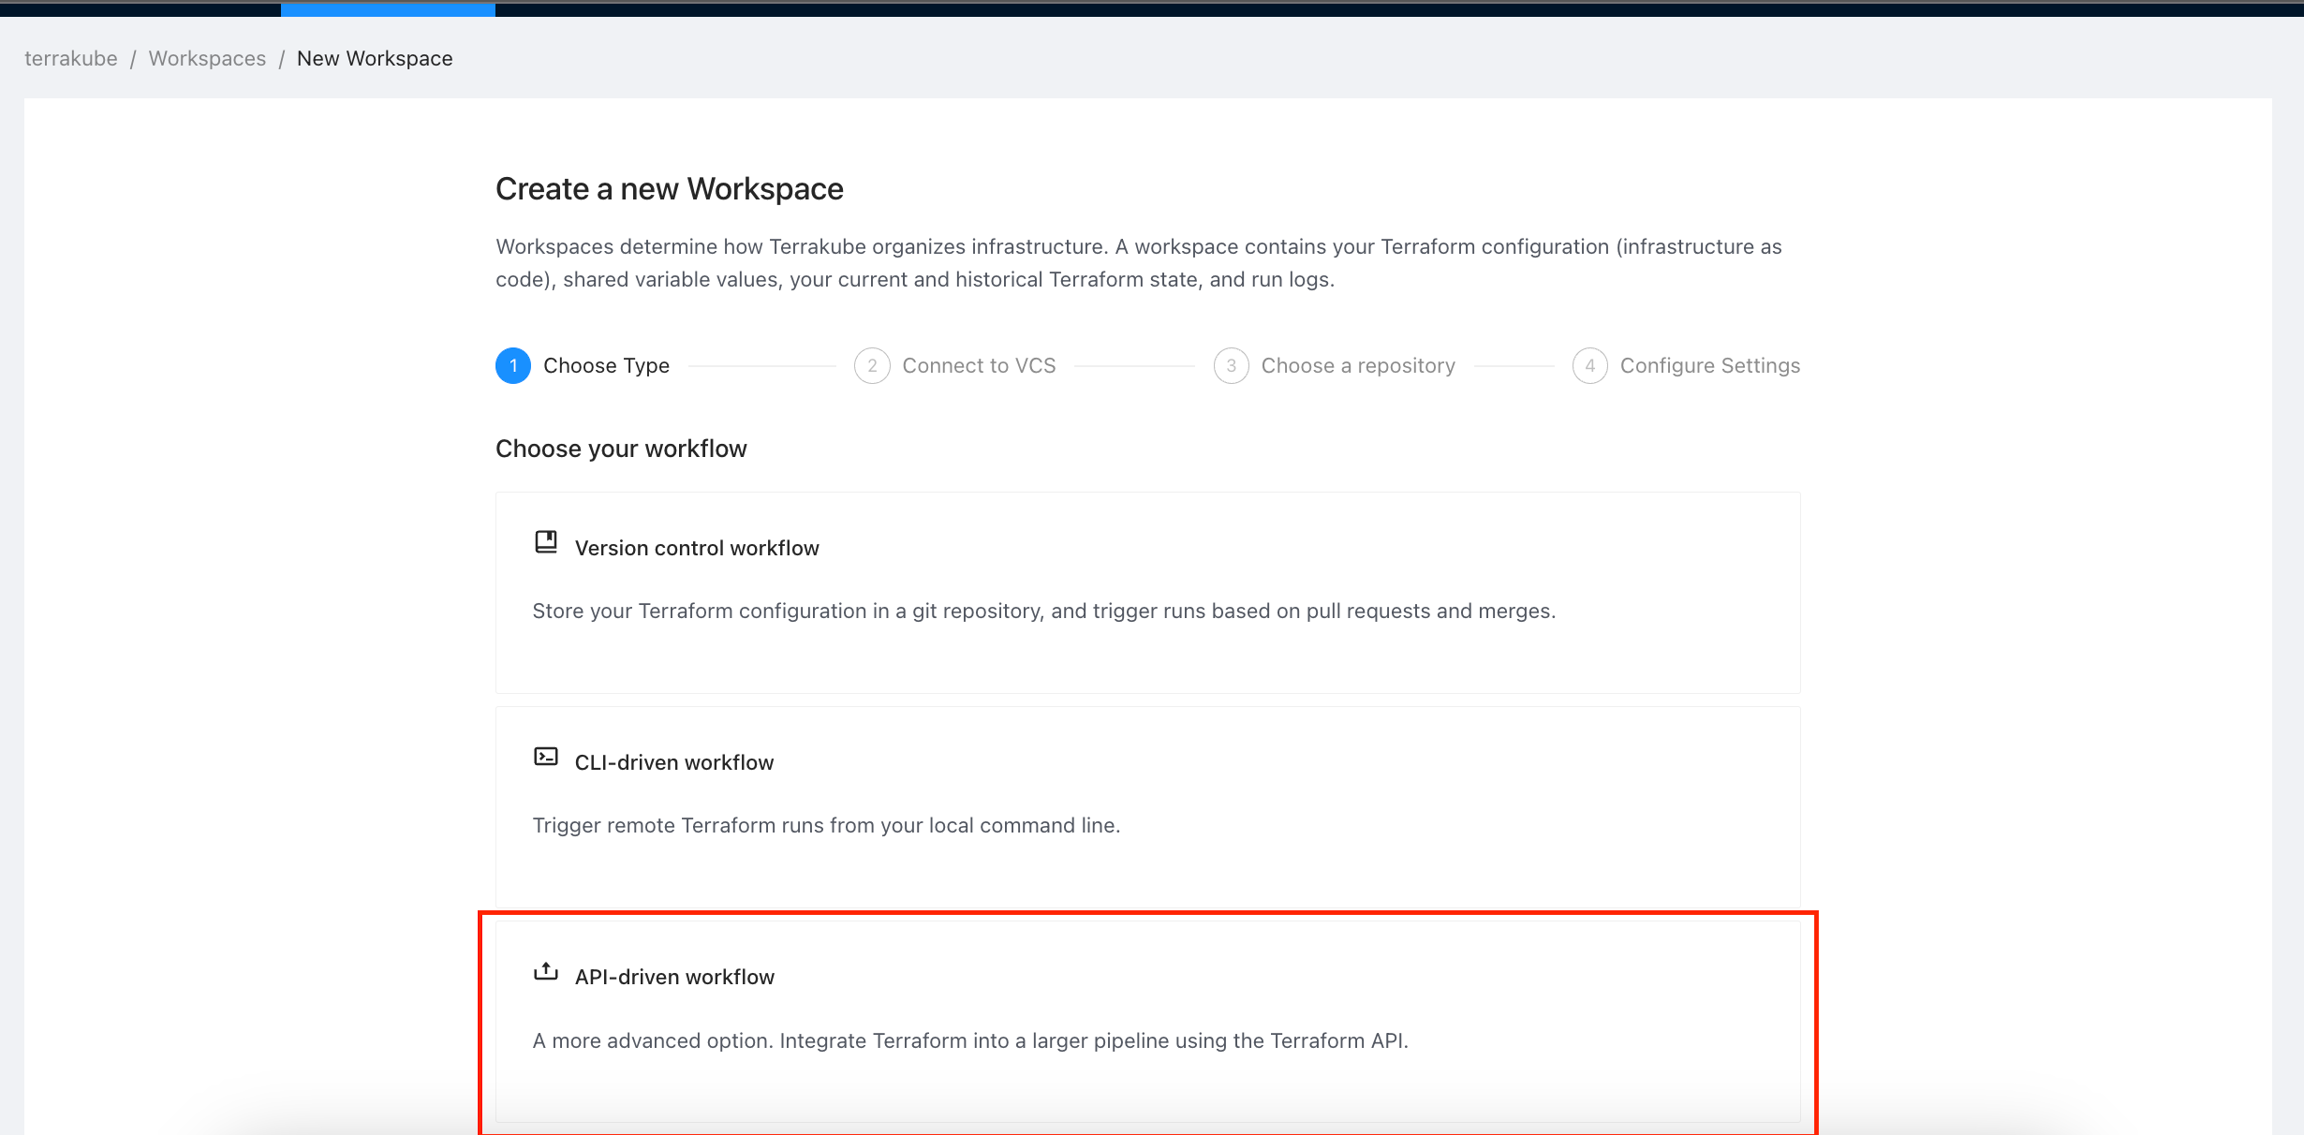
When creating a Workspace, Terrakube supports 3 workflows types and based on the selected workflow you will need to provide some parameters. Please refer to each workflow section for more reference.
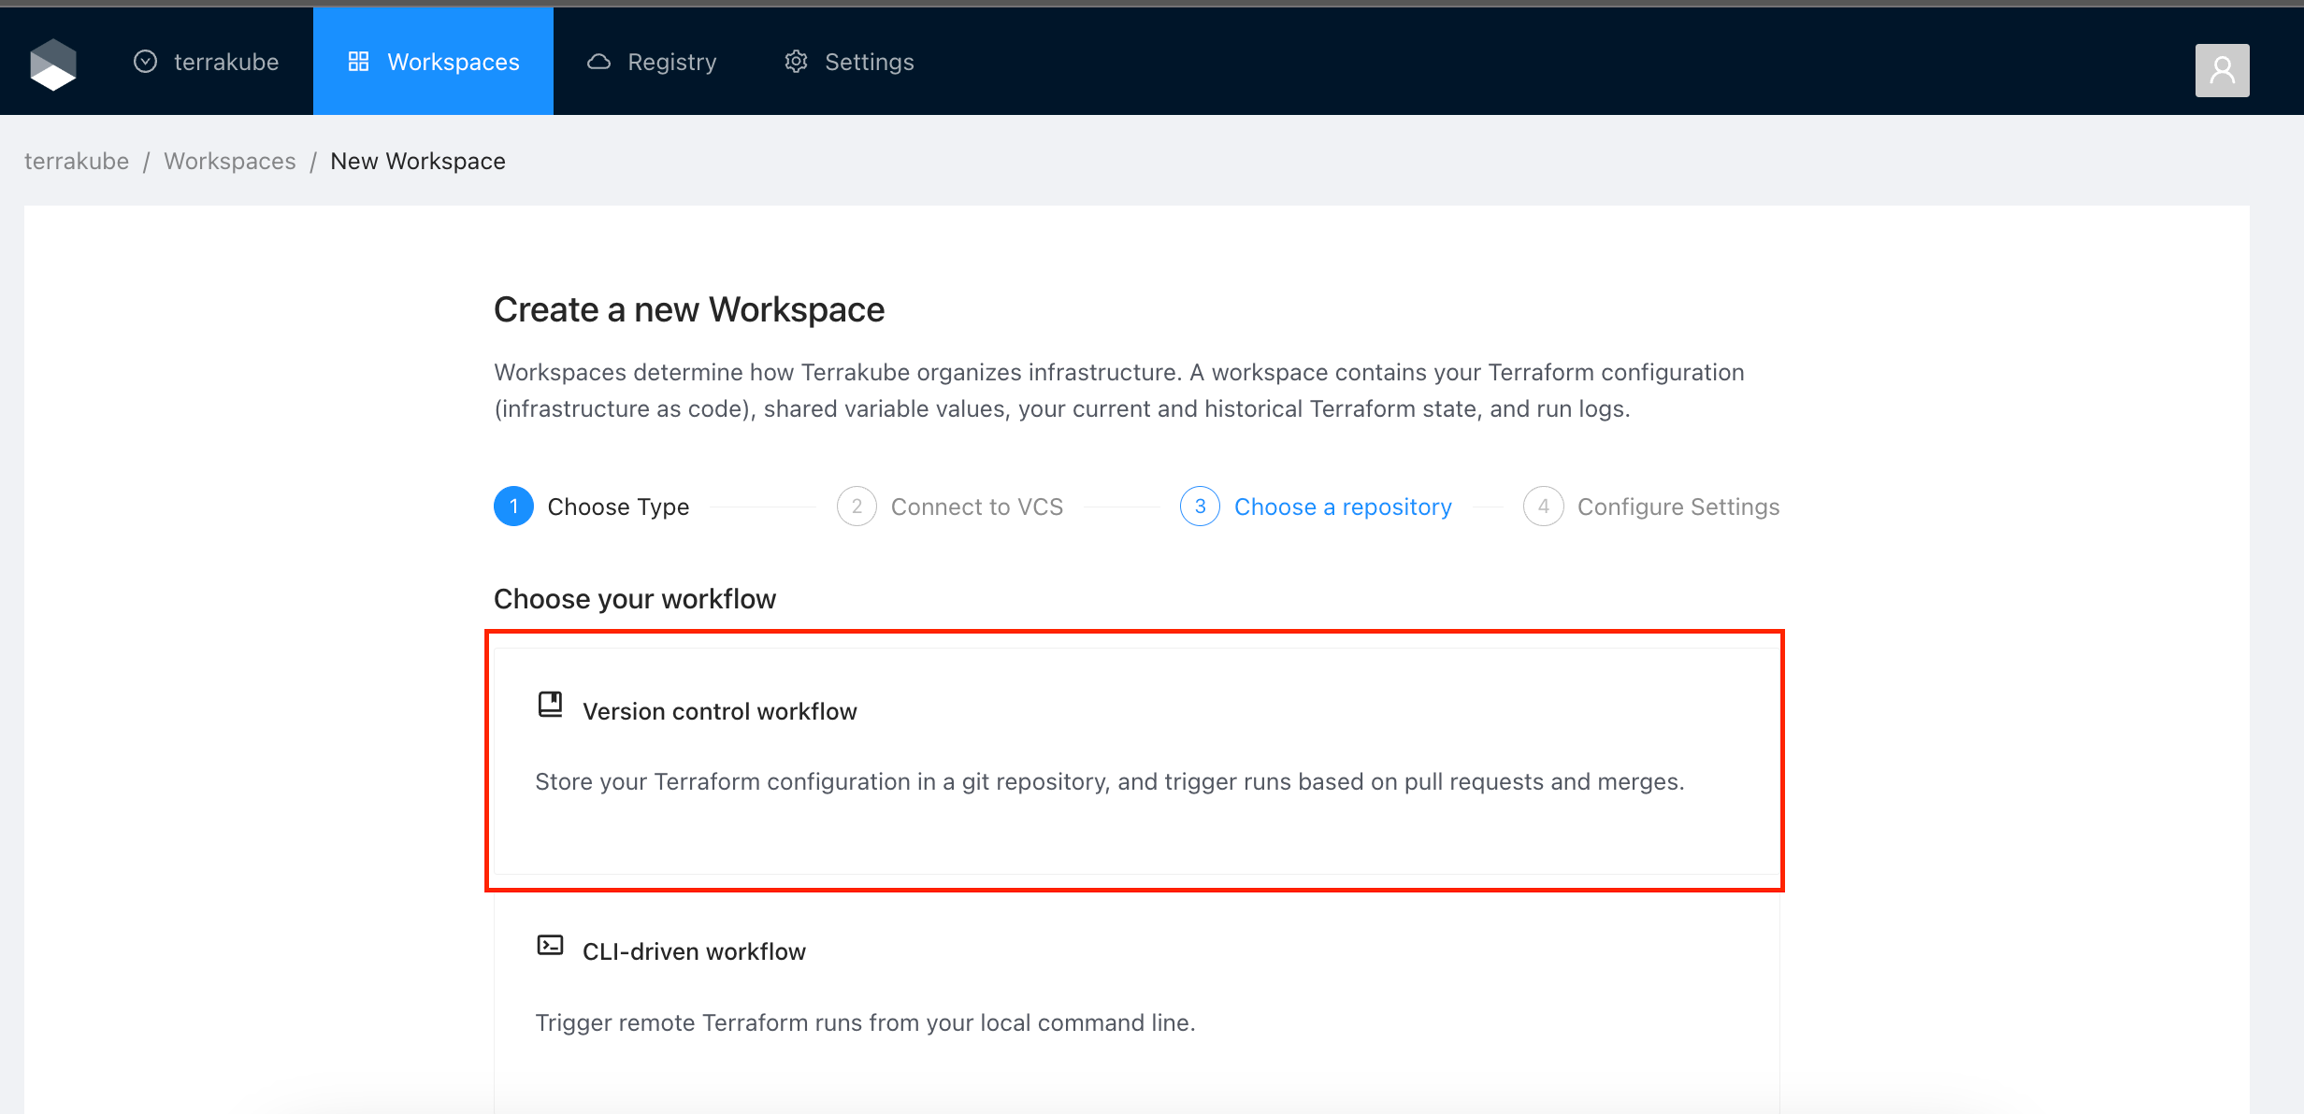
Version Control workflow: Store your Terraform configuration in a git repository, and trigger runs based on pull requests and merges.
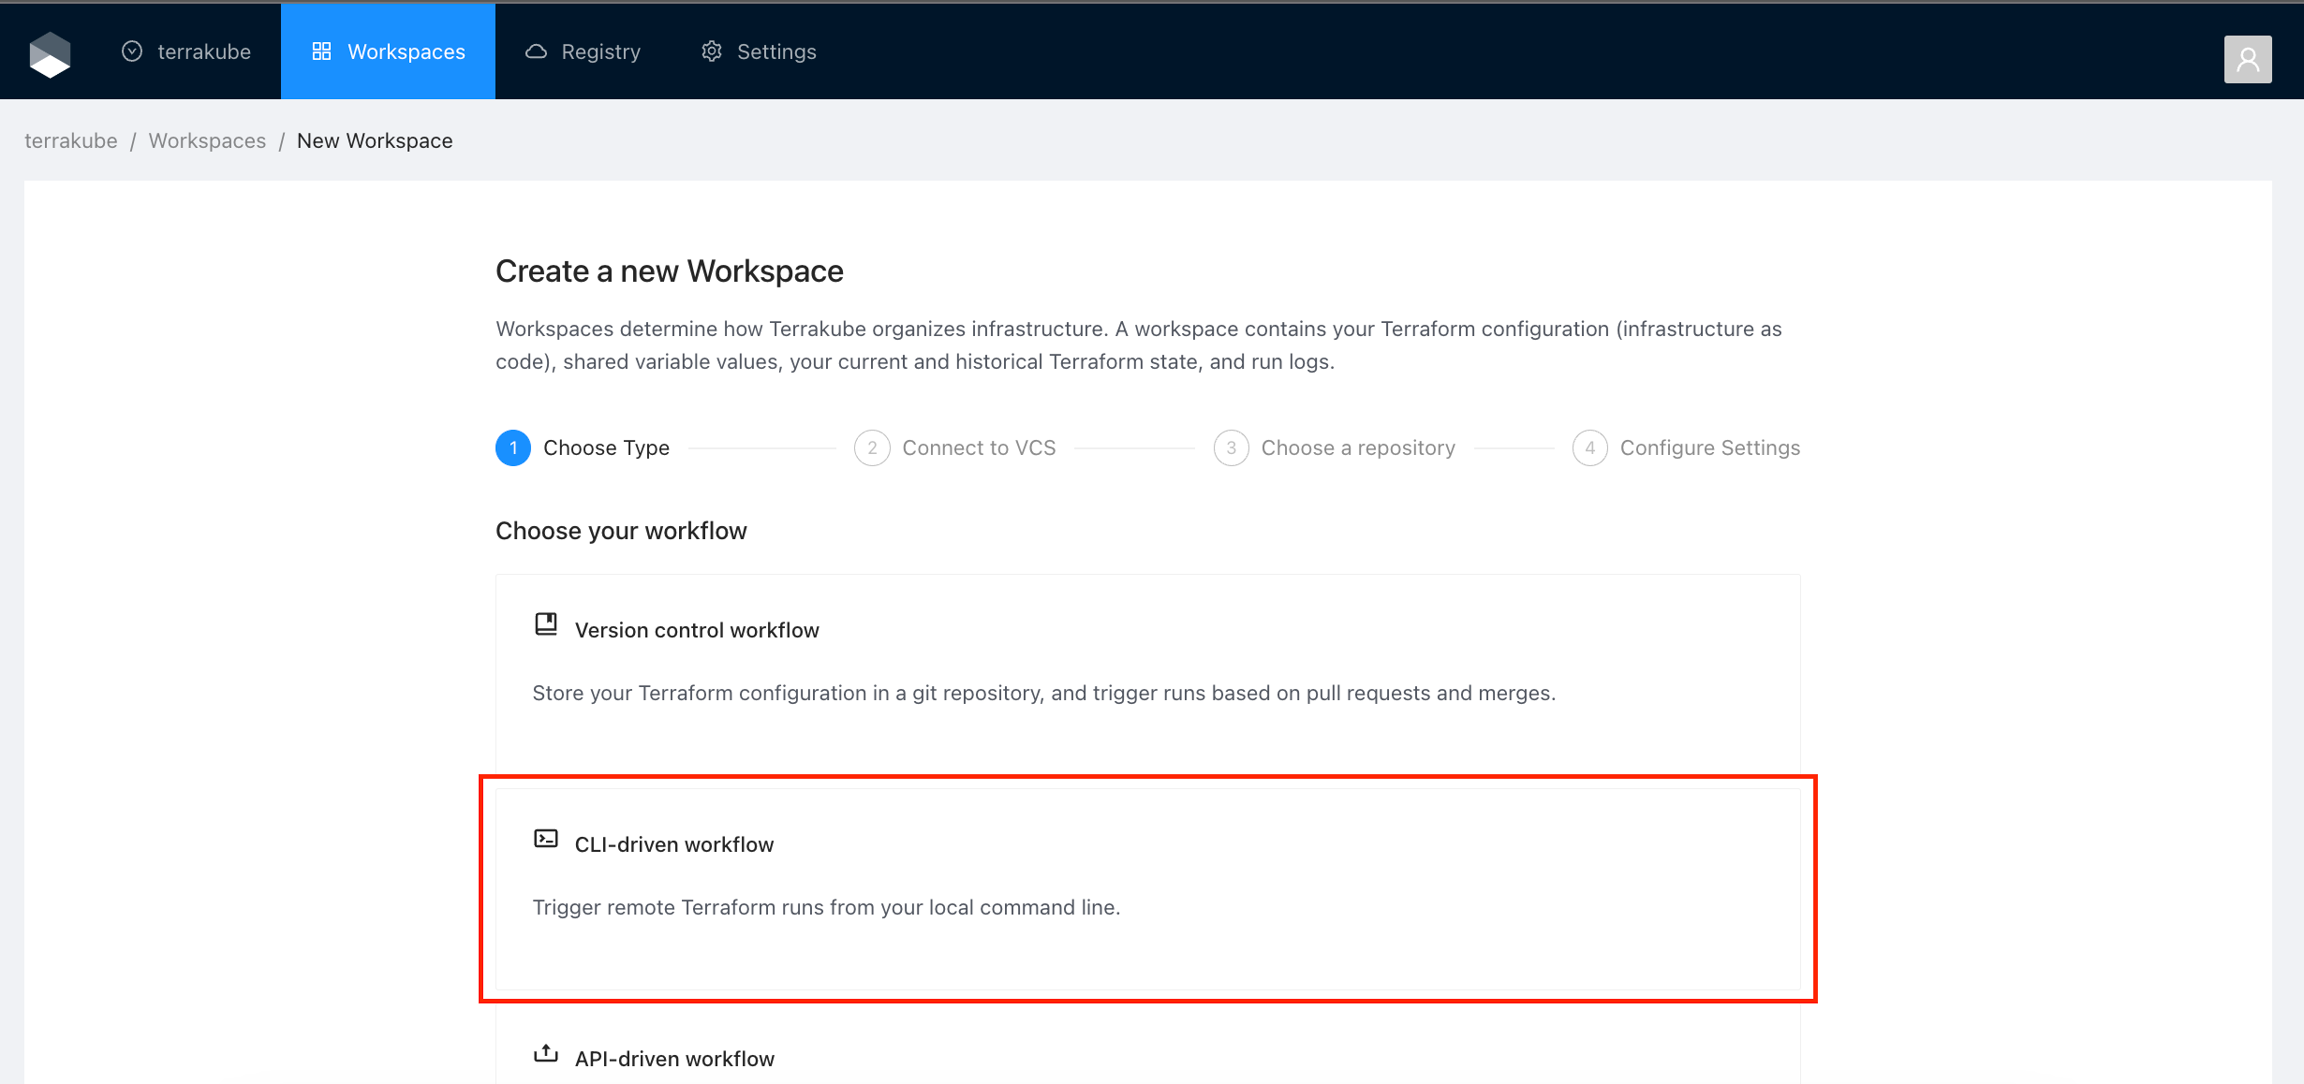
CLI-driven workflow: Trigger remote Terraform runs from your local command line.
API-driven workflow: A more advanced option. Integrate Terraform into a larger pipeline using the Terrakube API.
Version Control workflow
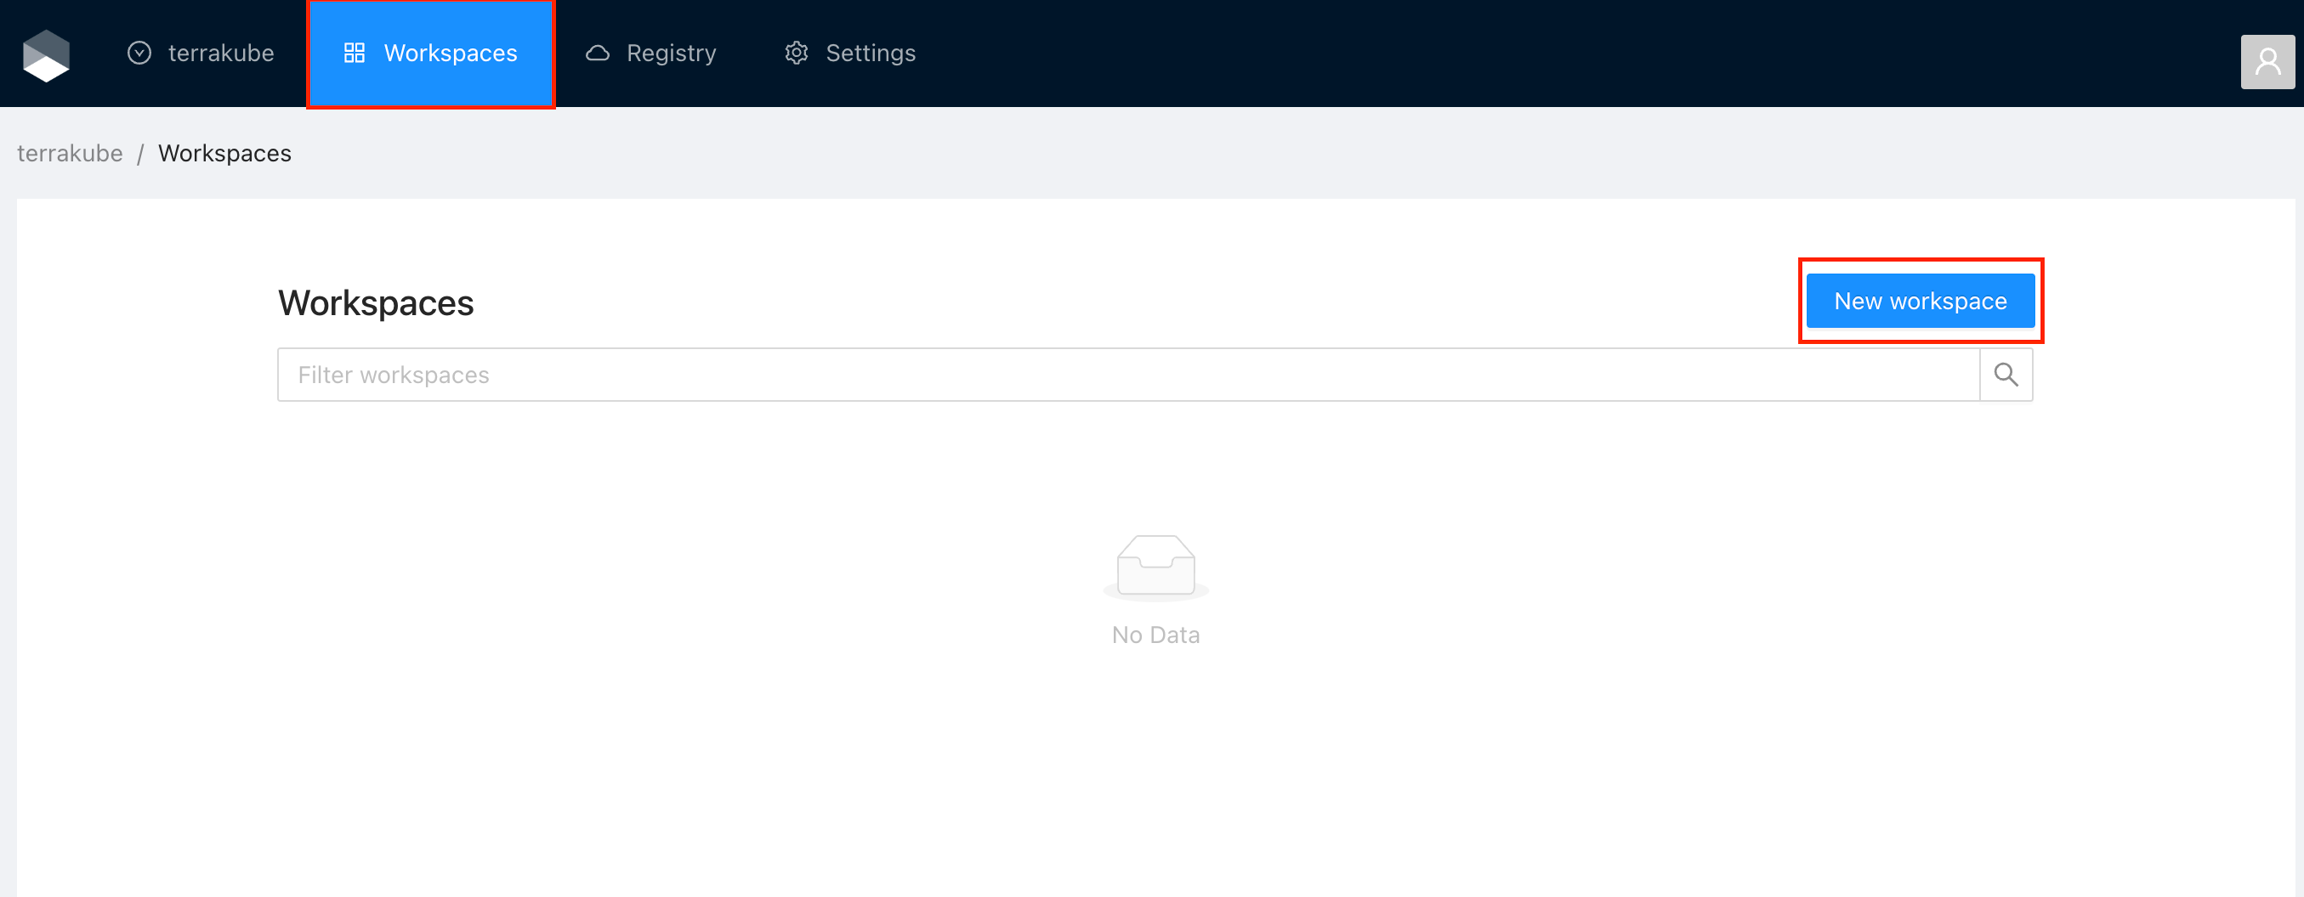
Click Workspaces in the main menu and then click the New workspace button
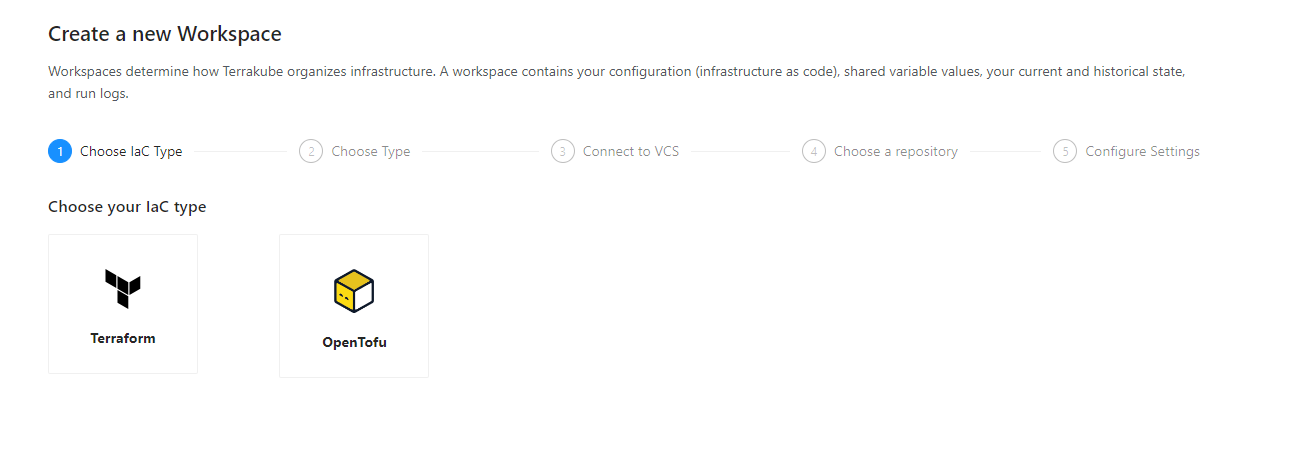
Select the IaC type for now we support terraform and open tofu
Choose the Version control workflow
Select an existing version control provider or click Connect to a different VCS to configure a new one. See VCS Providers for more details.
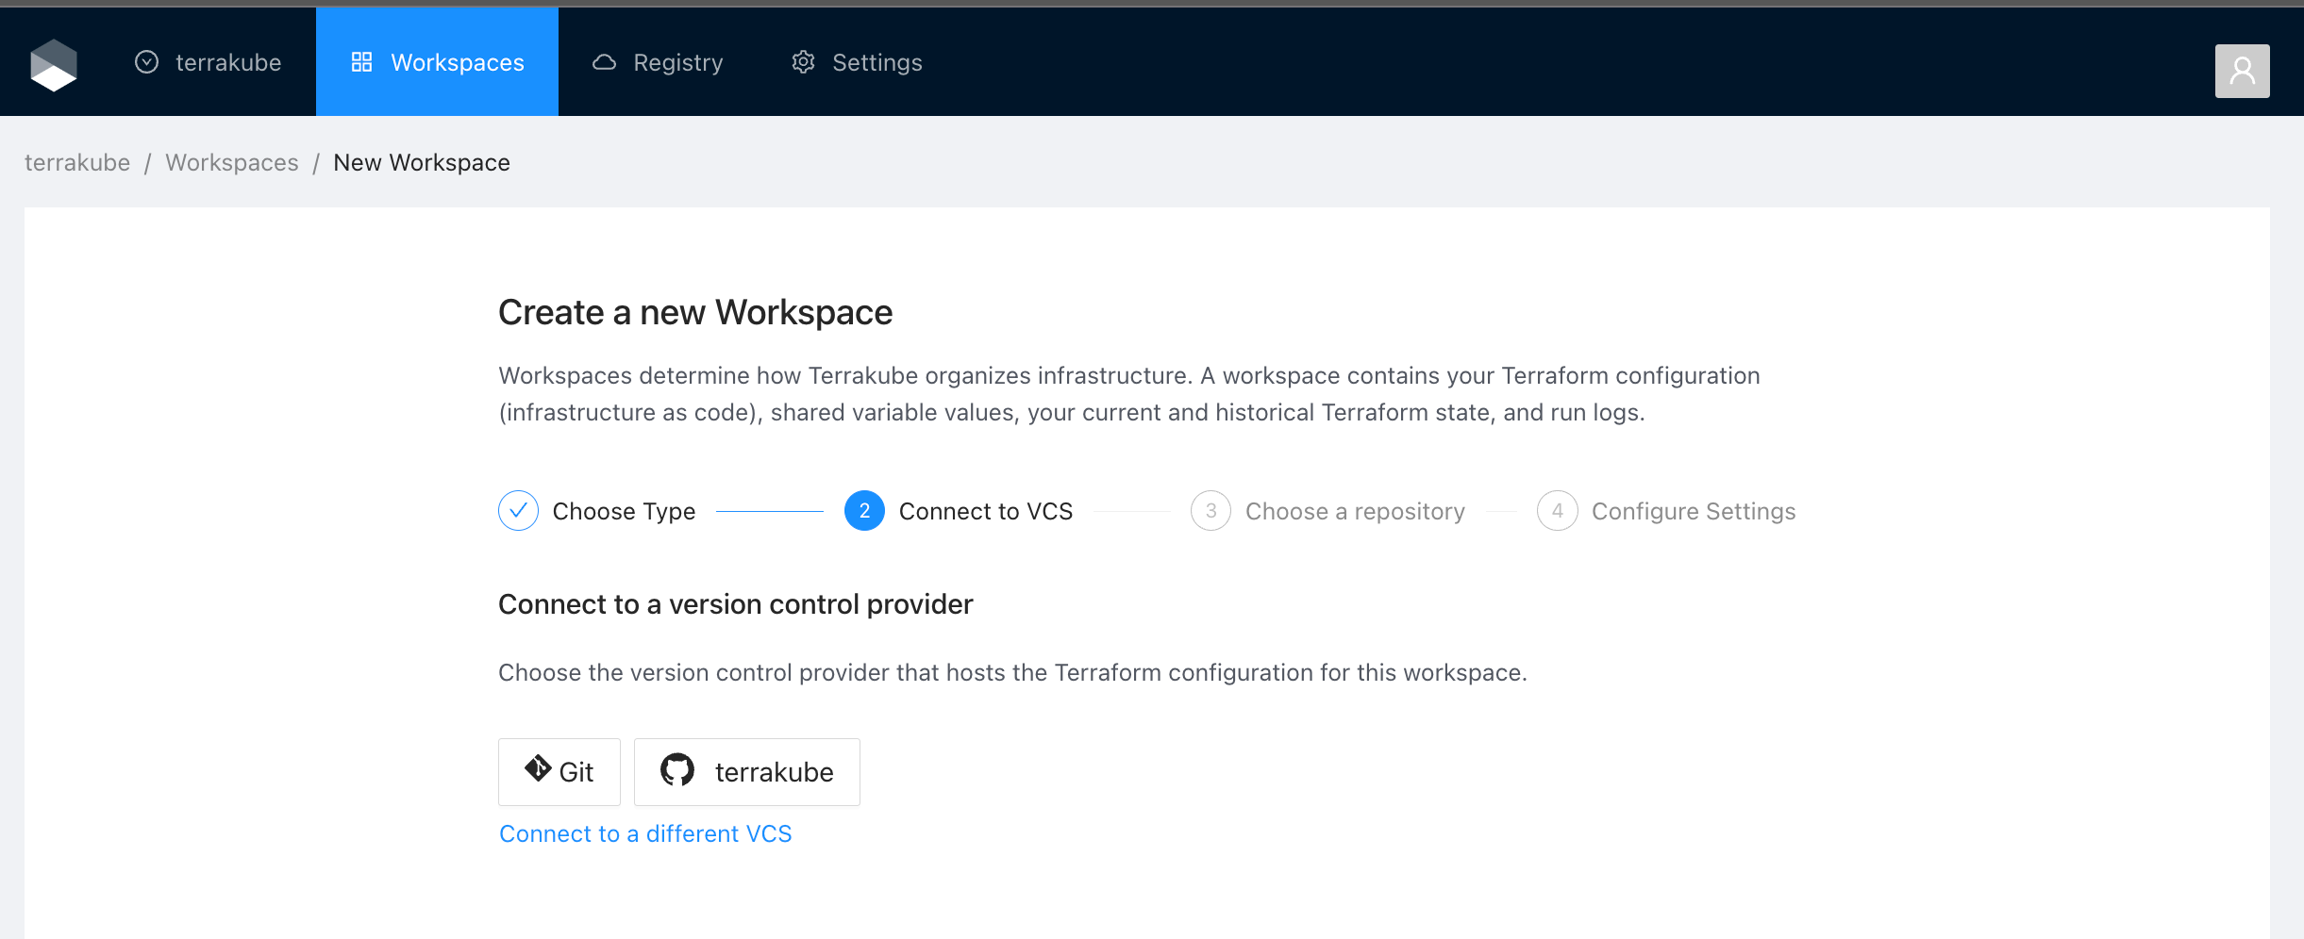
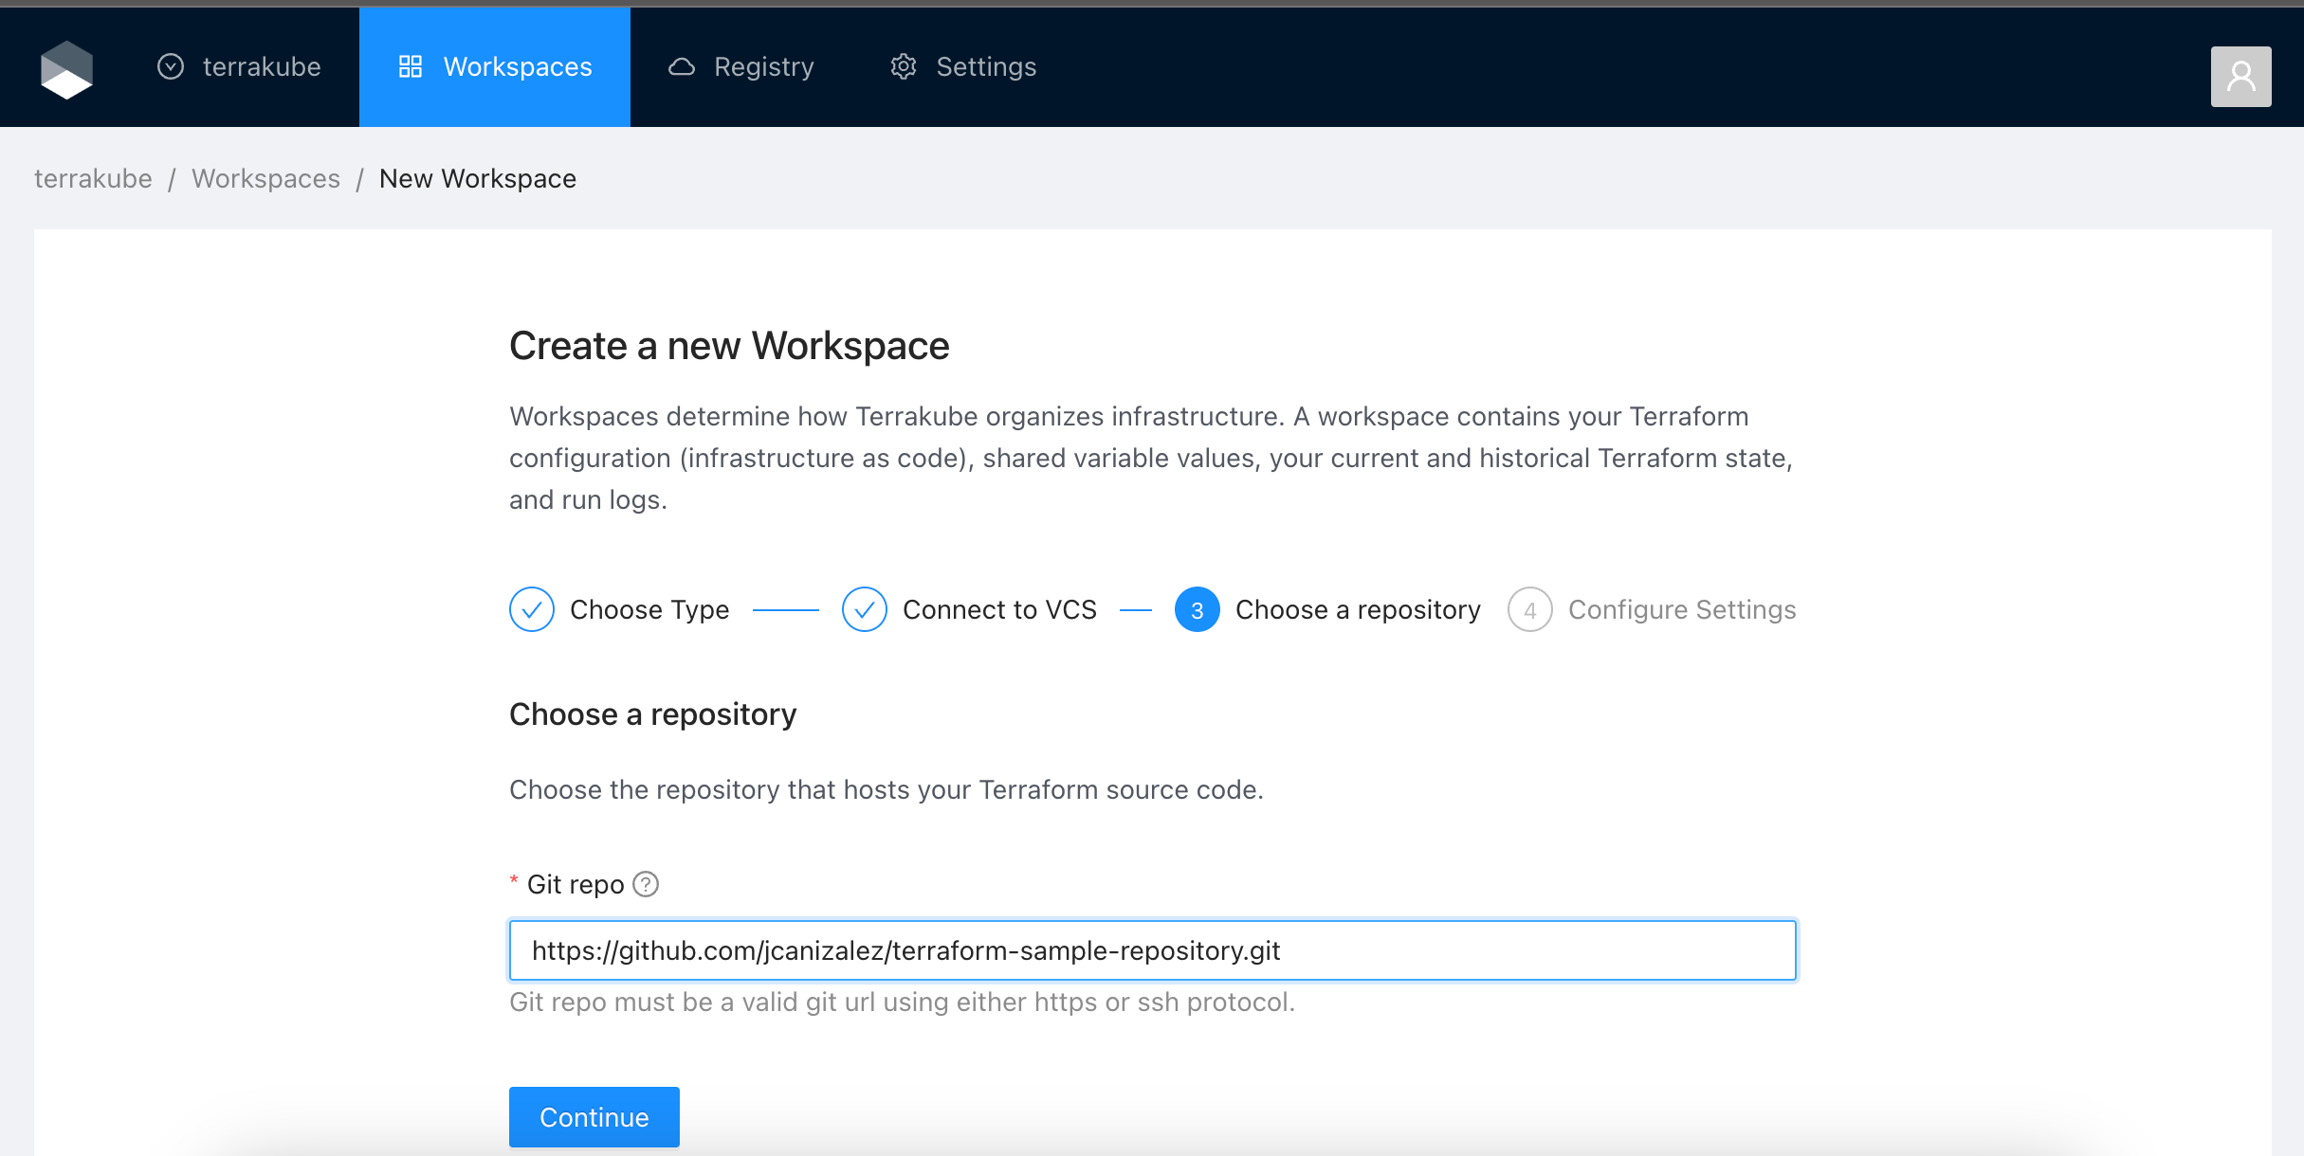
Provide the git repository URL and click the Continue button.
If you want to connect to a private git repo using SSH Keys you will need to provide the url in ssh format. Example [email protected]:jcanizalez/terraform-sample-repository.git. For more information see SSH
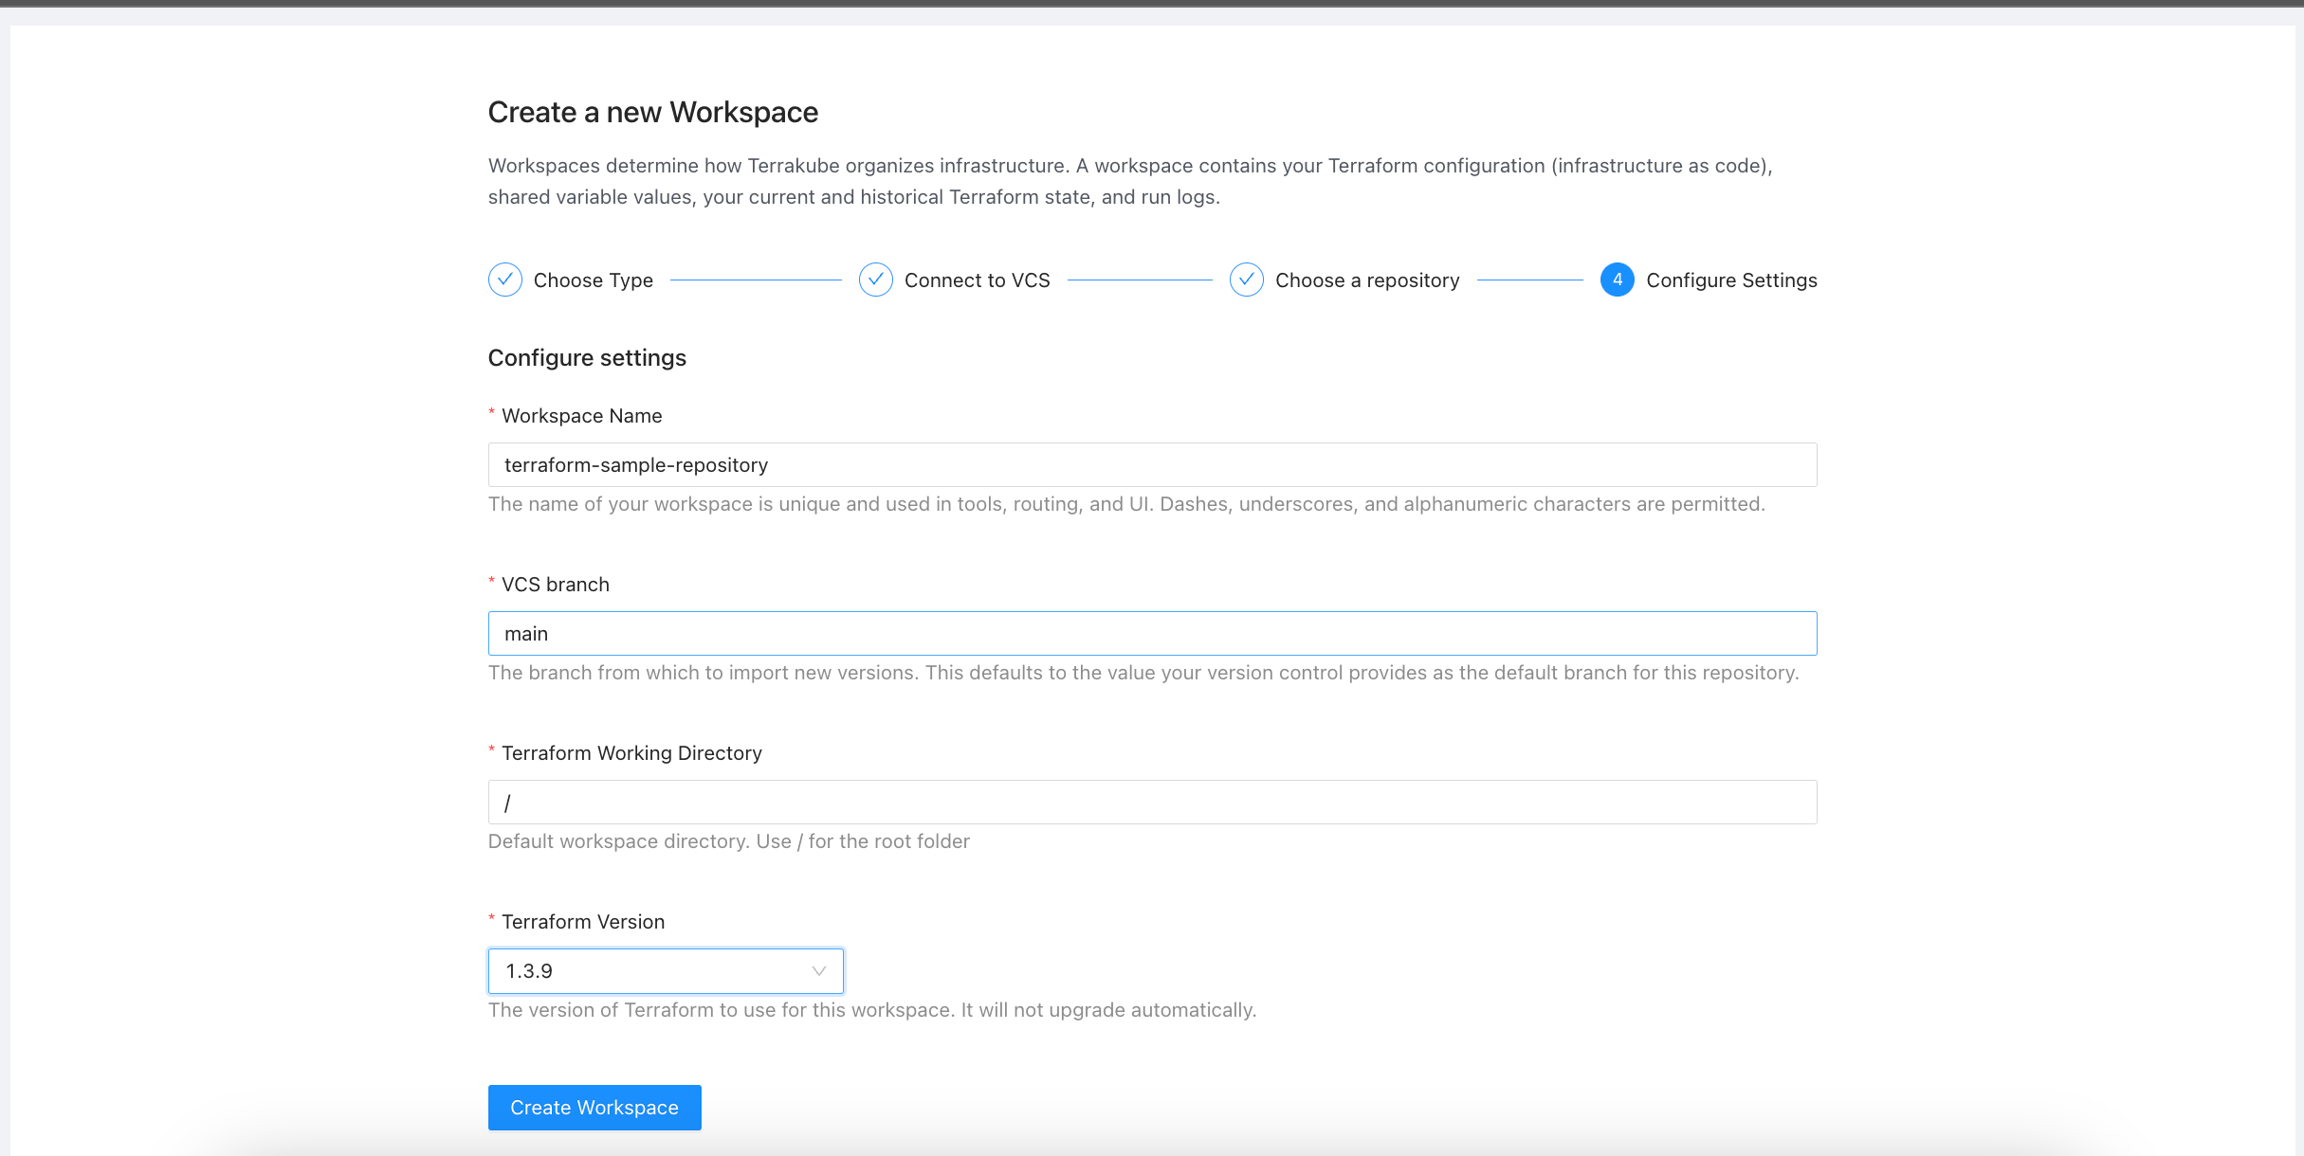
Configure the workspace settings.
Workspace Name
The name of your workspace is unique and used in tools, routing, and UI. Dashes, underscores, and alphanumeric characters are permitted.
VCS branch
The branch from which to import new versions.
Terraform Working Directory
Default workspace directory. Use / for the root folder
Terraform Version
The version of Terraform to use for this workspace. Check Custom Terraform CLI Builds if you want to restrict the versions in your Terrakube instance.
Once you fill the settings click the Create Workspace button.
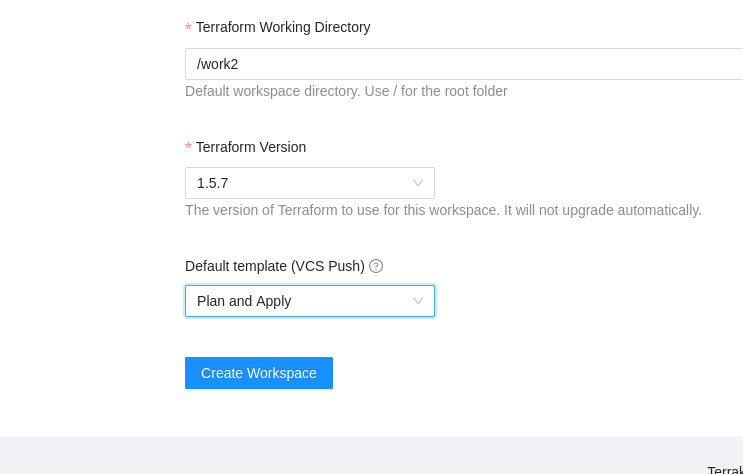
When using a VCS conection you can also select wich action will be triggered when doing a git push to the selected branch in the repository.
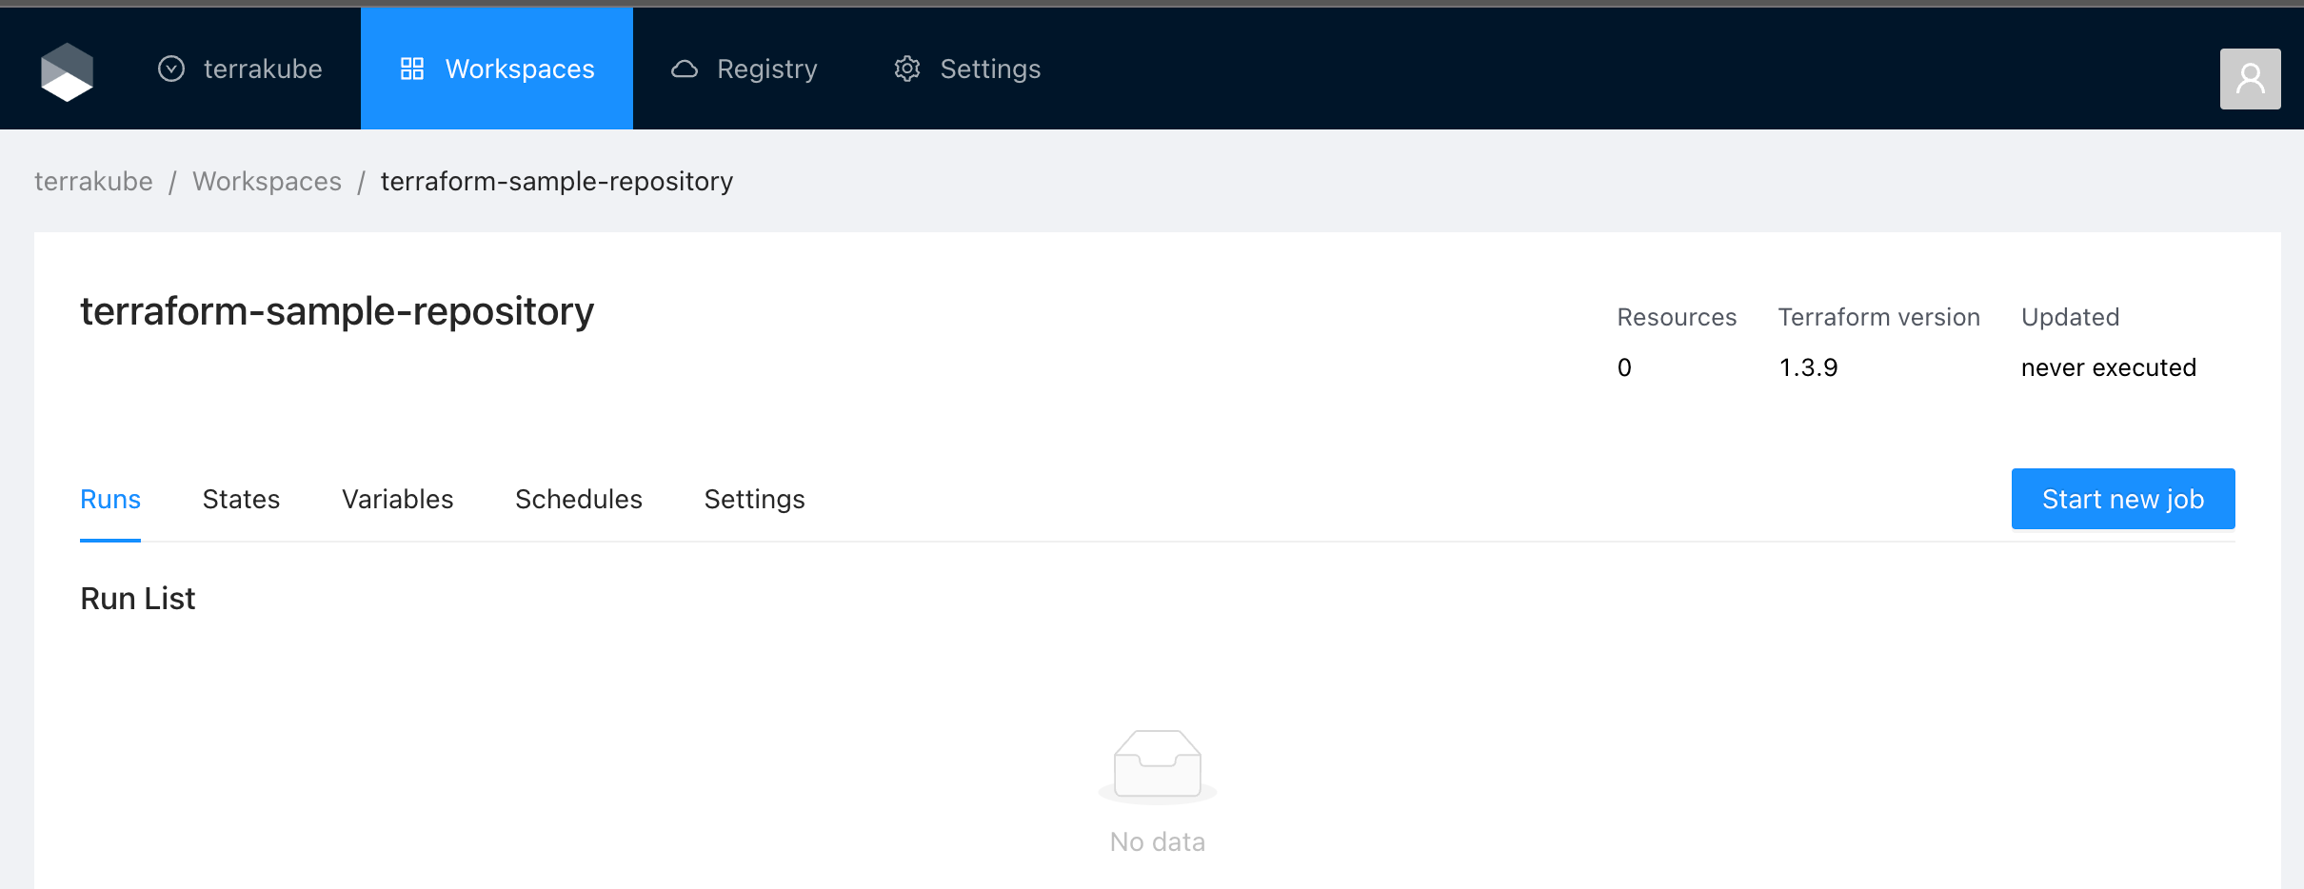
You will be redirected to the Workspace page
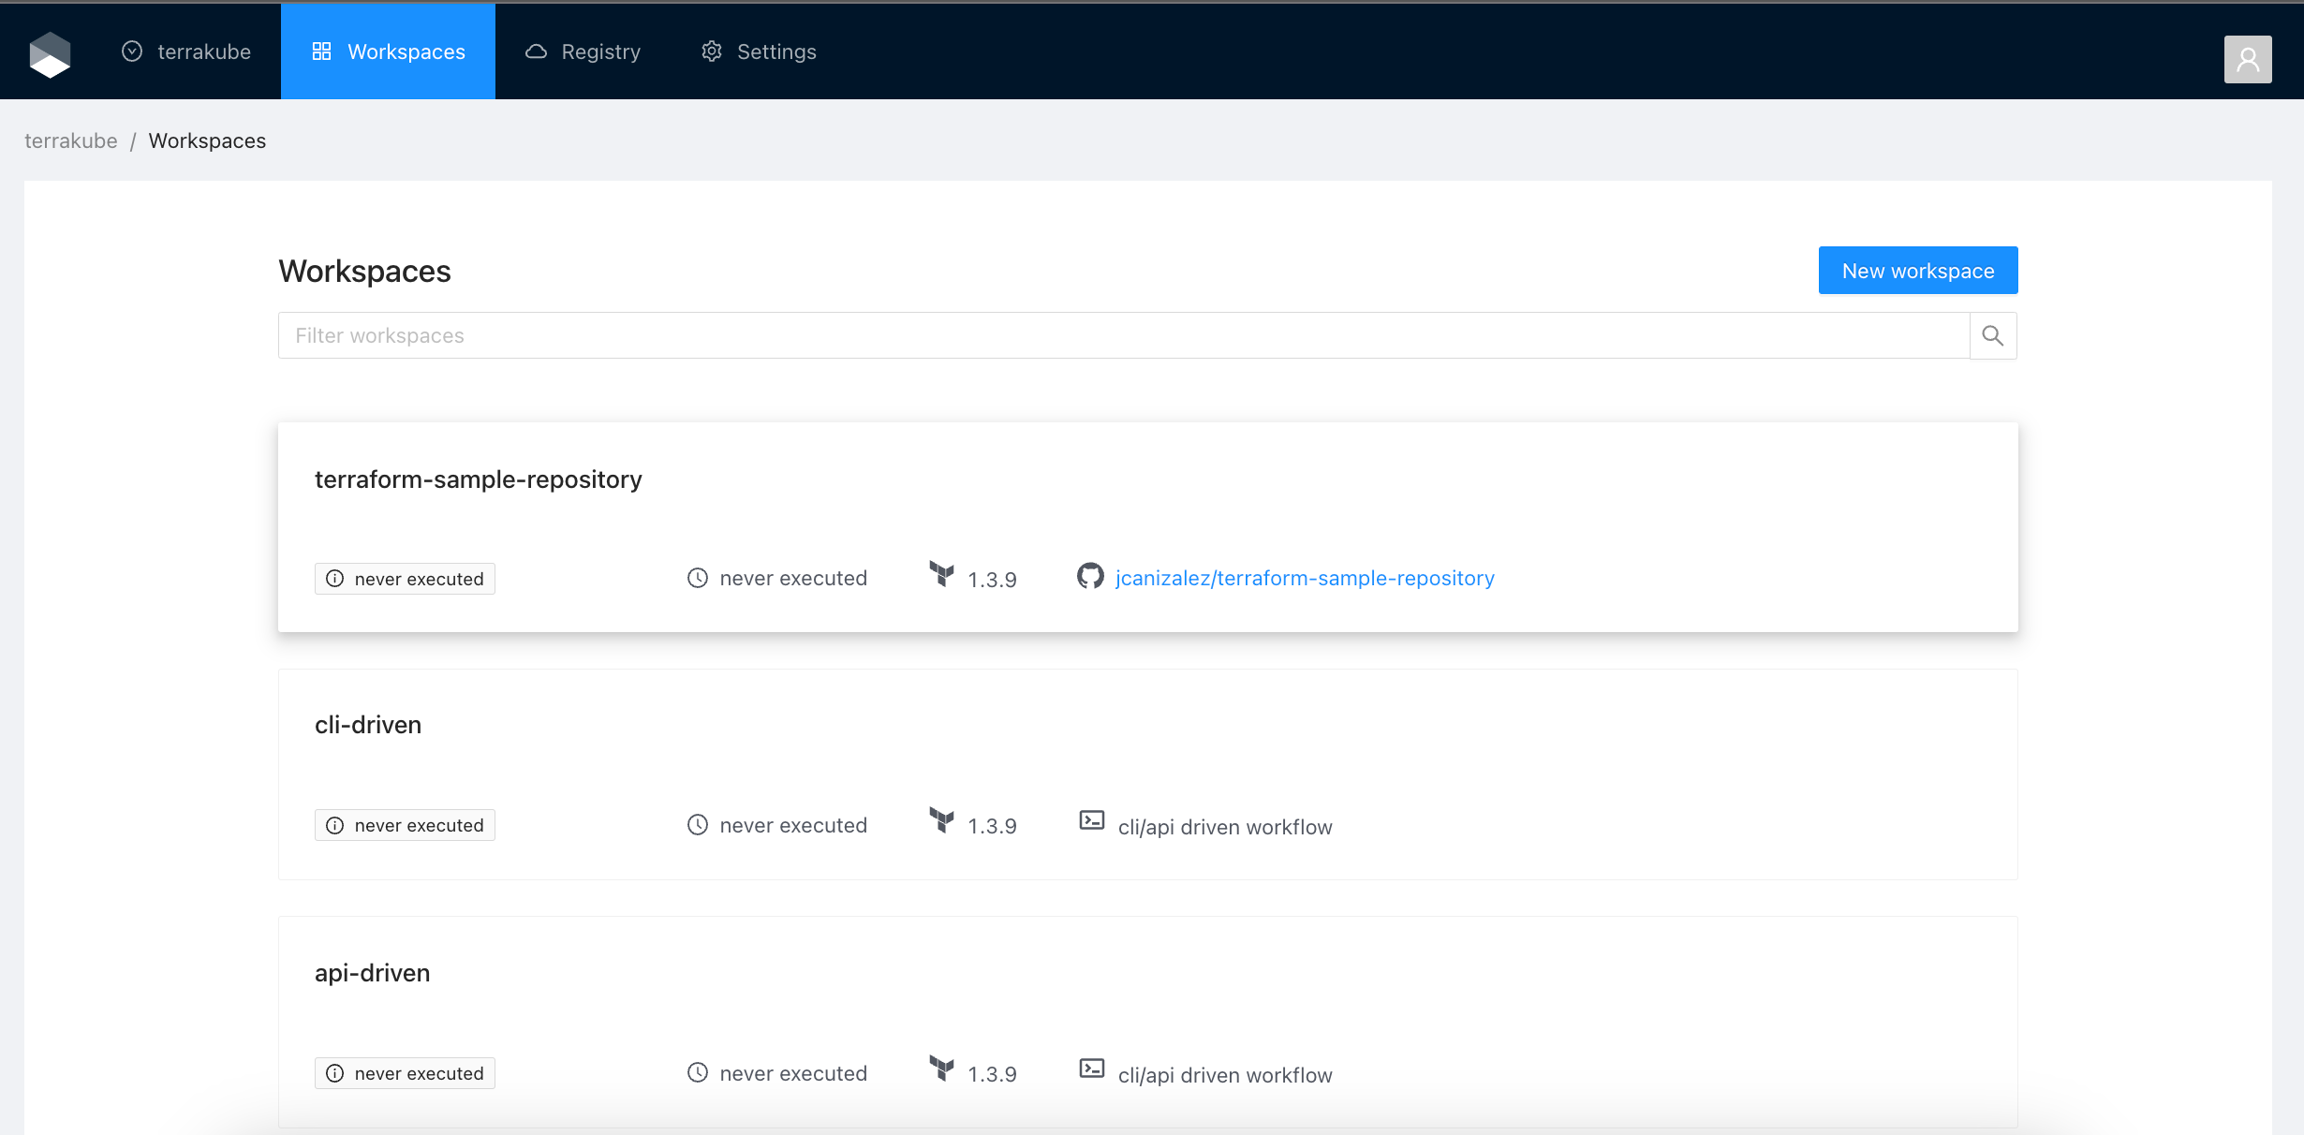
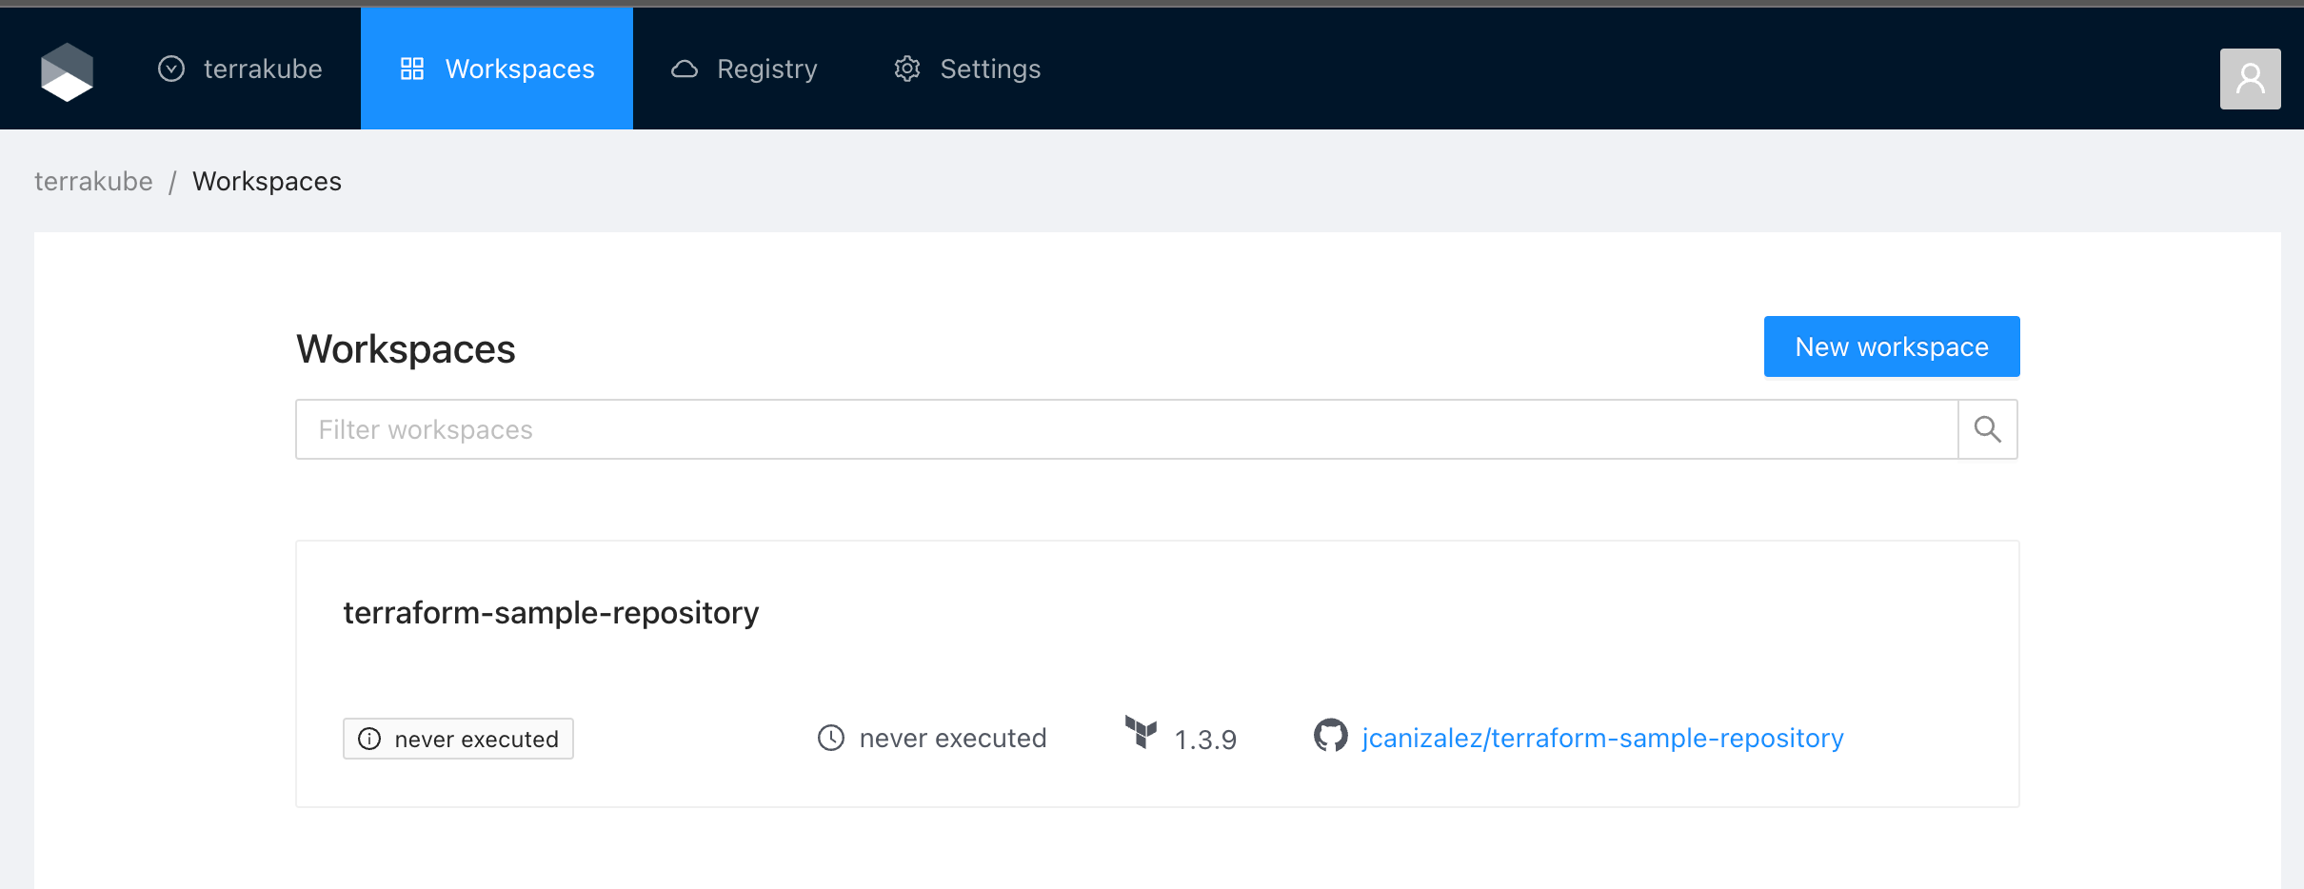
And if you navigate to the Workspace menu, you will see the workspace in the Workspaces list
Once you create your workspace, Terrakube sets up a webhook with your VCS. This webhook runs a job based on the “Plan and apply” template every time you push new changes to the workspace branch. However, this feature does not work yet with Azure DevOps VCS provider.
CLI-driven Workflow
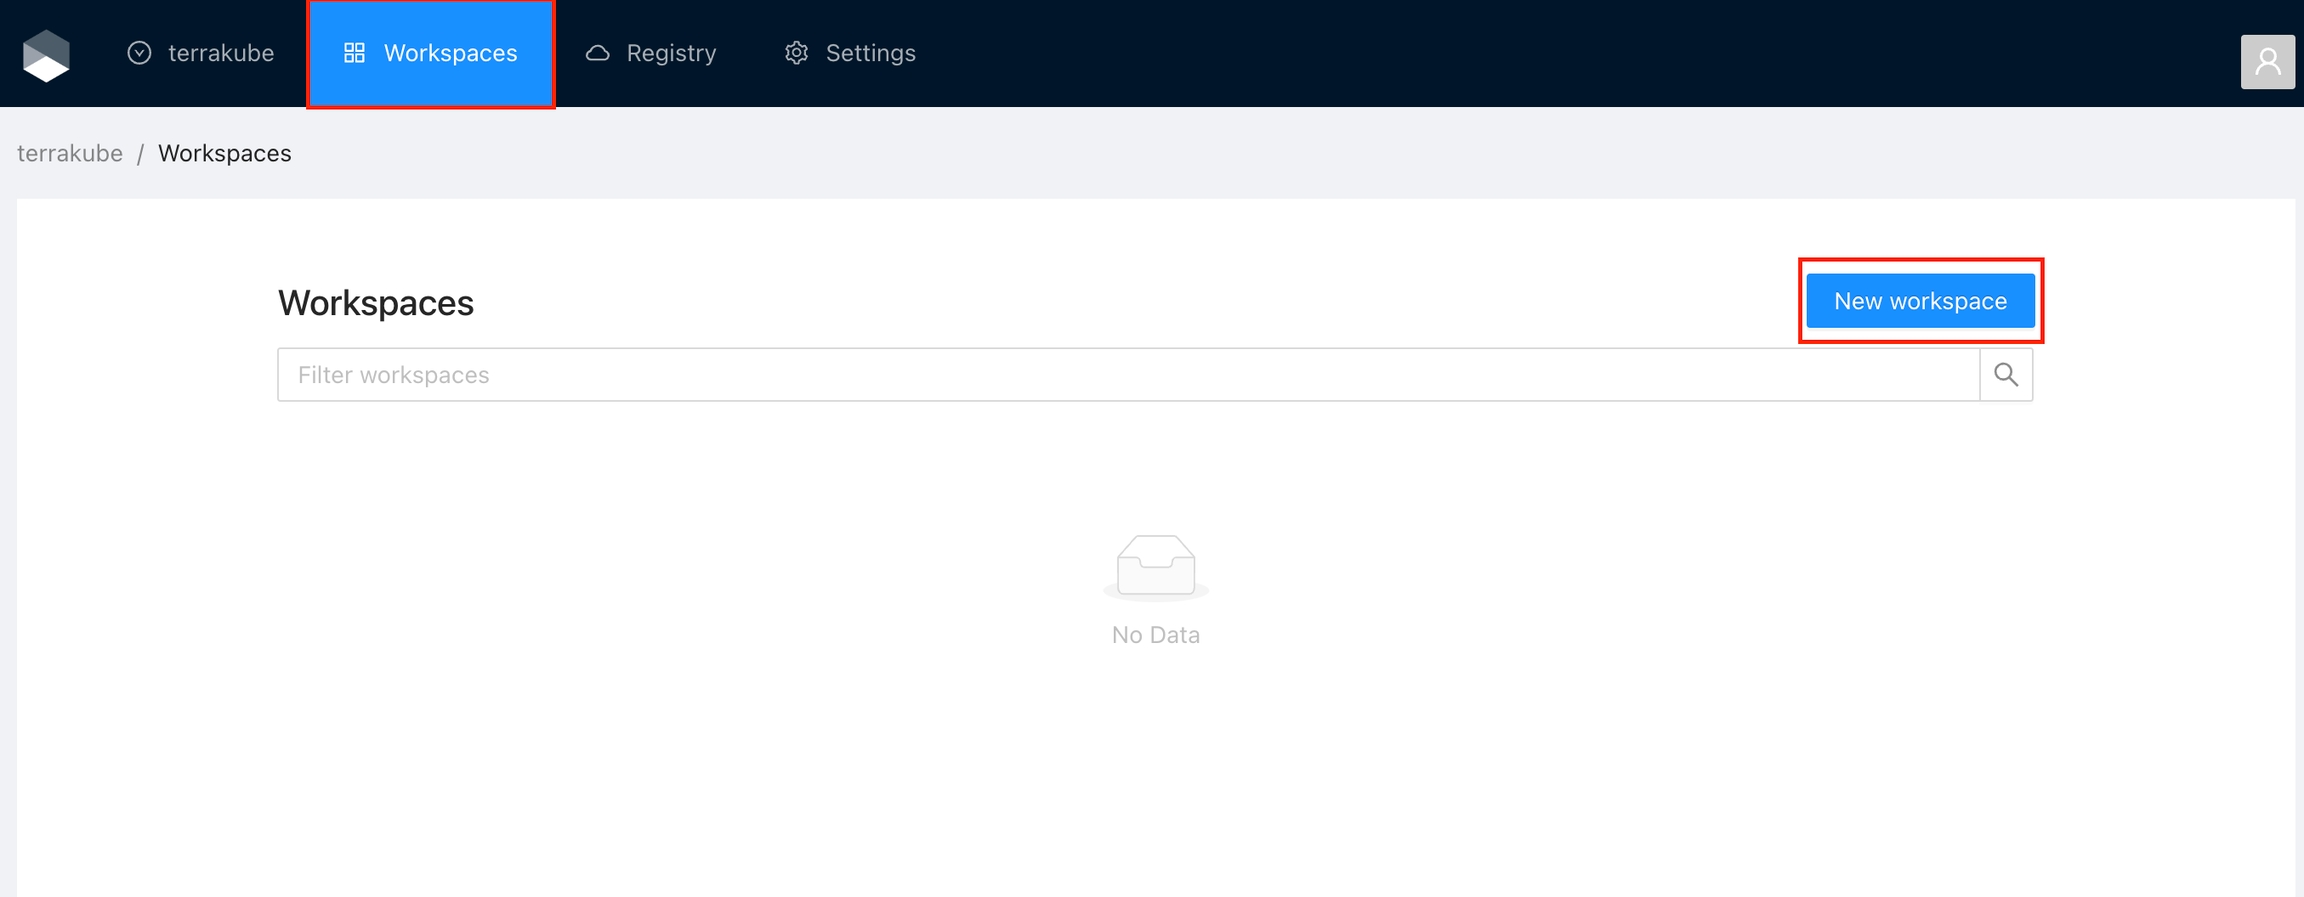
Click Workspaces in the main menu and then click the New workspace button
Choose the CLI-driven workflow
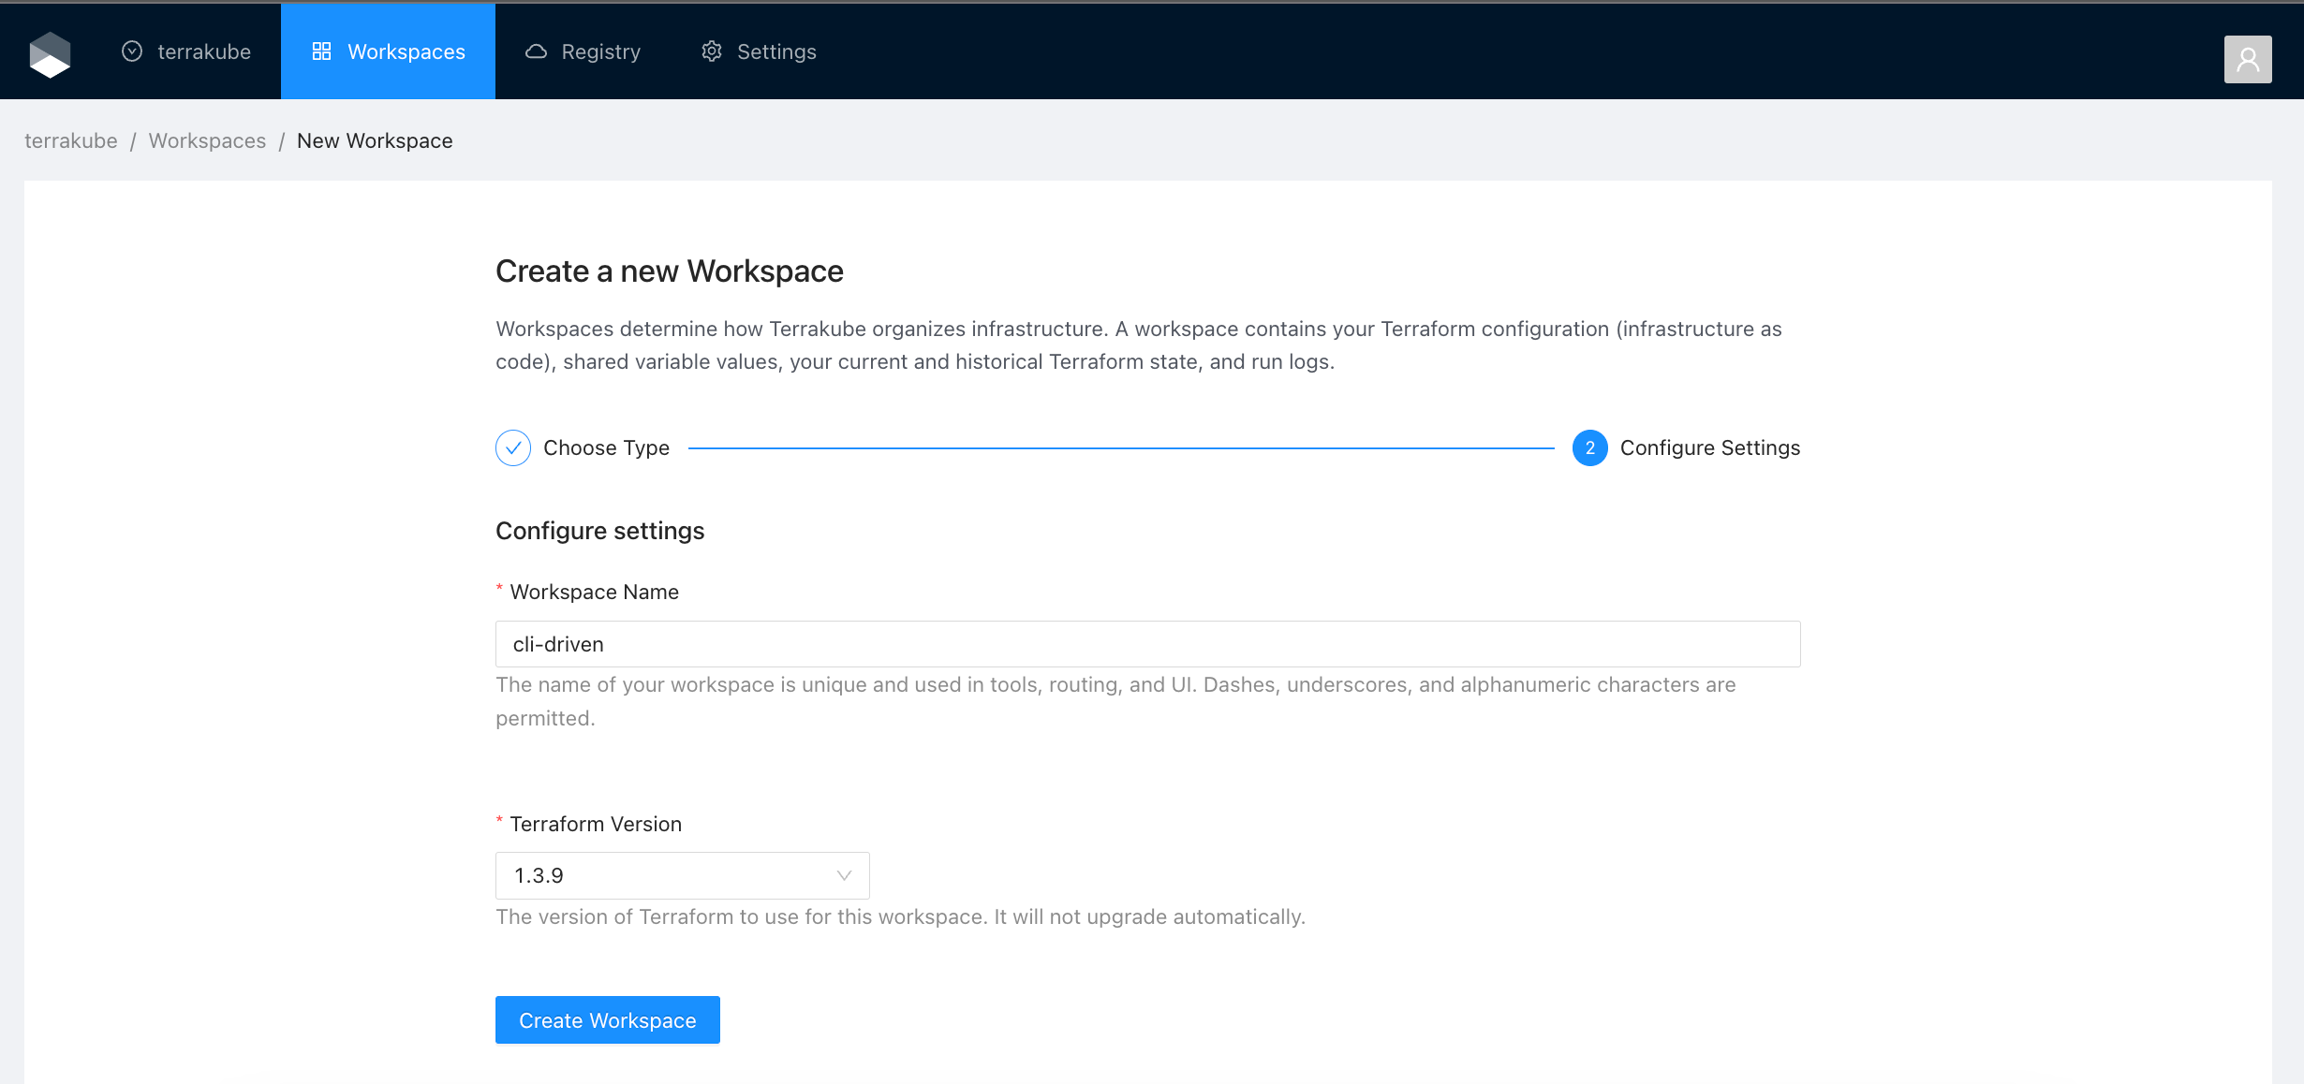
Configure the workspace settings.
Workspace Name
The name of your workspace is unique and used in tools, routing, and UI. Dashes, underscores, and alphanumeric characters are permitted.
Terraform Version
The version of Terraform to use for this workspace. Check Custom Terraform CLI Builds if you want to restrict the versions in your Terrakube instance.
Once you fill the settings click the Create Workspace button.
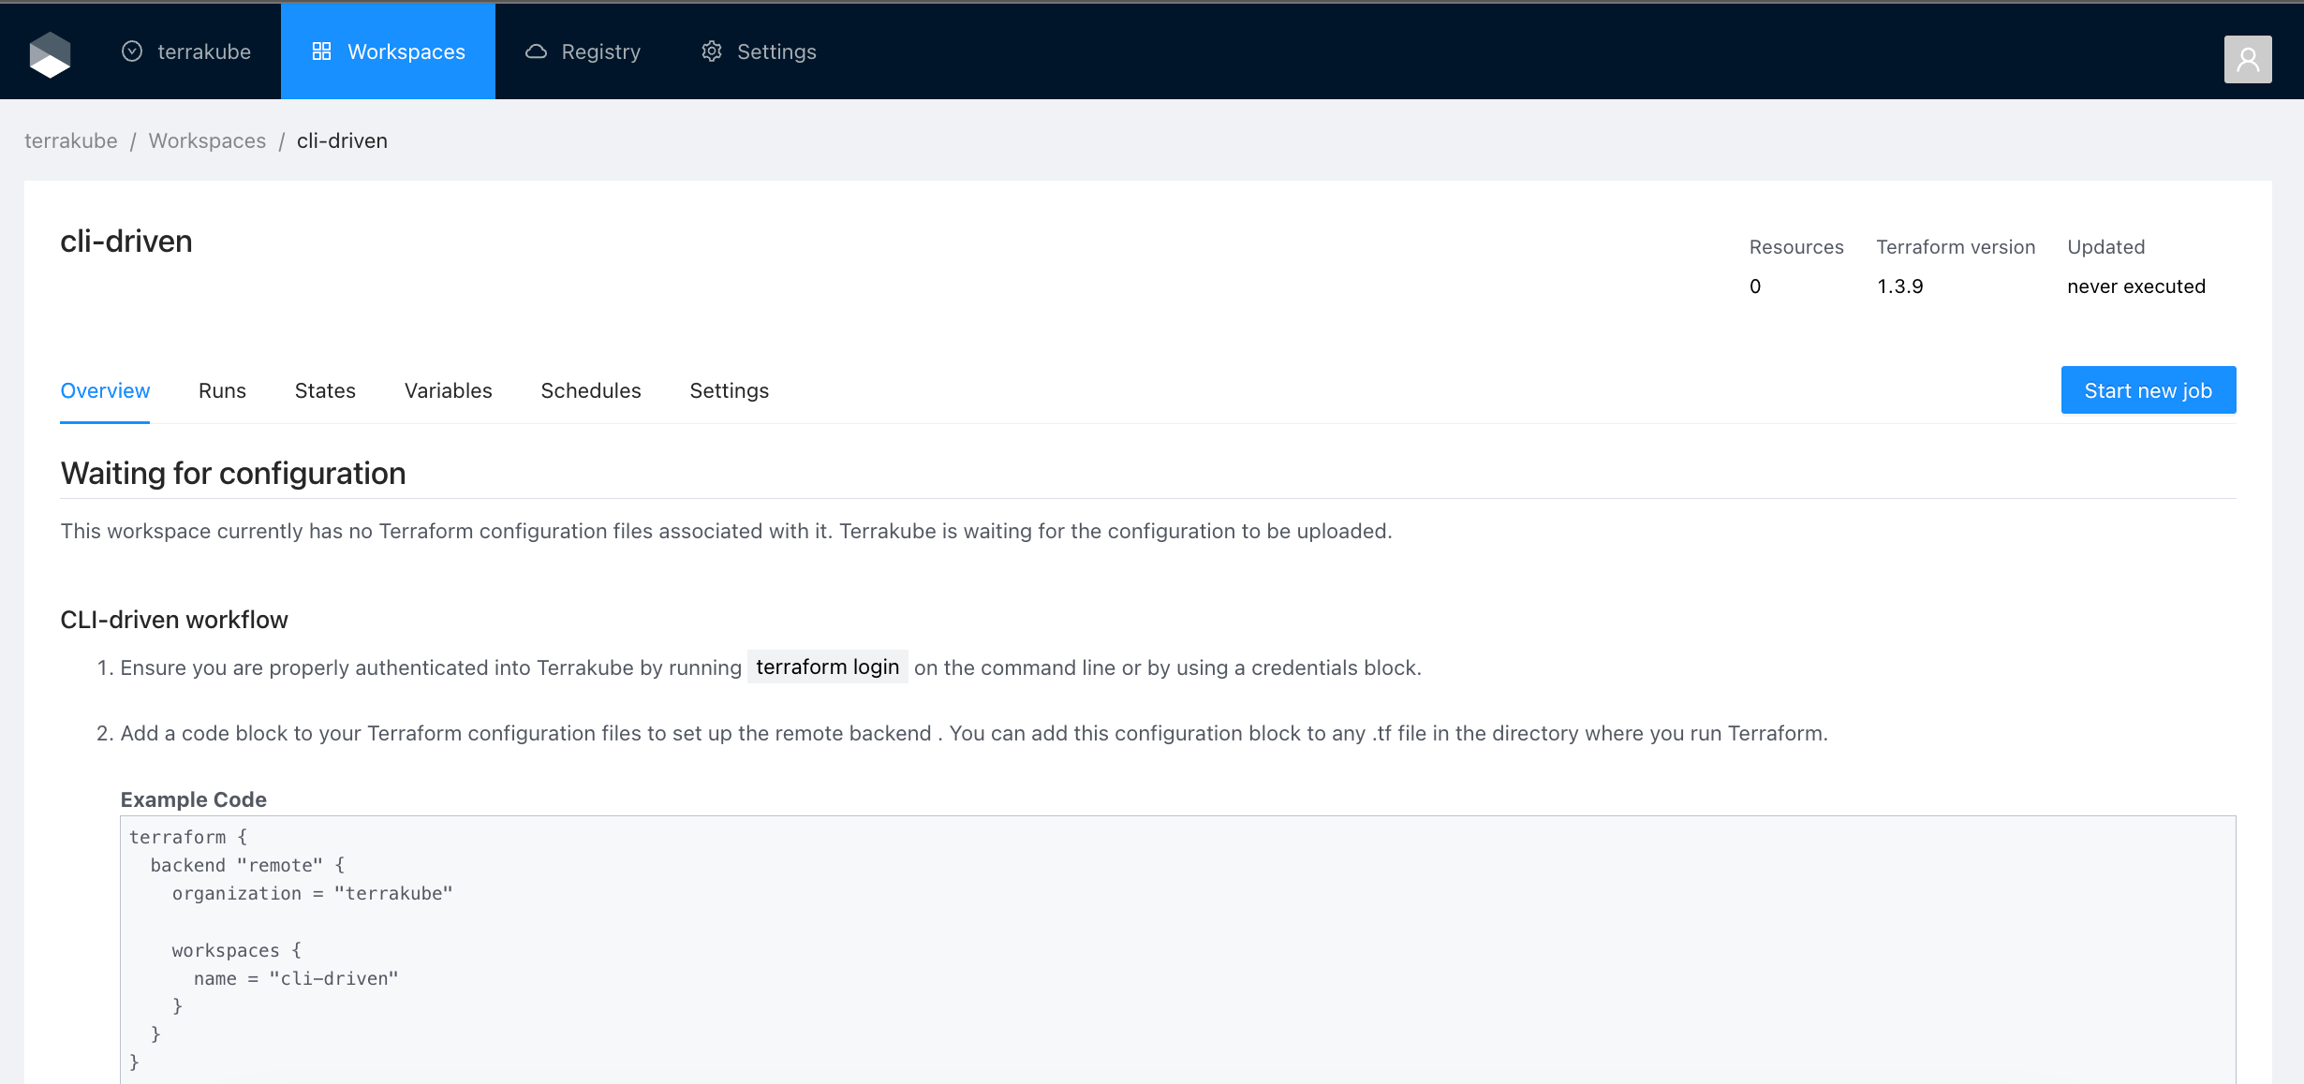
You will be redirected to the Workspace page.
The overview page for CLI-driven workspaces show the step to connect to the workspace using the Terraform CLI. For more details see CLI-driven Workflow
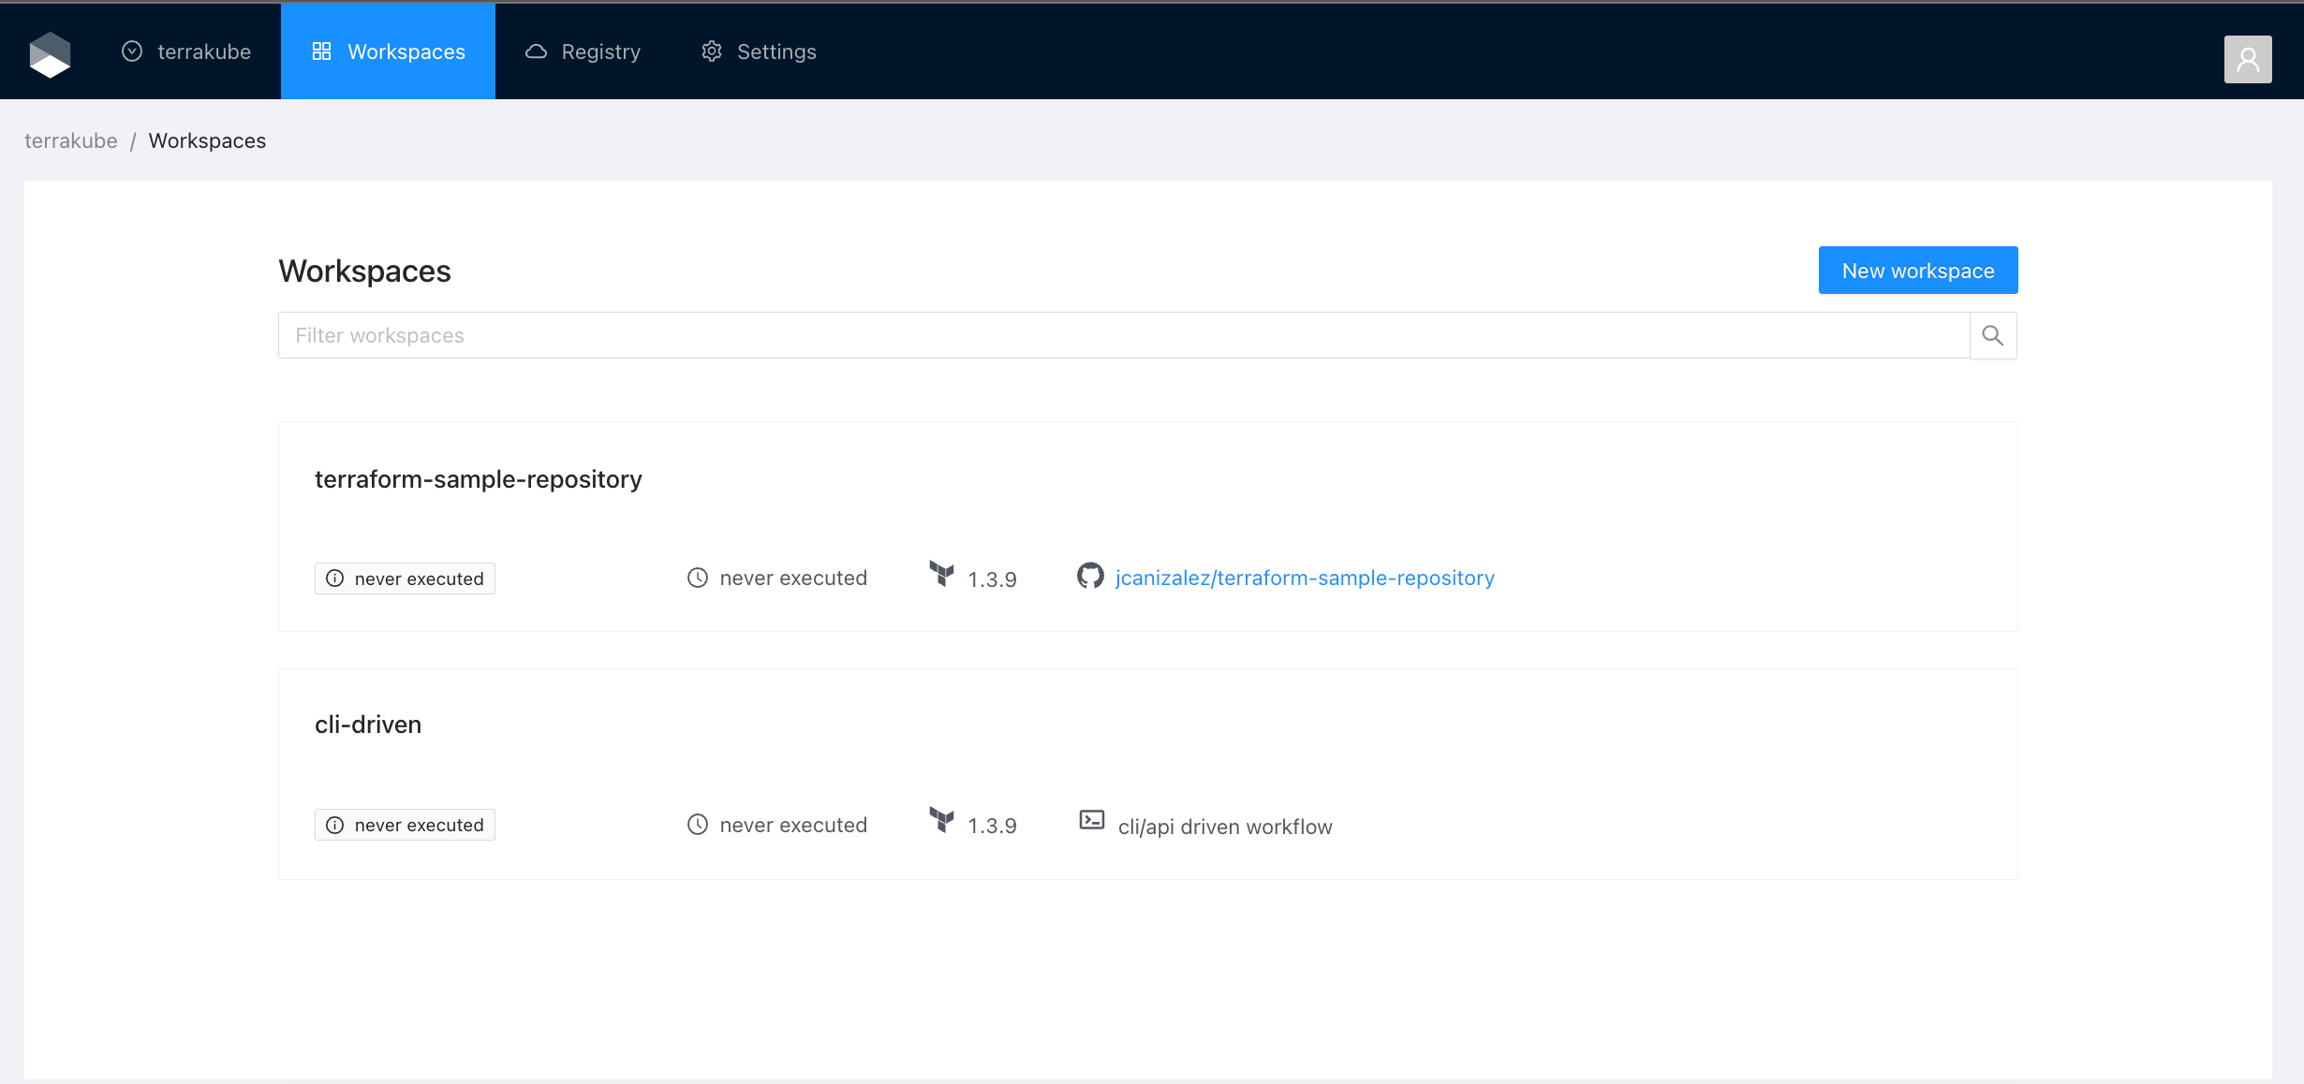
And if you navigate to the Workspace menu you will see the workspace in the Workspaces list
API-driven Workflow
Click Workspaces in the main menu and then click the New workspace button

Choose the API-driven workflow
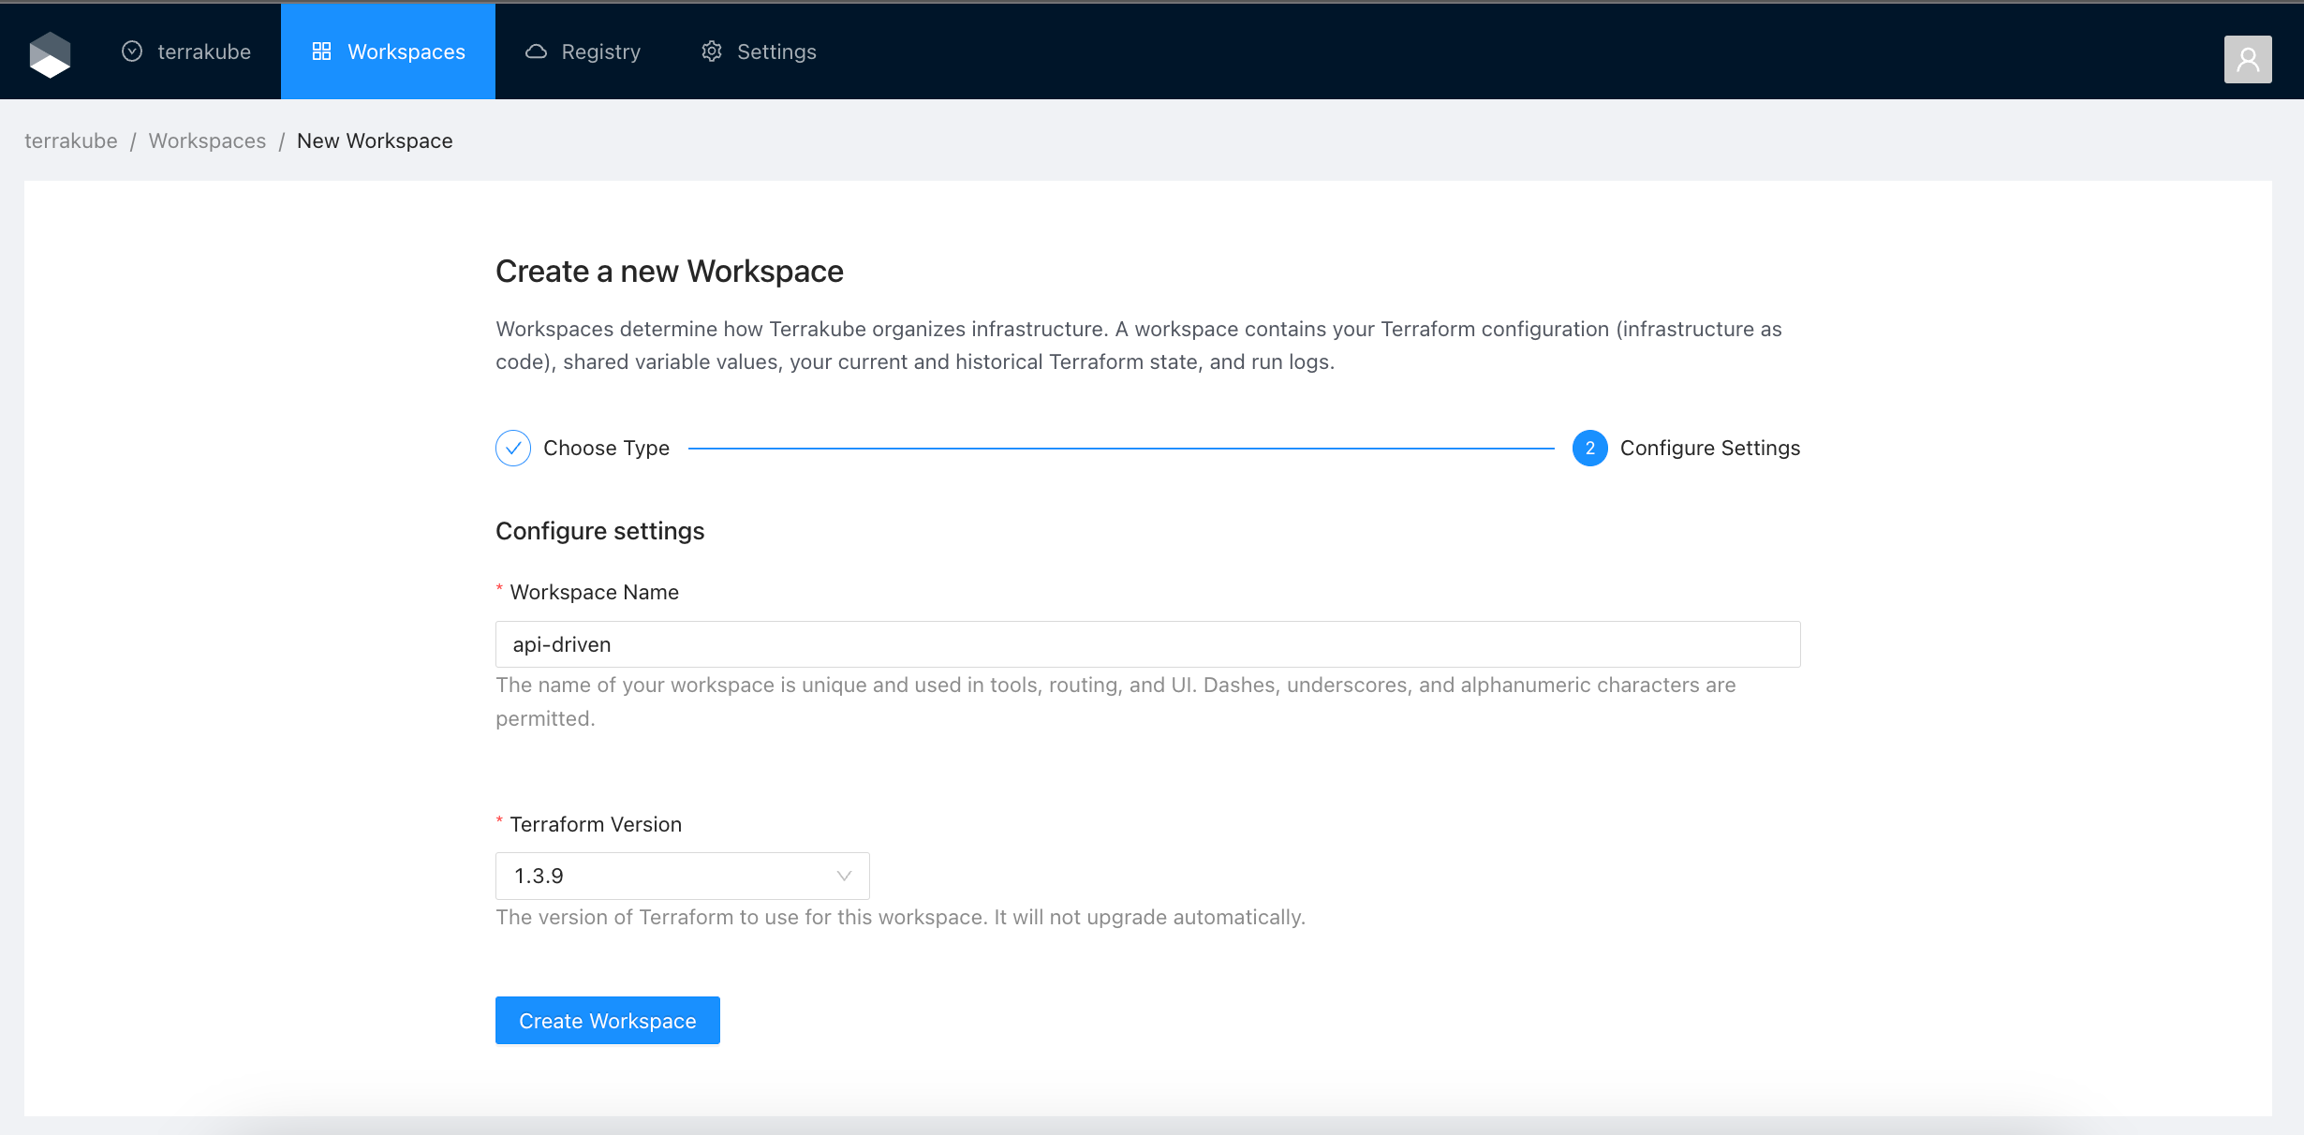
Configure the workspace settings.
Workspace Name
The name of your workspace is unique and used in tools, routing, and UI. Dashes, underscores, and alphanumeric characters are permitted.
Terraform Version
The version of Terraform to use for this workspace. Check Custom Terraform CLI Builds if you want to restrict the versions in your Terrakube instance.
Once you fill the settings click the Create Workspace button.
ou will be redirected to the Workspace page.
For more details how to use the Terrakube API. See API-driven Workflow
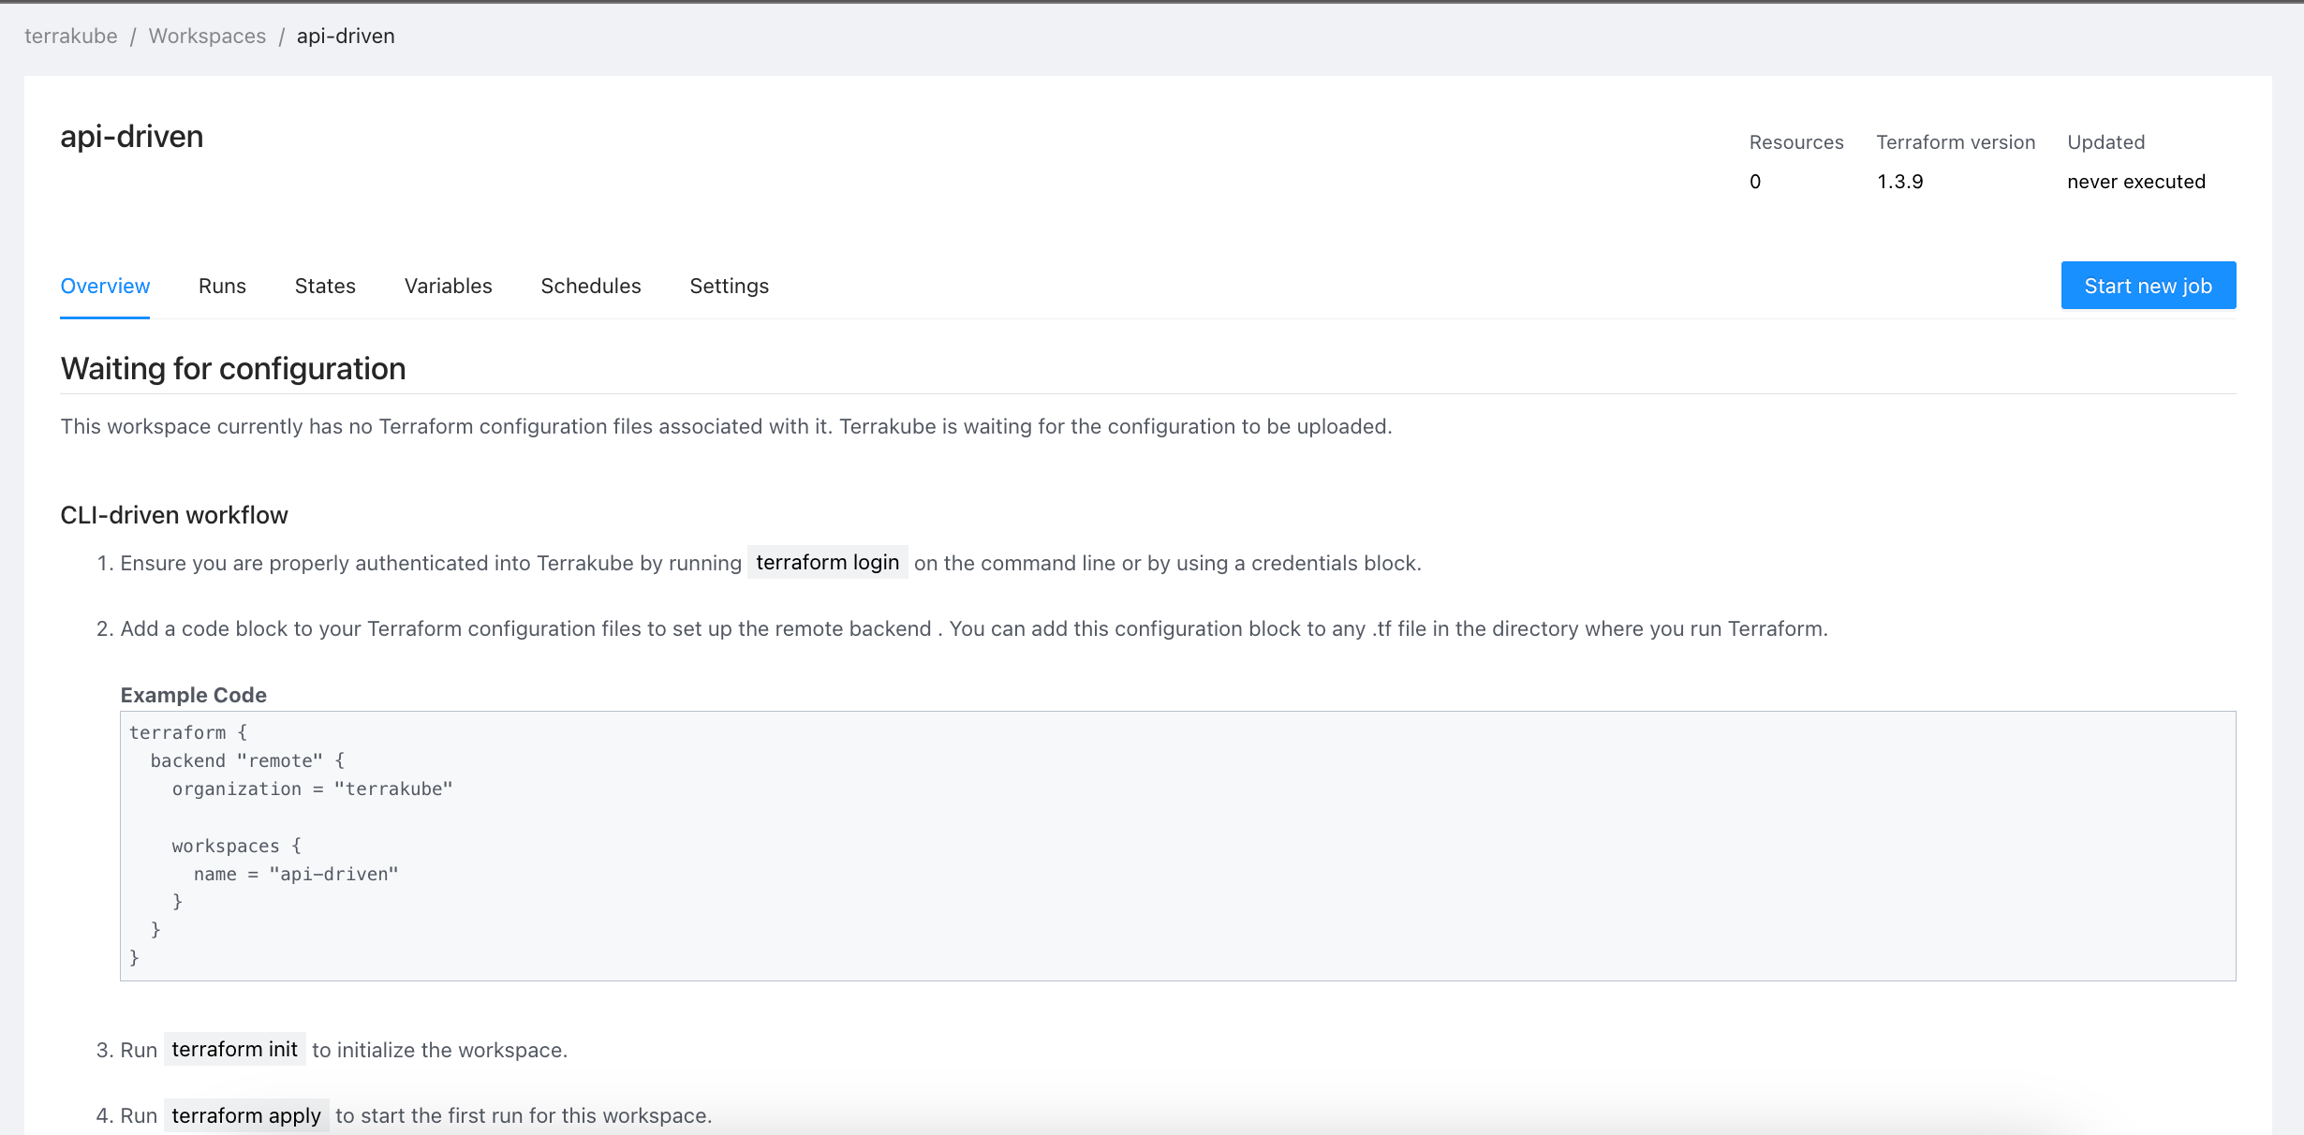
And if you navigate to the Workspace menu you will see the workspace in the Workspaces list
