Loading...
Loading...
Loading...
Loading...
Loading...
Loading...
Loading...
Loading...
Loading...
Loading...
Loading...
Loading...
Loading...
In Terrakube you can define user permissions inside your organization using teams.
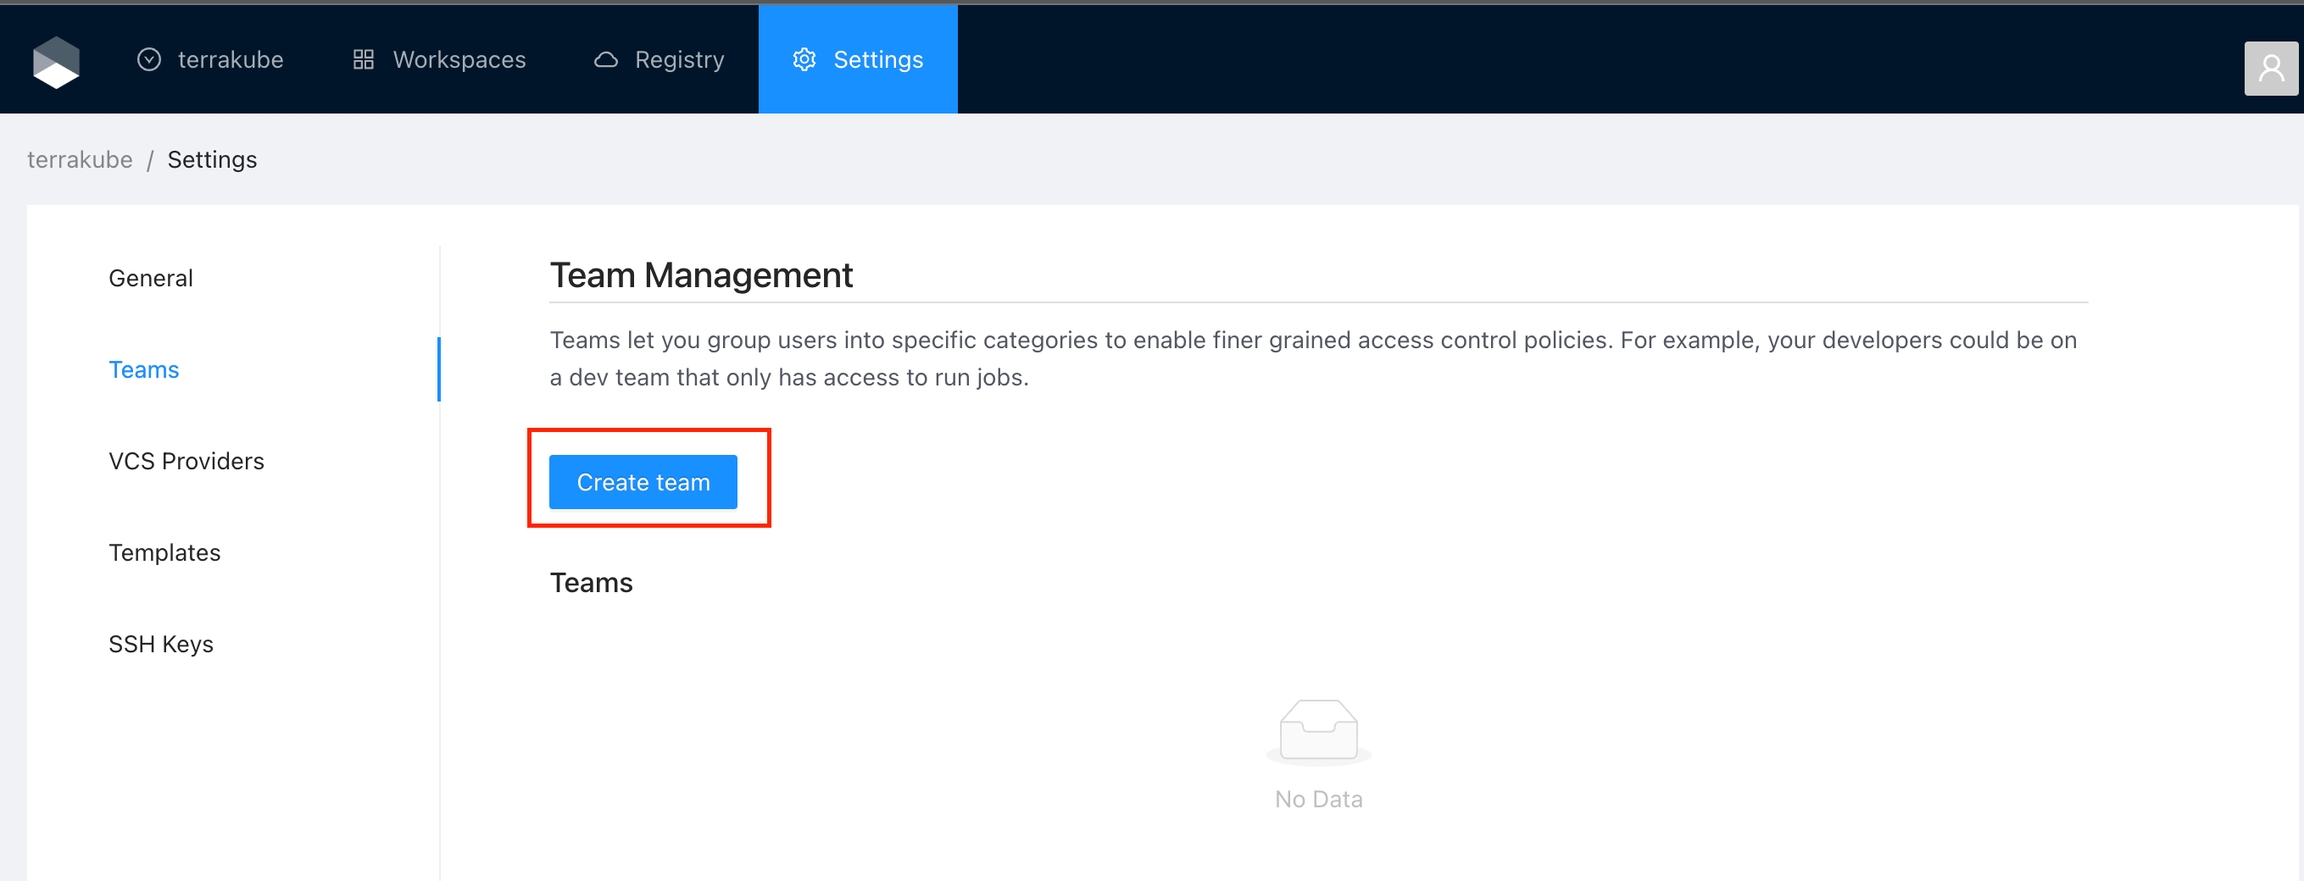
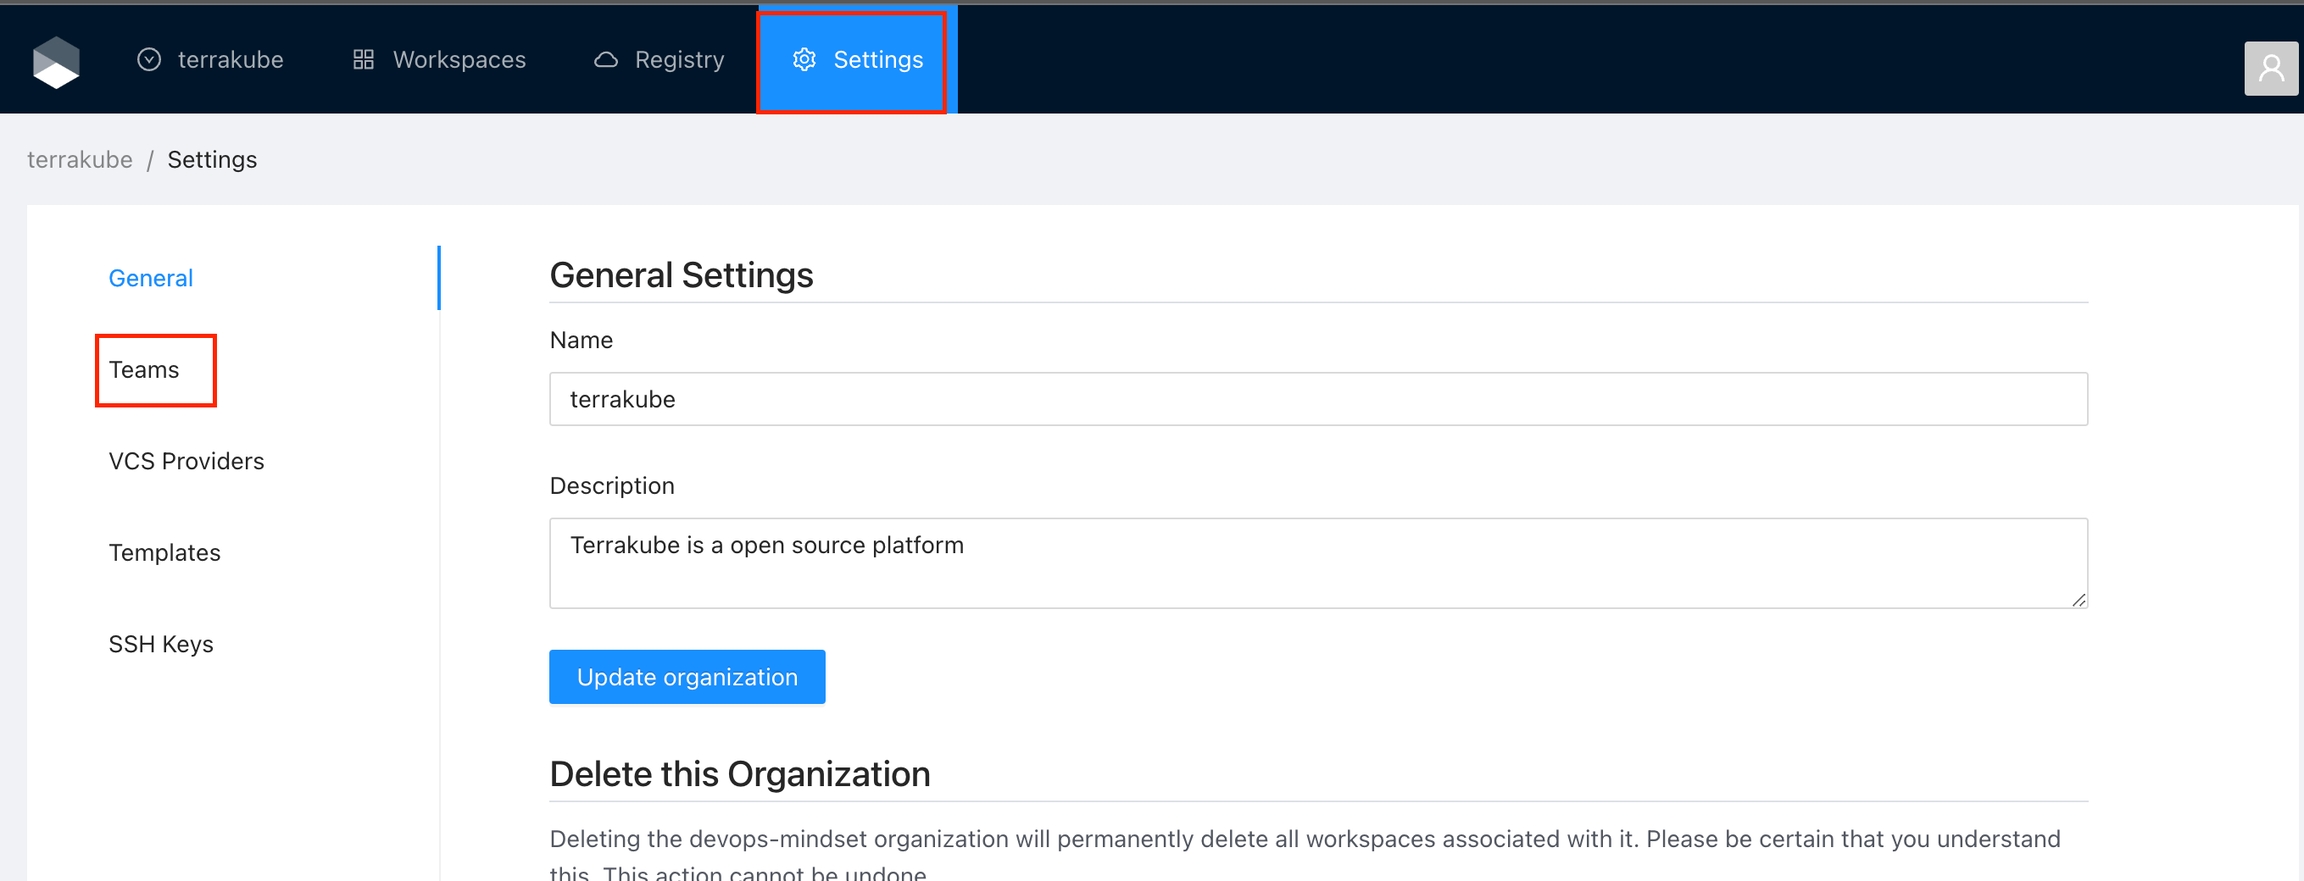
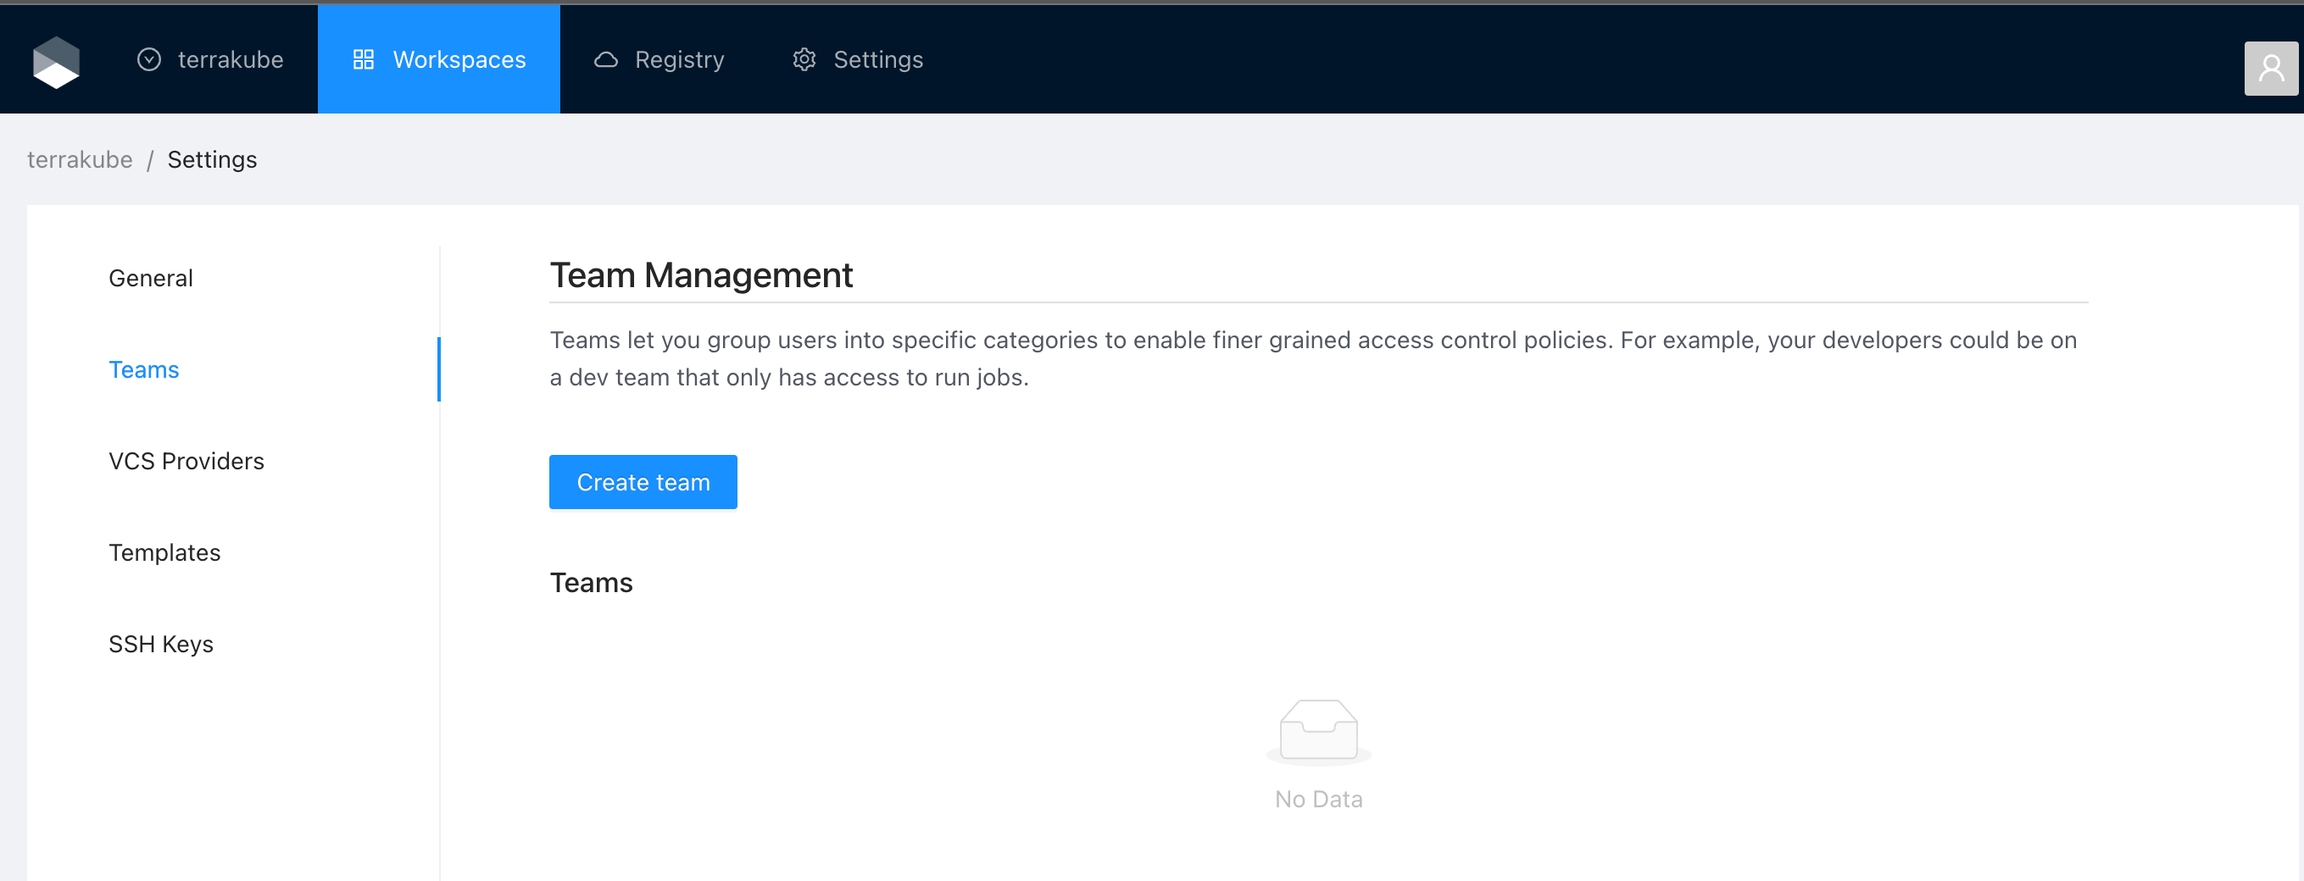
Once you are in the desired organization, click the Settings button and then in the left menu select the Teams option.
Click the Create team button
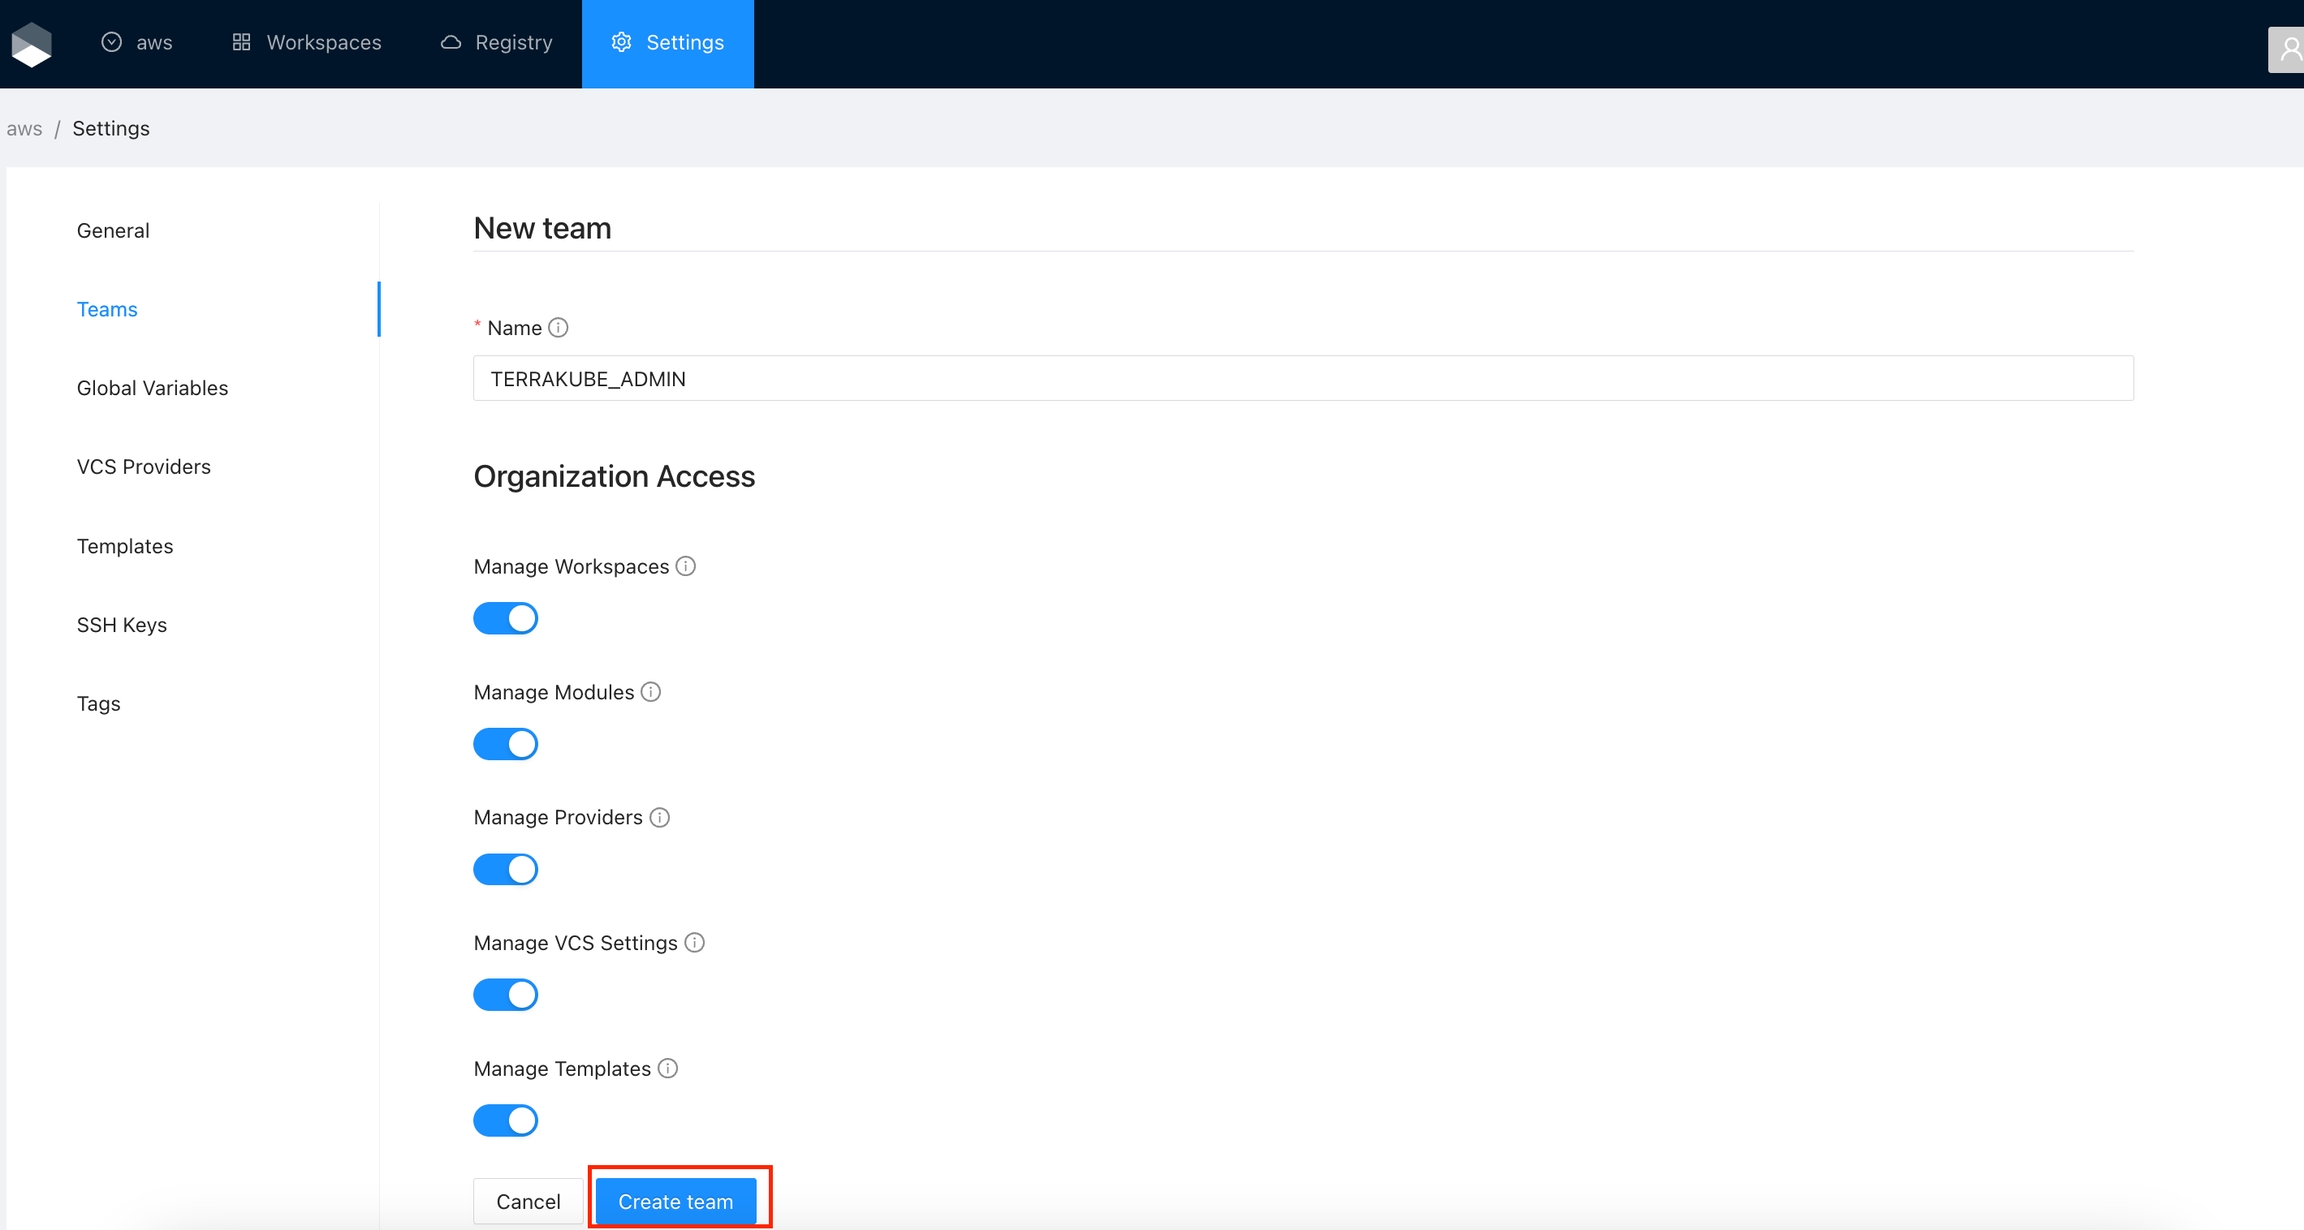
In the popup, provide the team name and the permissions assigned to the team. Use the below table as reference:
Name
Must be a valid group based on the Dex connector you are using to manage users and groups.
For example if you are using Azure Active Directory, you must use a valid Active Directory Group like TERRAKUBE_ADMIN, or if you are using Github the format should be MyGithubOrg:TERRAKUBE_ADMIN
Manage Workspaces
Allow members to create and administrate all workspaces within the organization
Manage Modules
Allow members to create and administrate all modules within the organization
Manage Providers
Allow members to create and administrate all providers within the organization
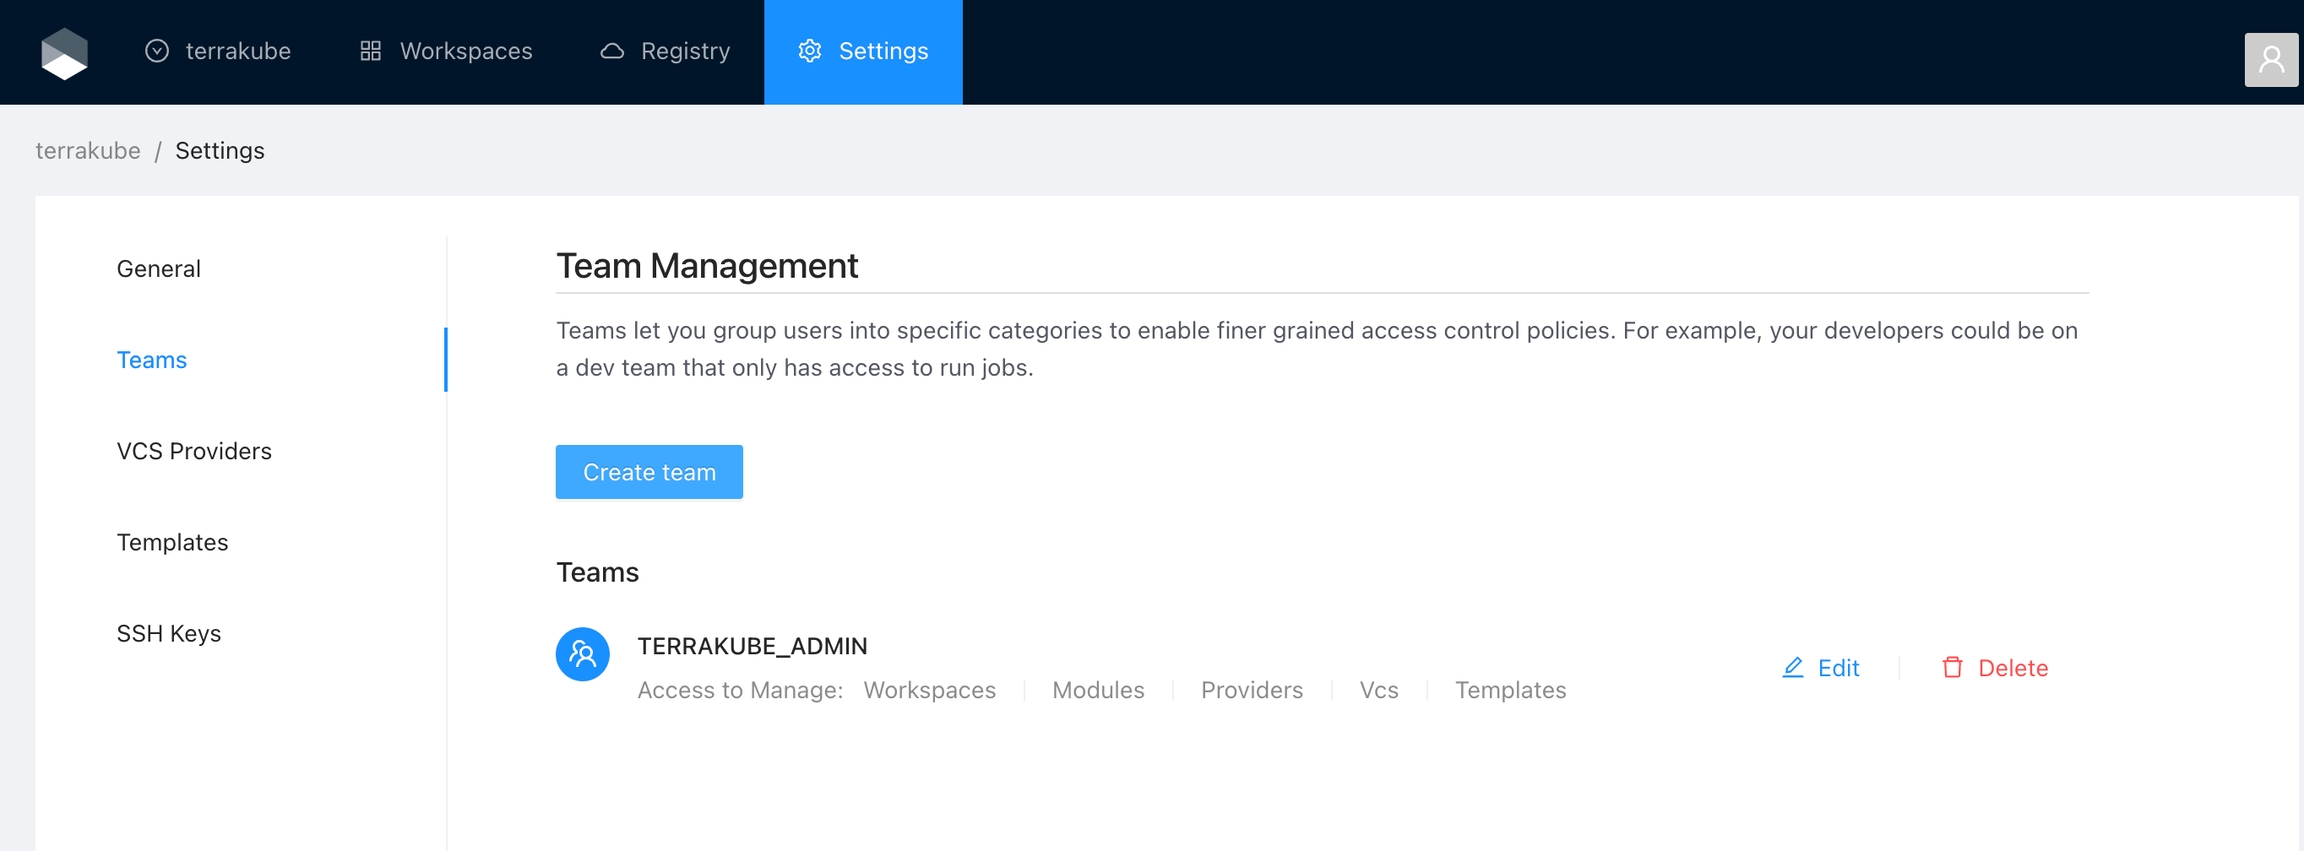
Finally click the Create team button and the team will be created
Now all the users inside the team will be able to manage the specific resources within the organization based on the permissions you grantted.
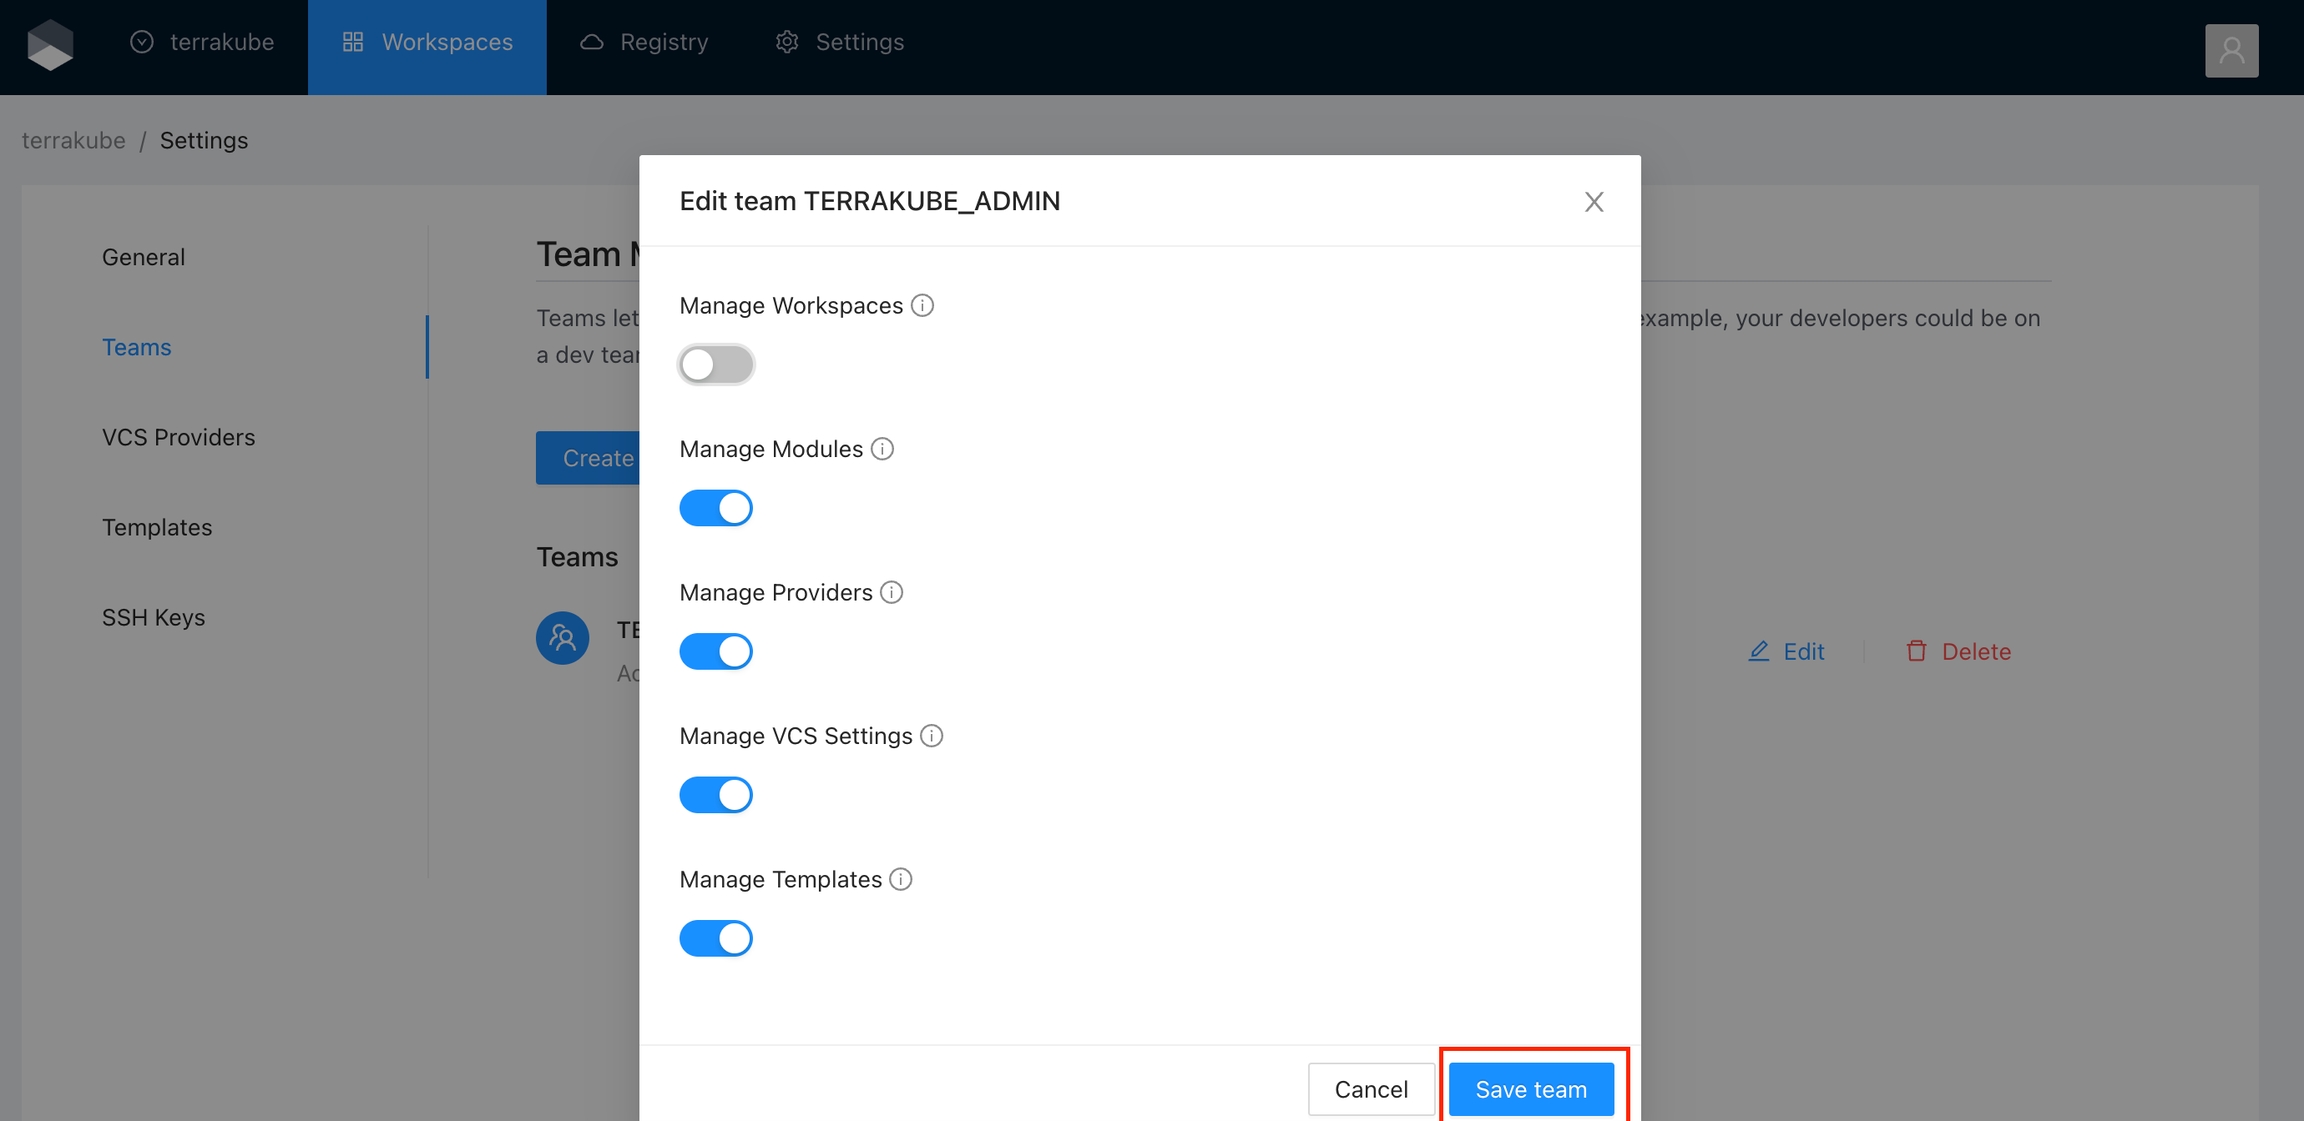
Click the Edit button next to the team you want to edit
Change the permissions you need and click the Save team button
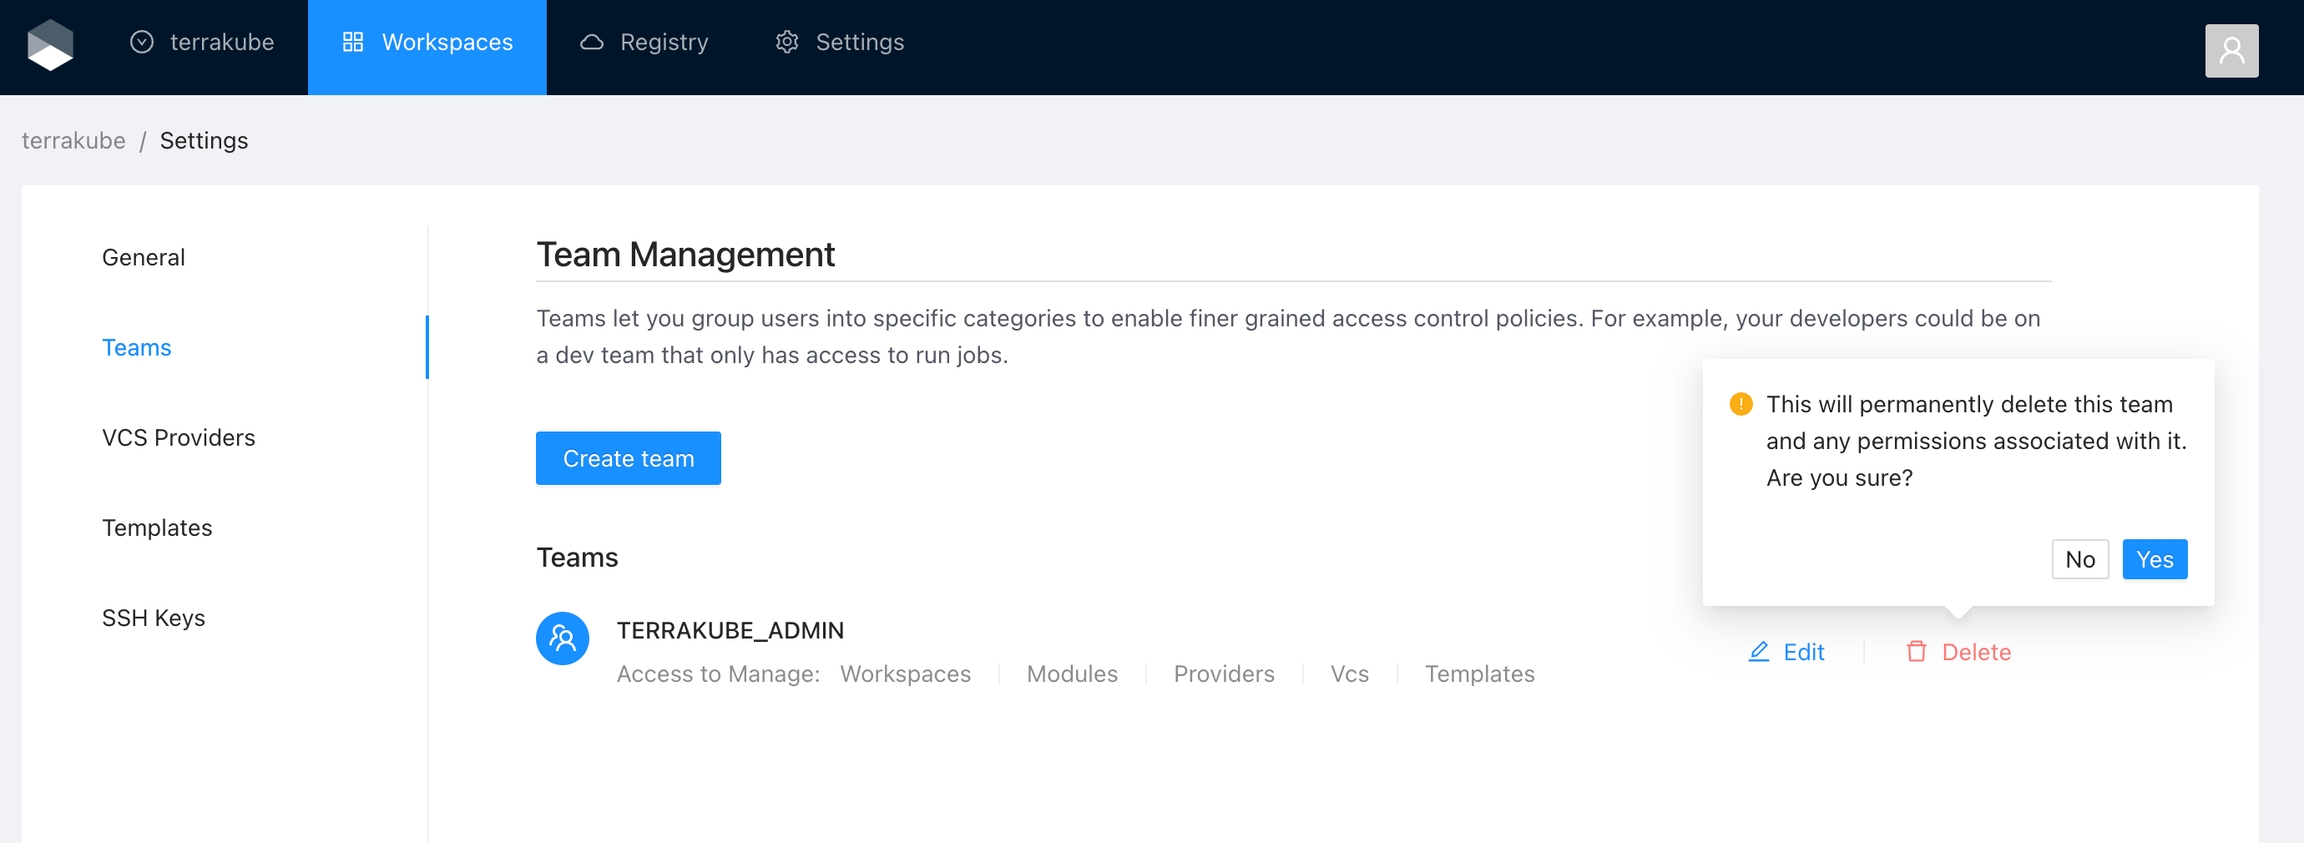
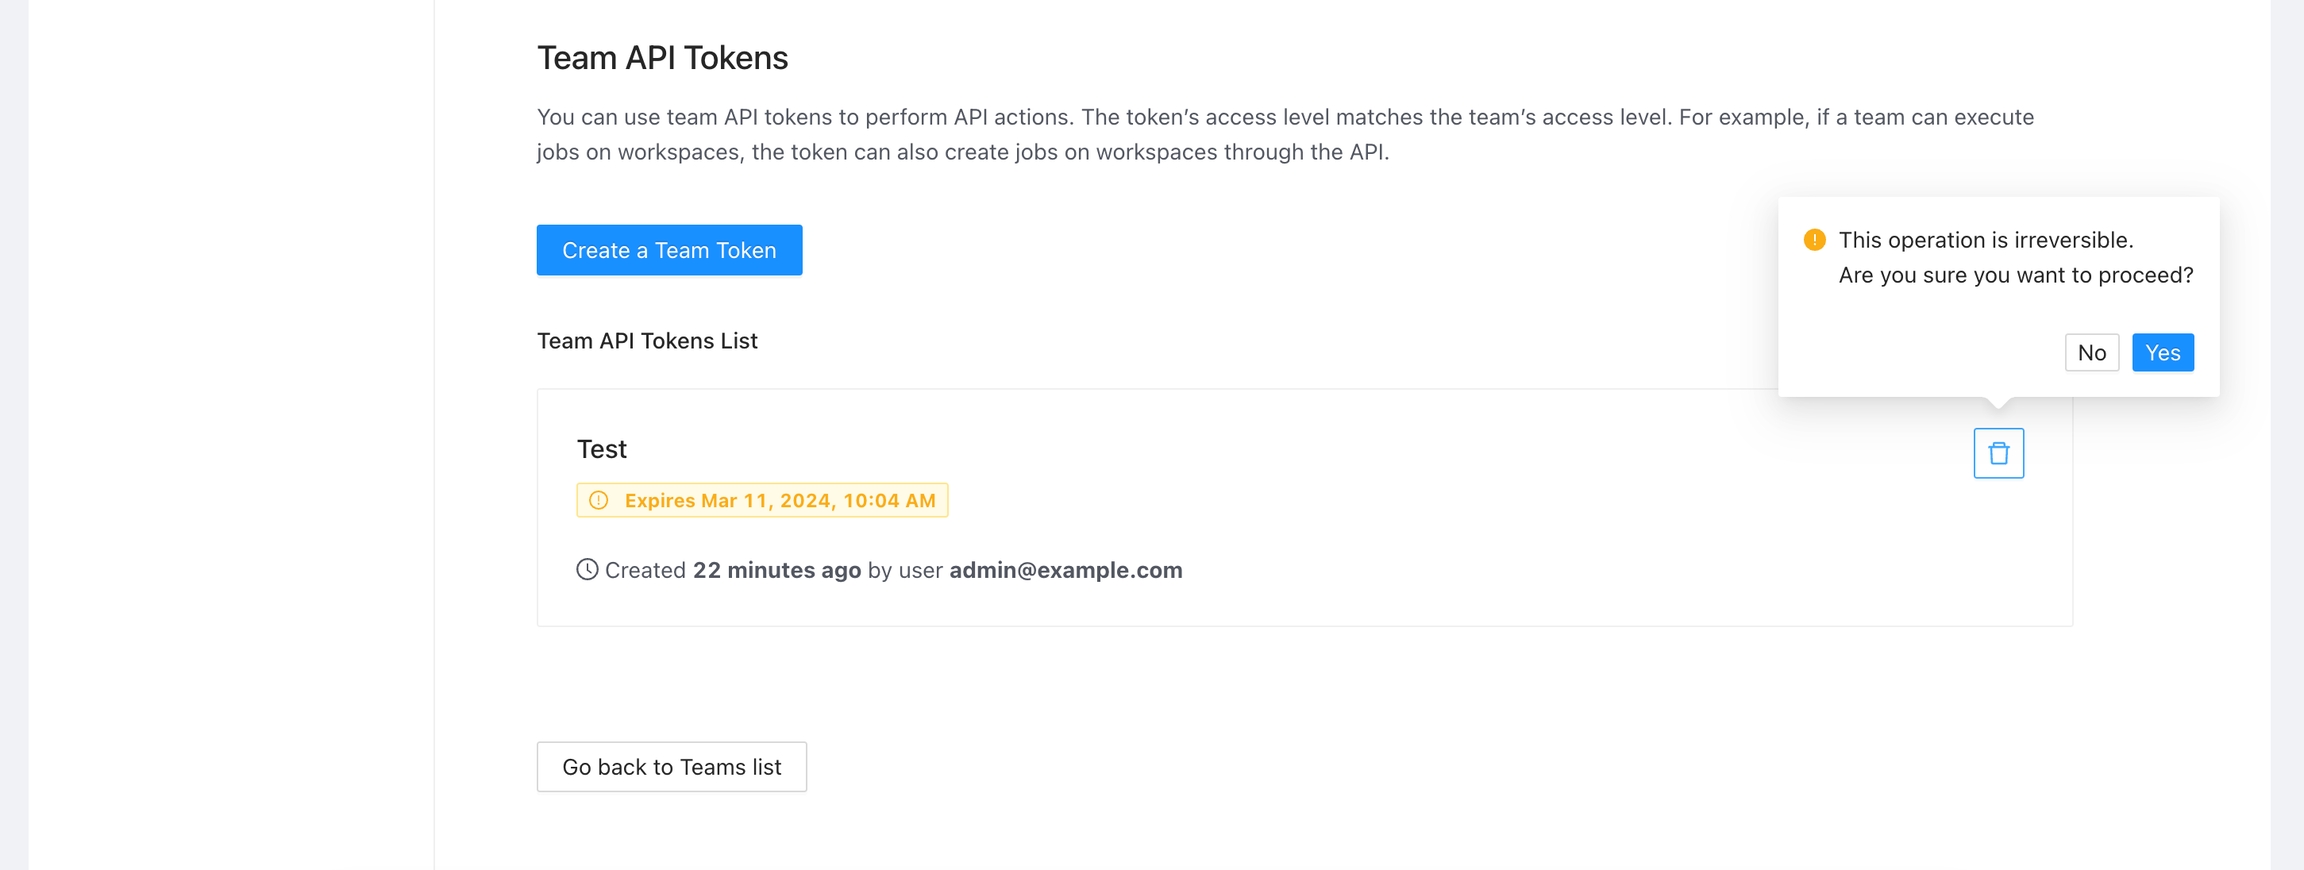
Click the Delete button next to the team you want to delete, and then click the Yes button to confirm the deletion. Please take in consideration the deletion is irreversible
Manage
Allow members to create and administrate all within the organization
Manage
Allow members to create and administrate all within the organization
Terrakube has two kinds of API tokens: user and team. Each token type has a different access level and creation process, which are explained below.
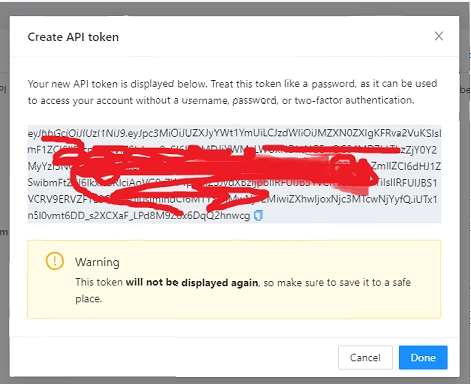
API tokens are only shown once when you create them, and then they are hidden. You have to make a new token if you lose the old one.
API tokens may belong directly to a user. User tokens inherit permissions from the user they are associated with.
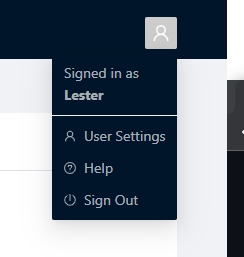
User API tokens can be generated inside the User Settings.
Click the Generate and API token button
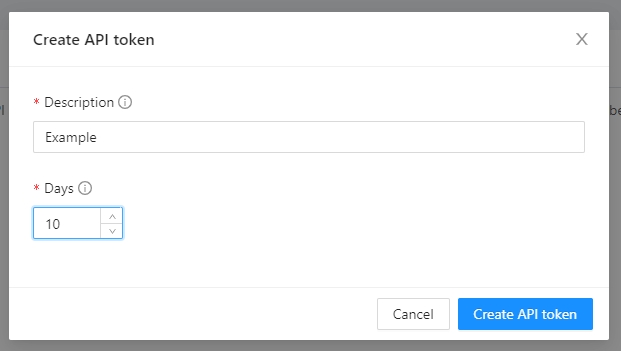
Add some small description to the token and the duration
The new token will be showed and you can copy it to star calling the Terrakube API using Postman or some other tool.
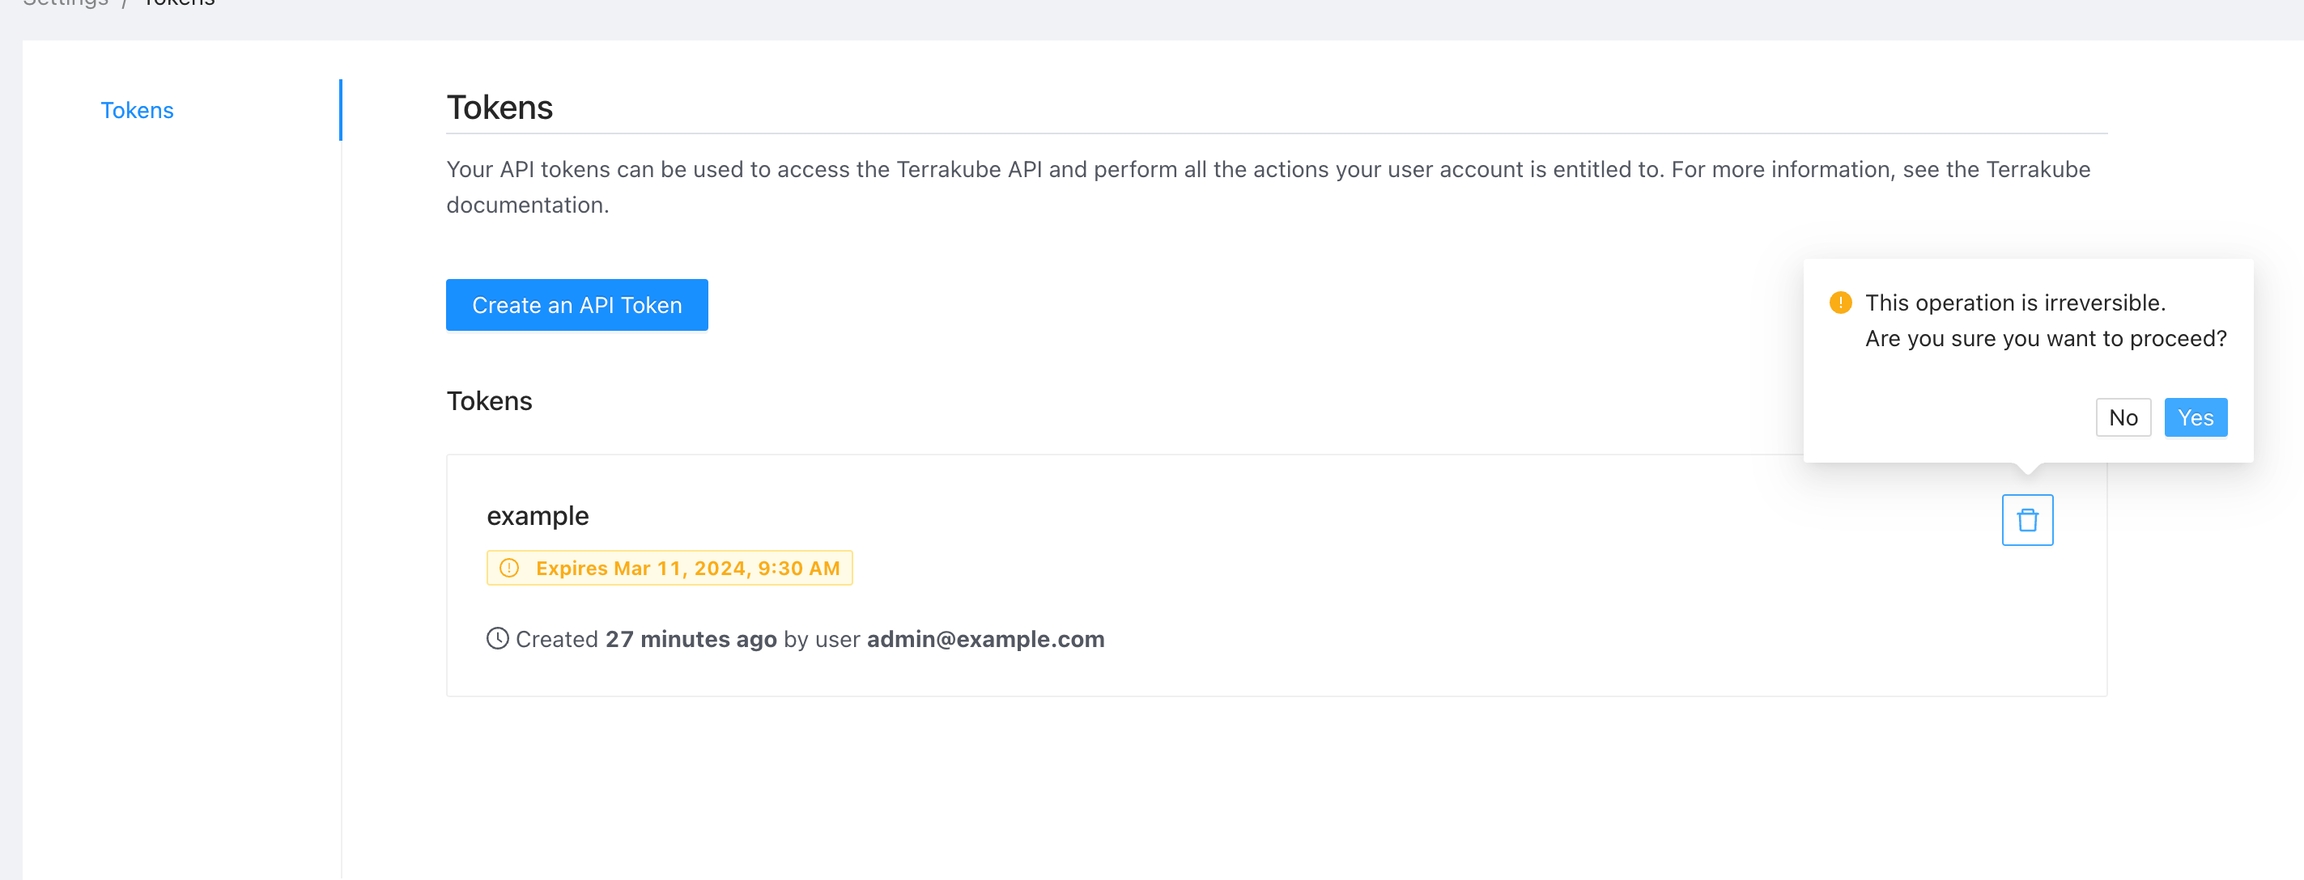
To delete an API token, navigate to the list of tokens, click the Delete button next to the token you wish to remove, and confirm the deletion.
API tokens may belong to a specific team. Team API tokens allow access Terrakube, without being tied to any specific user.
A team token can only be generated if you are member of the specified team.
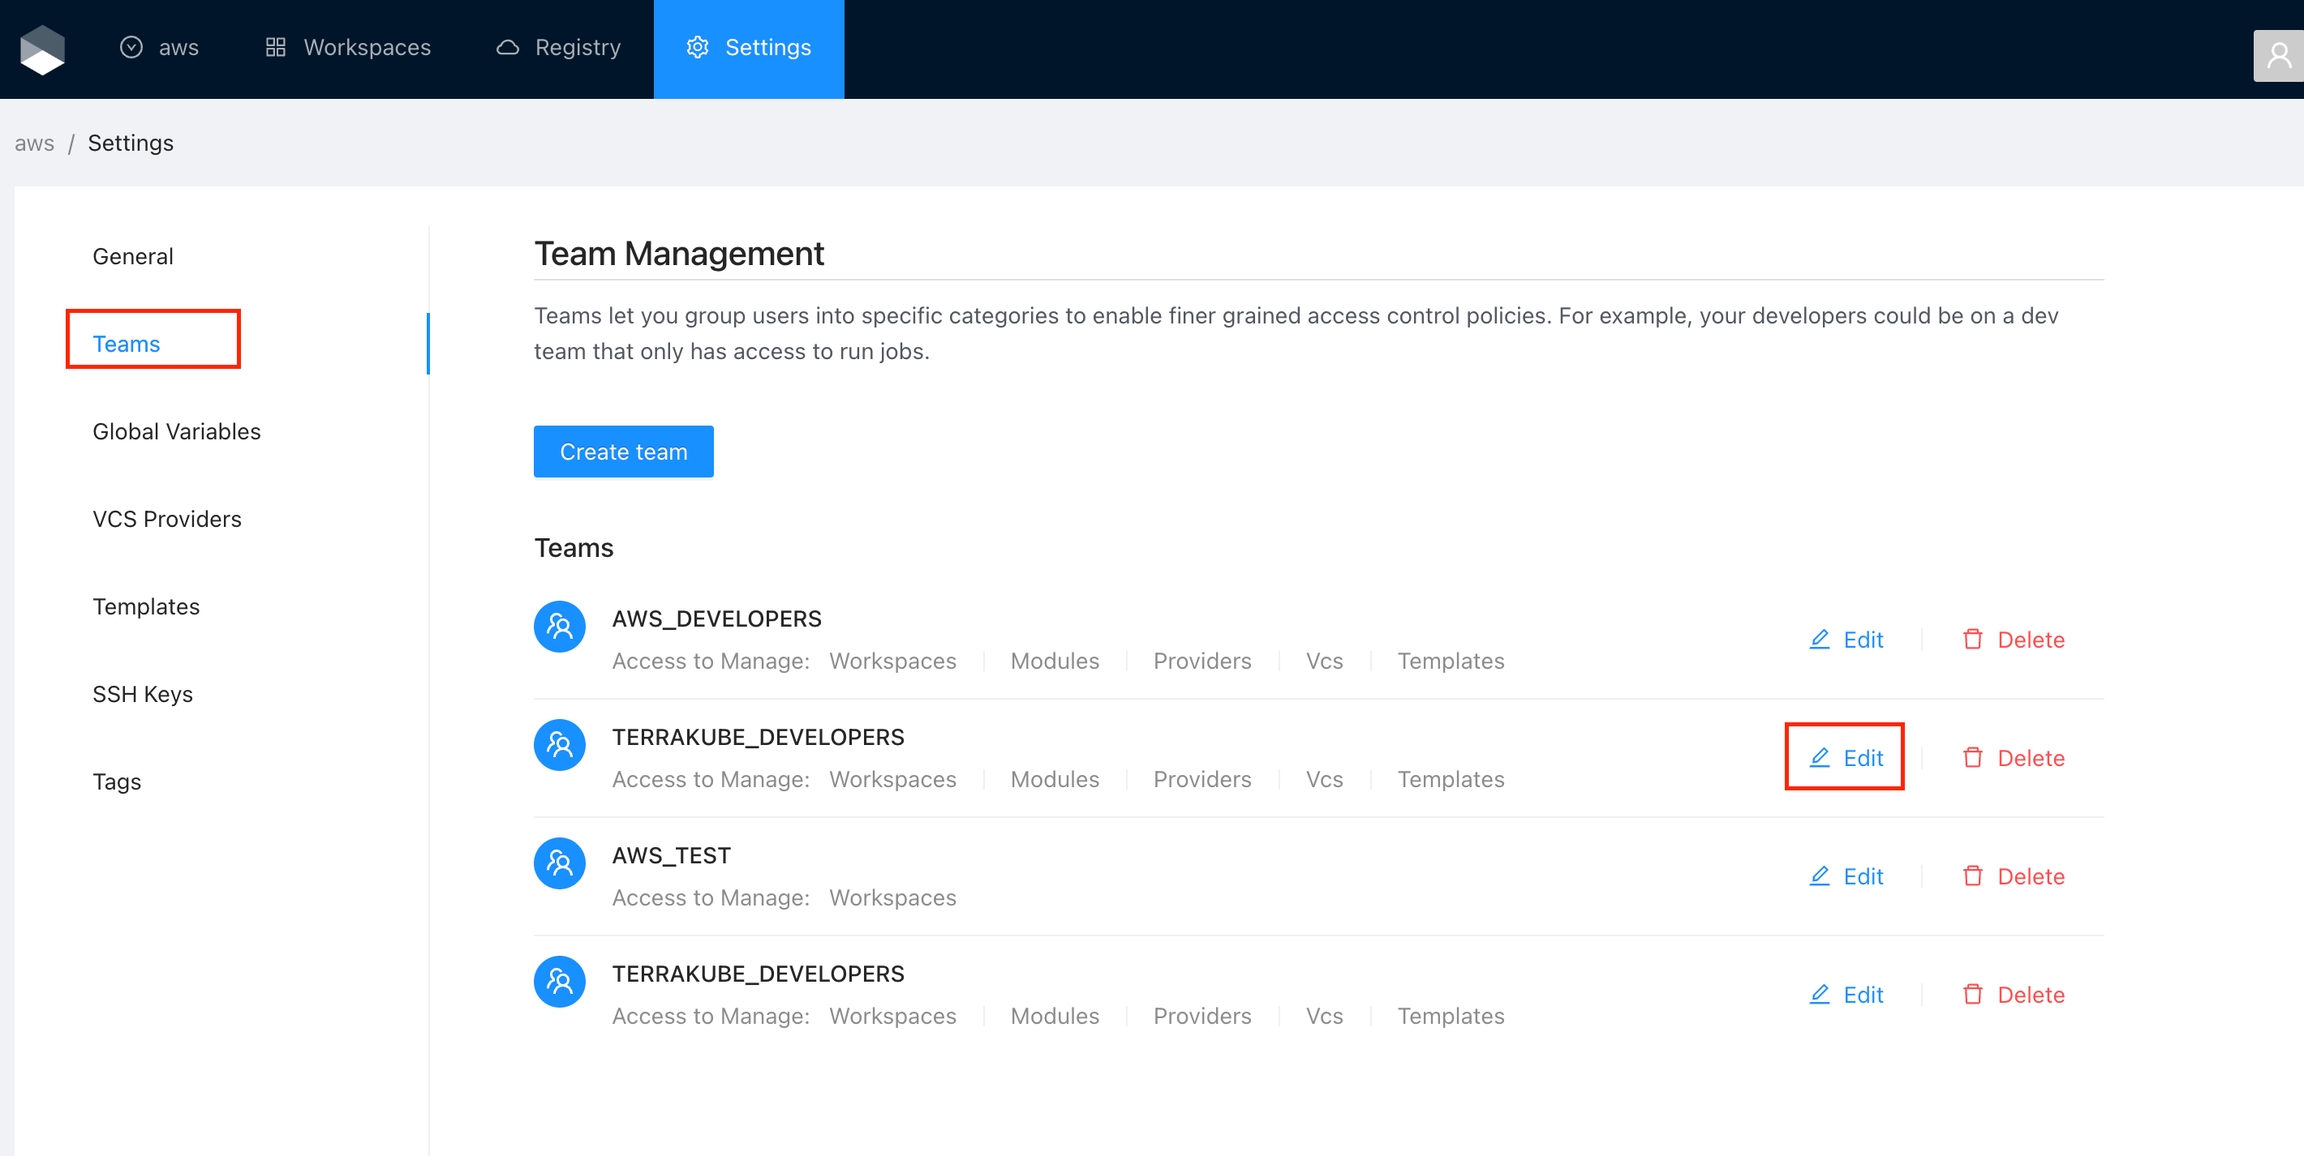
To manage the API token for a team, go to Settings > Teams > Edit button on the desired team.
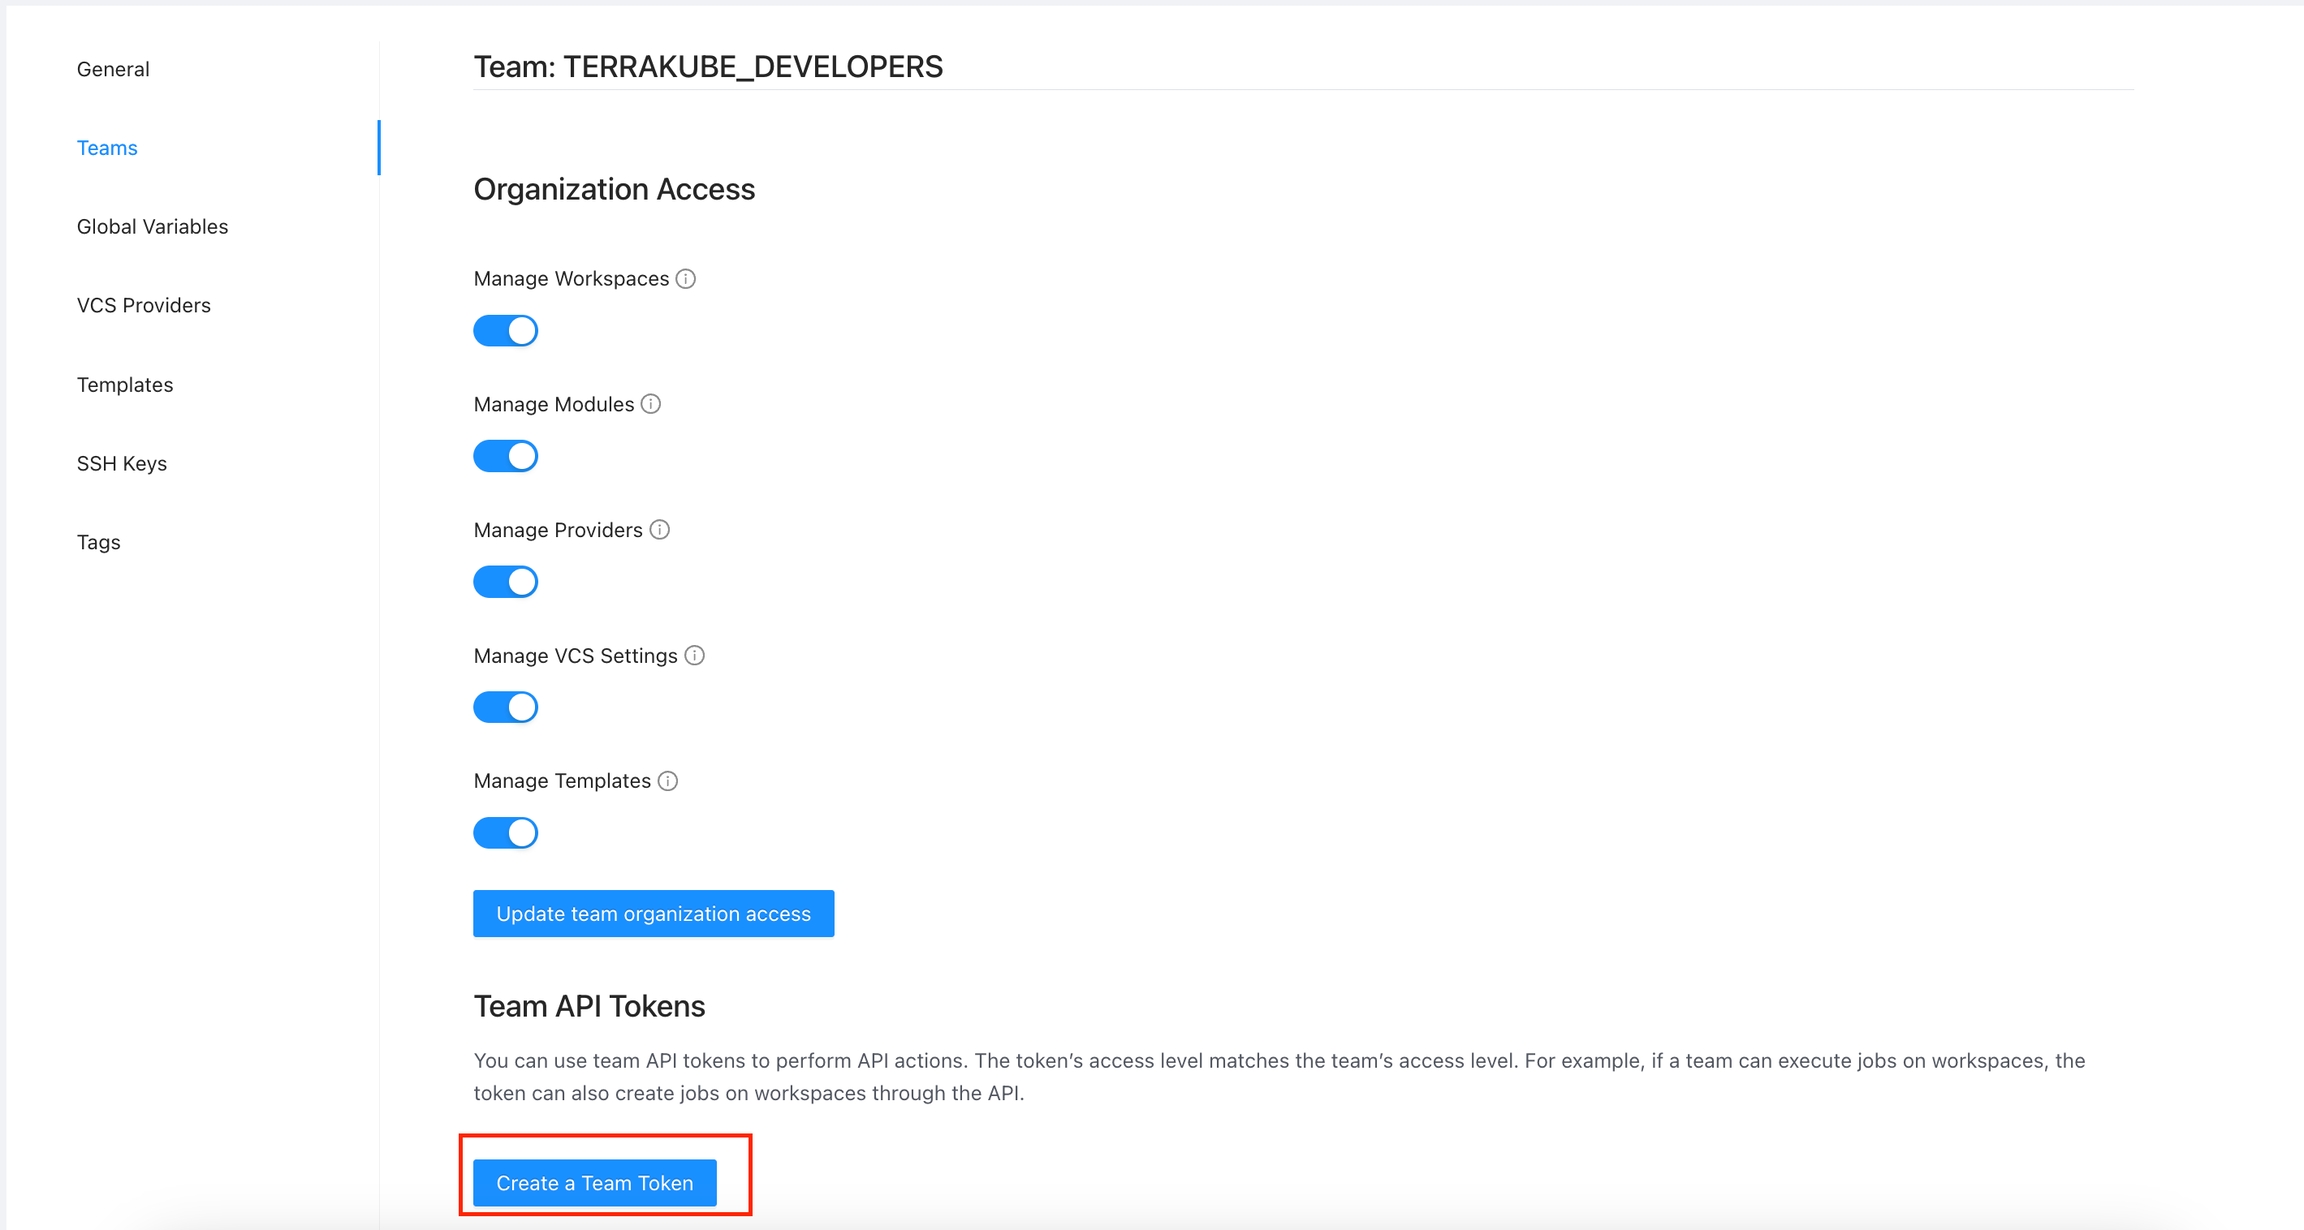
Click the Create a Team Token button in the Team API Tokens section.
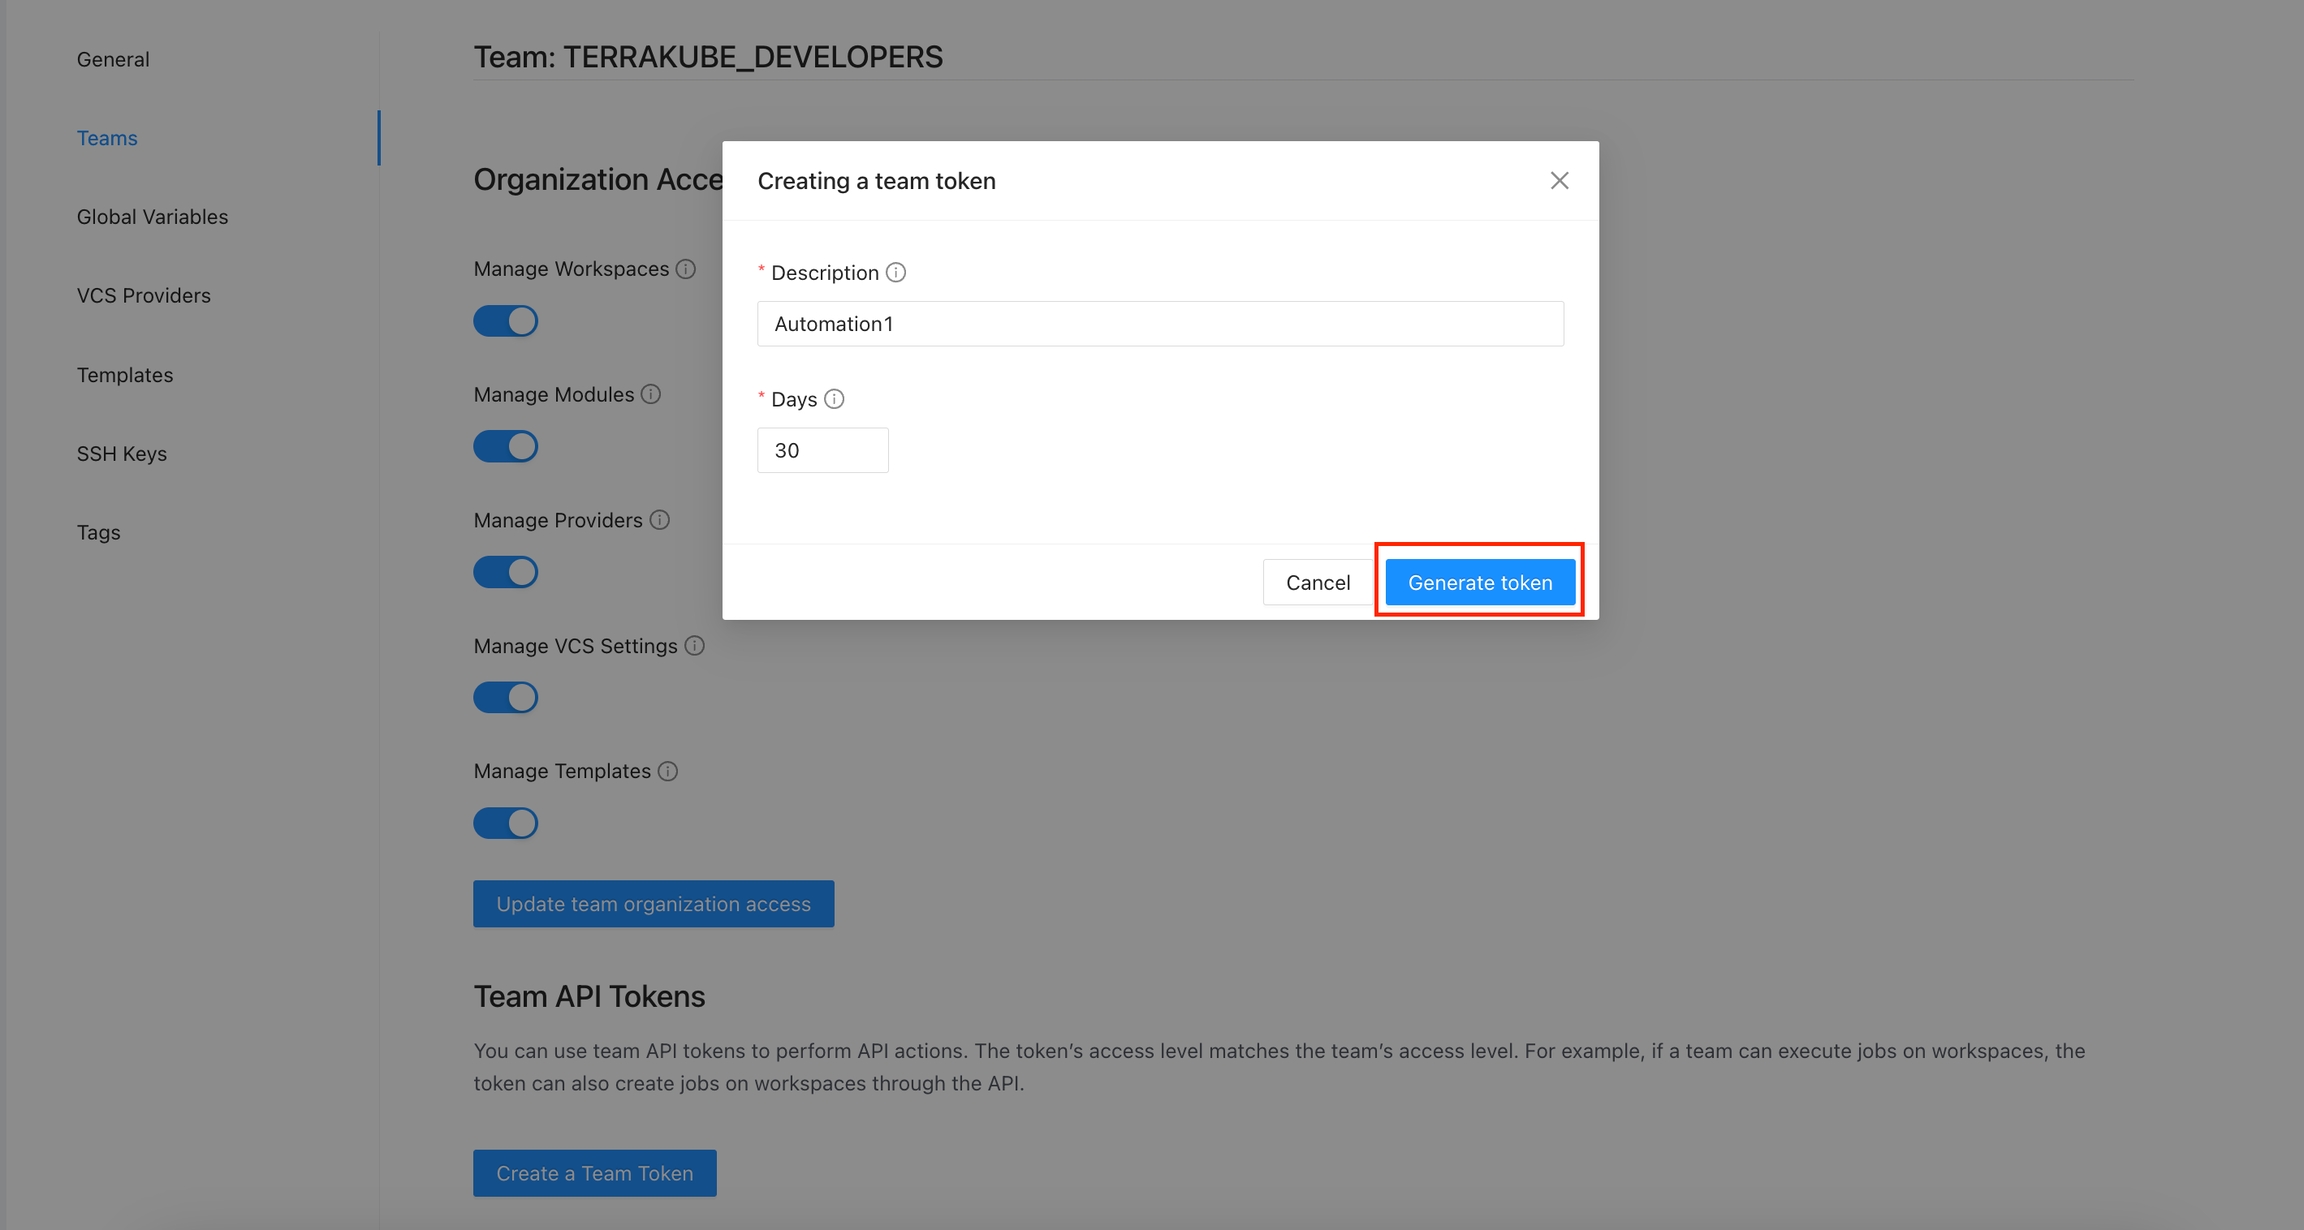
Add the token description and duration and click the Generate token button
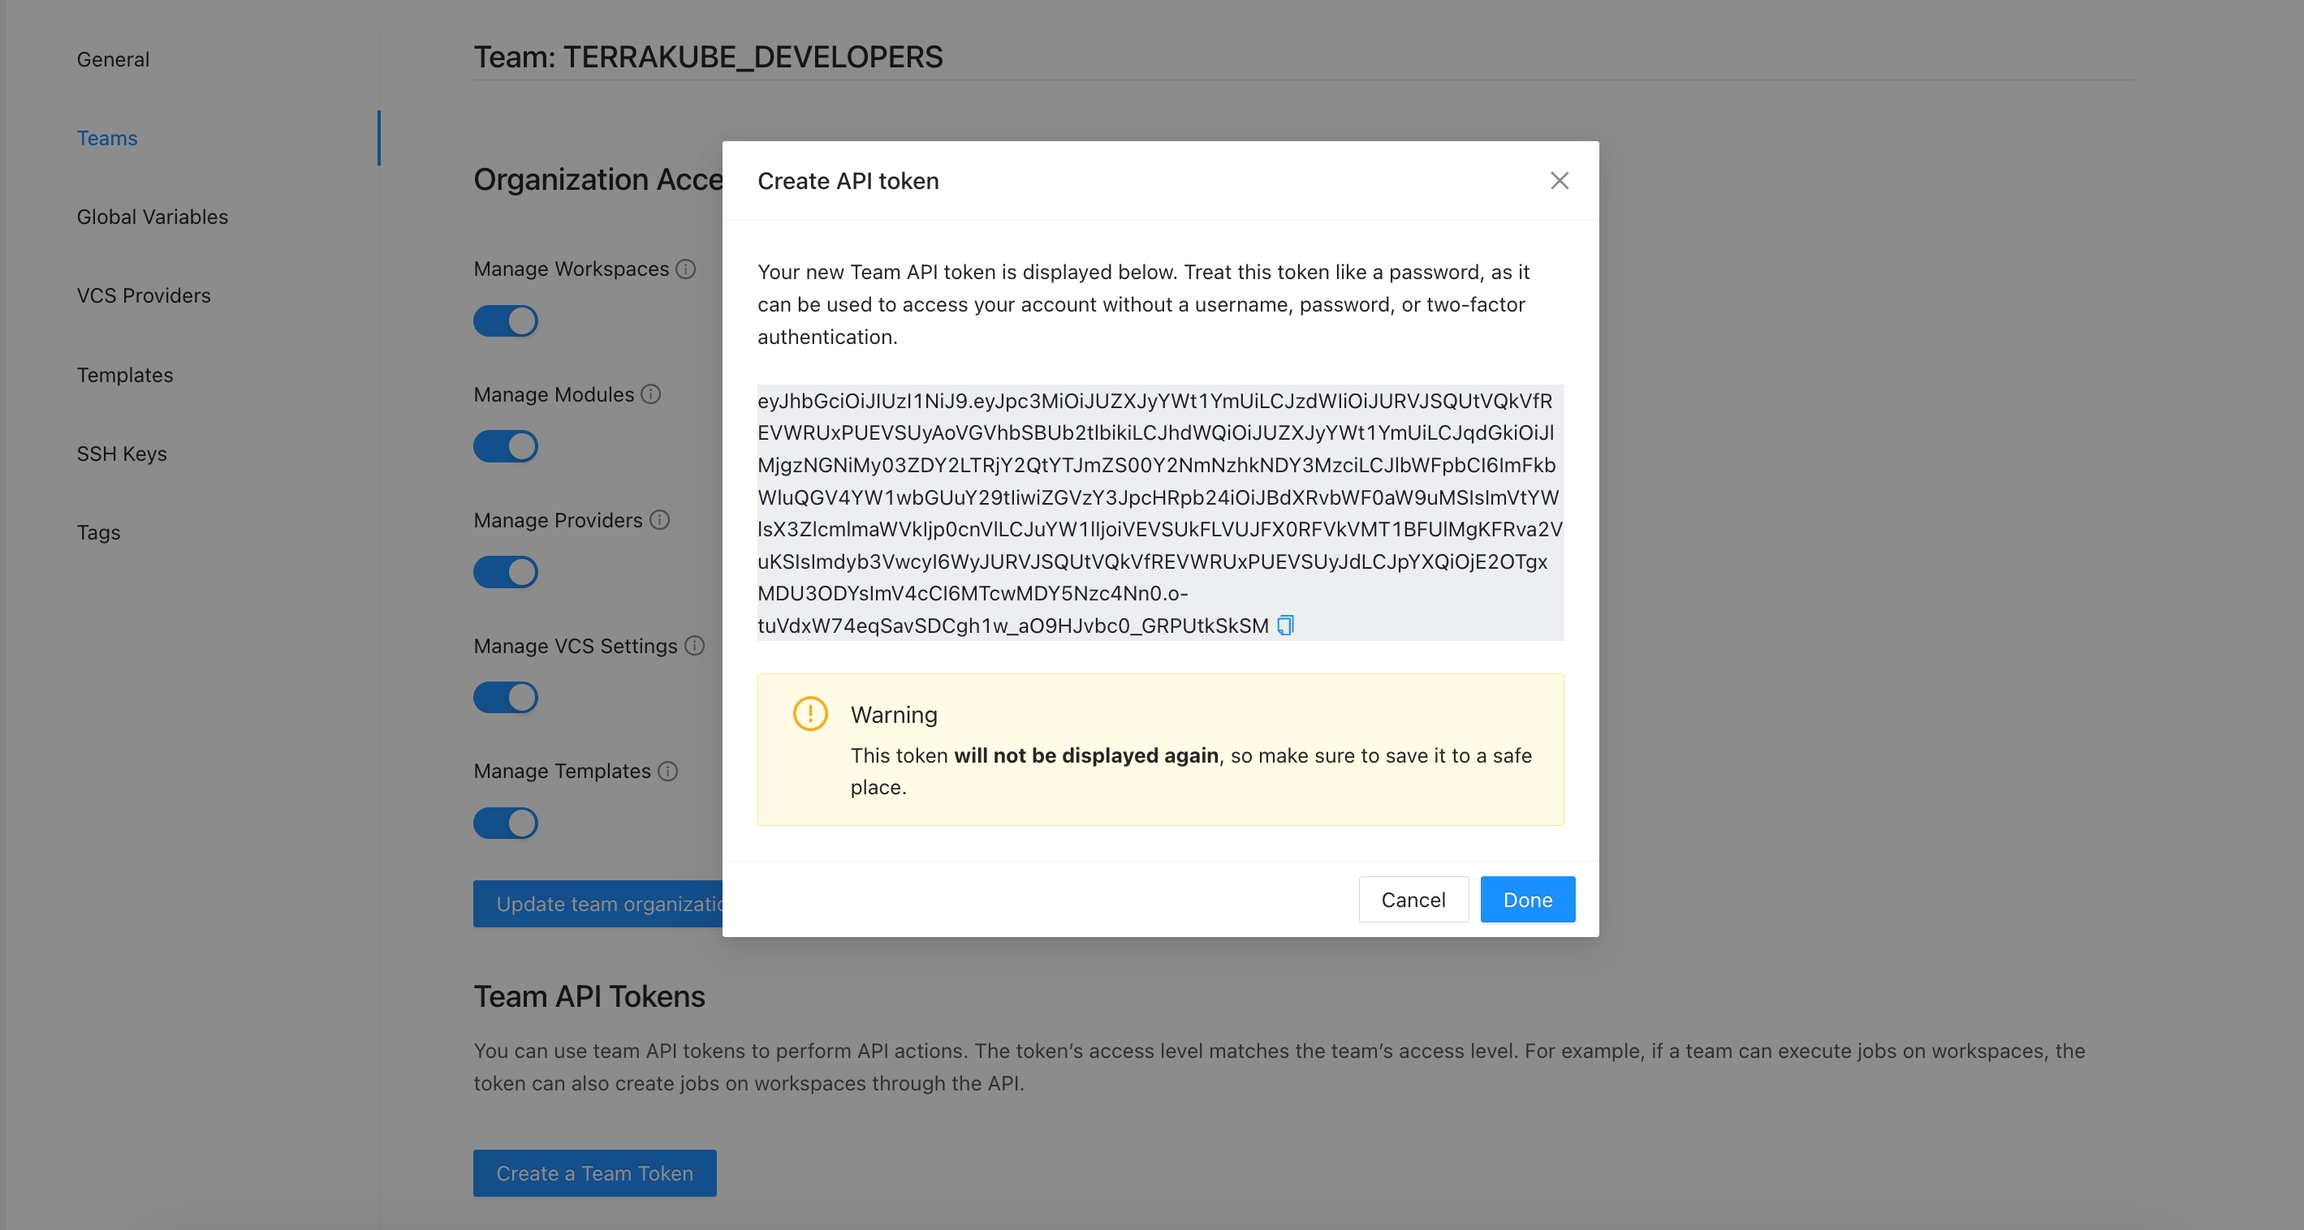
The new token will be showed and you can copy it to star calling the Terrakube API using Postman or some other tool.
To delete an API token, navigate to the list of tokens, click the Delete button next to the token you wish to remove, and confirm the deletion.
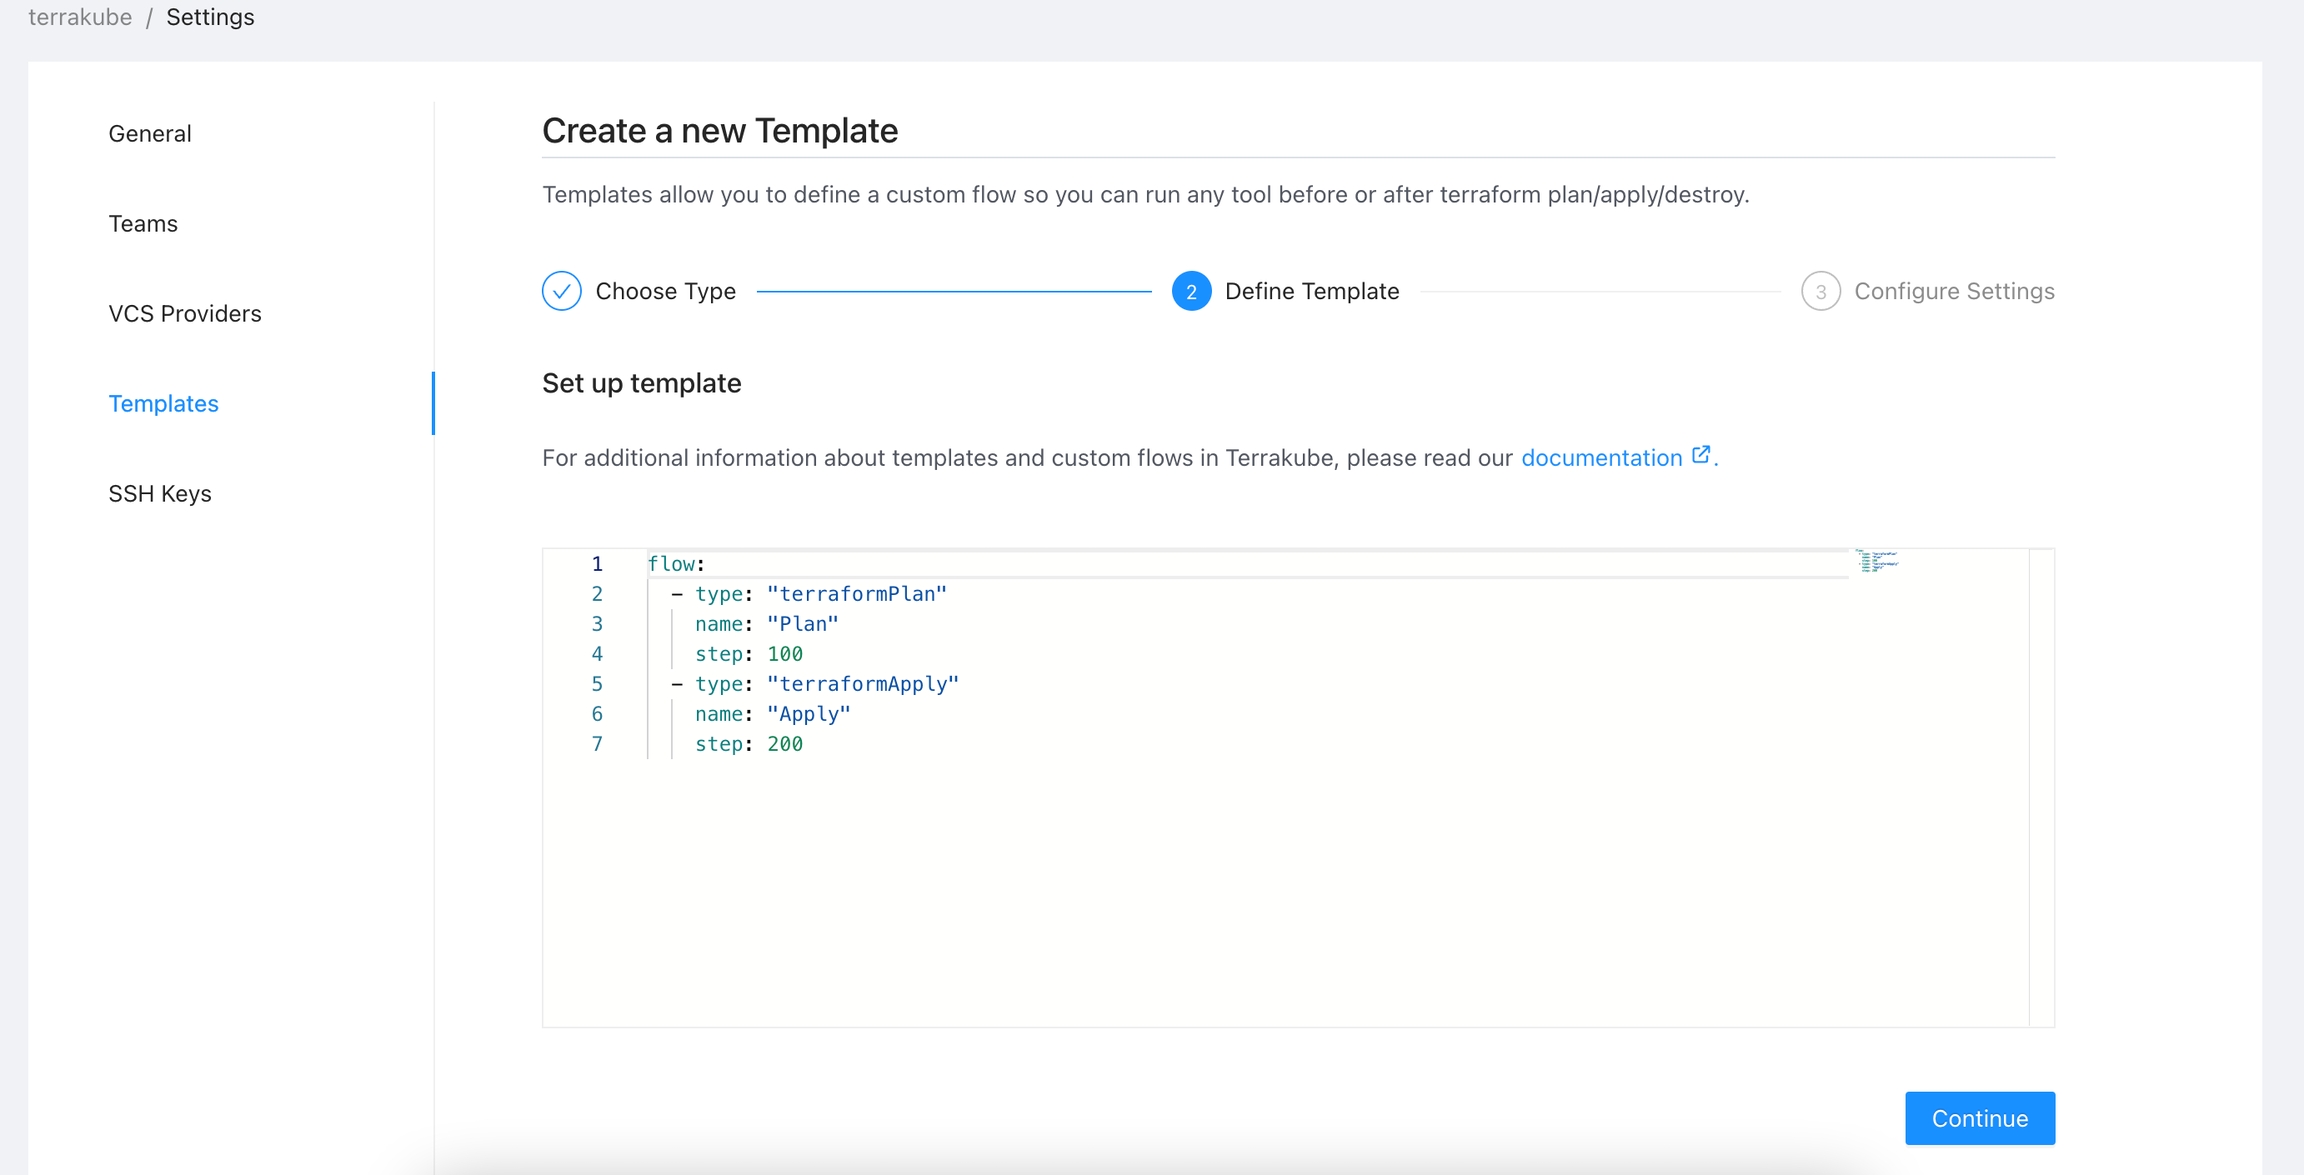
Templates allows you to customize the job workflow inside each workspace. You can define multiple templates inside each organization. Templates are written in yaml and you can specify each step to be executed once you use this template in the workspace. Lets see an example for a basic template:
If you notice inside the flow section you can define any step required, for this case only 2 steps are defined. Using the type property you can specify the kind of step to be performed, in the above case we are using some default types like terraformPlan and terraformApply. However the power of terrakube is that you can extend your workflow to execute additional tasks using bash or groovy code. Lets see a more advanced template:
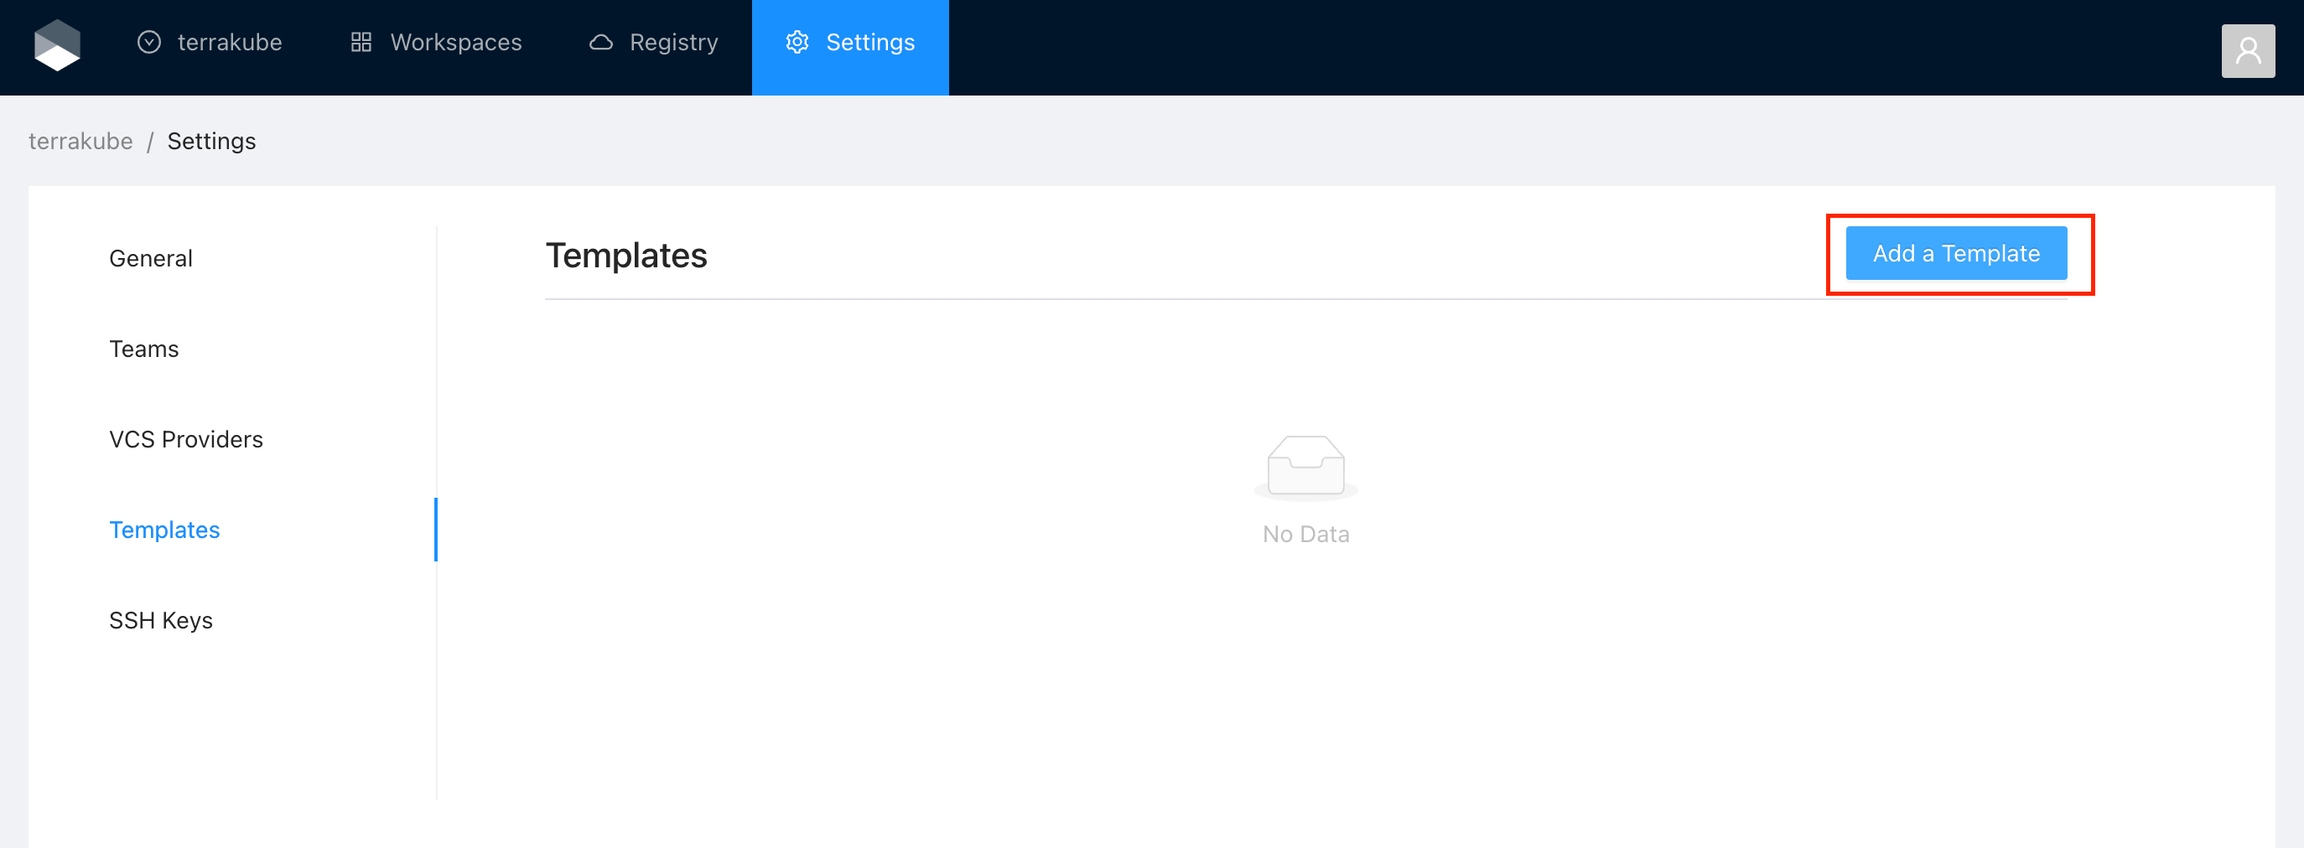
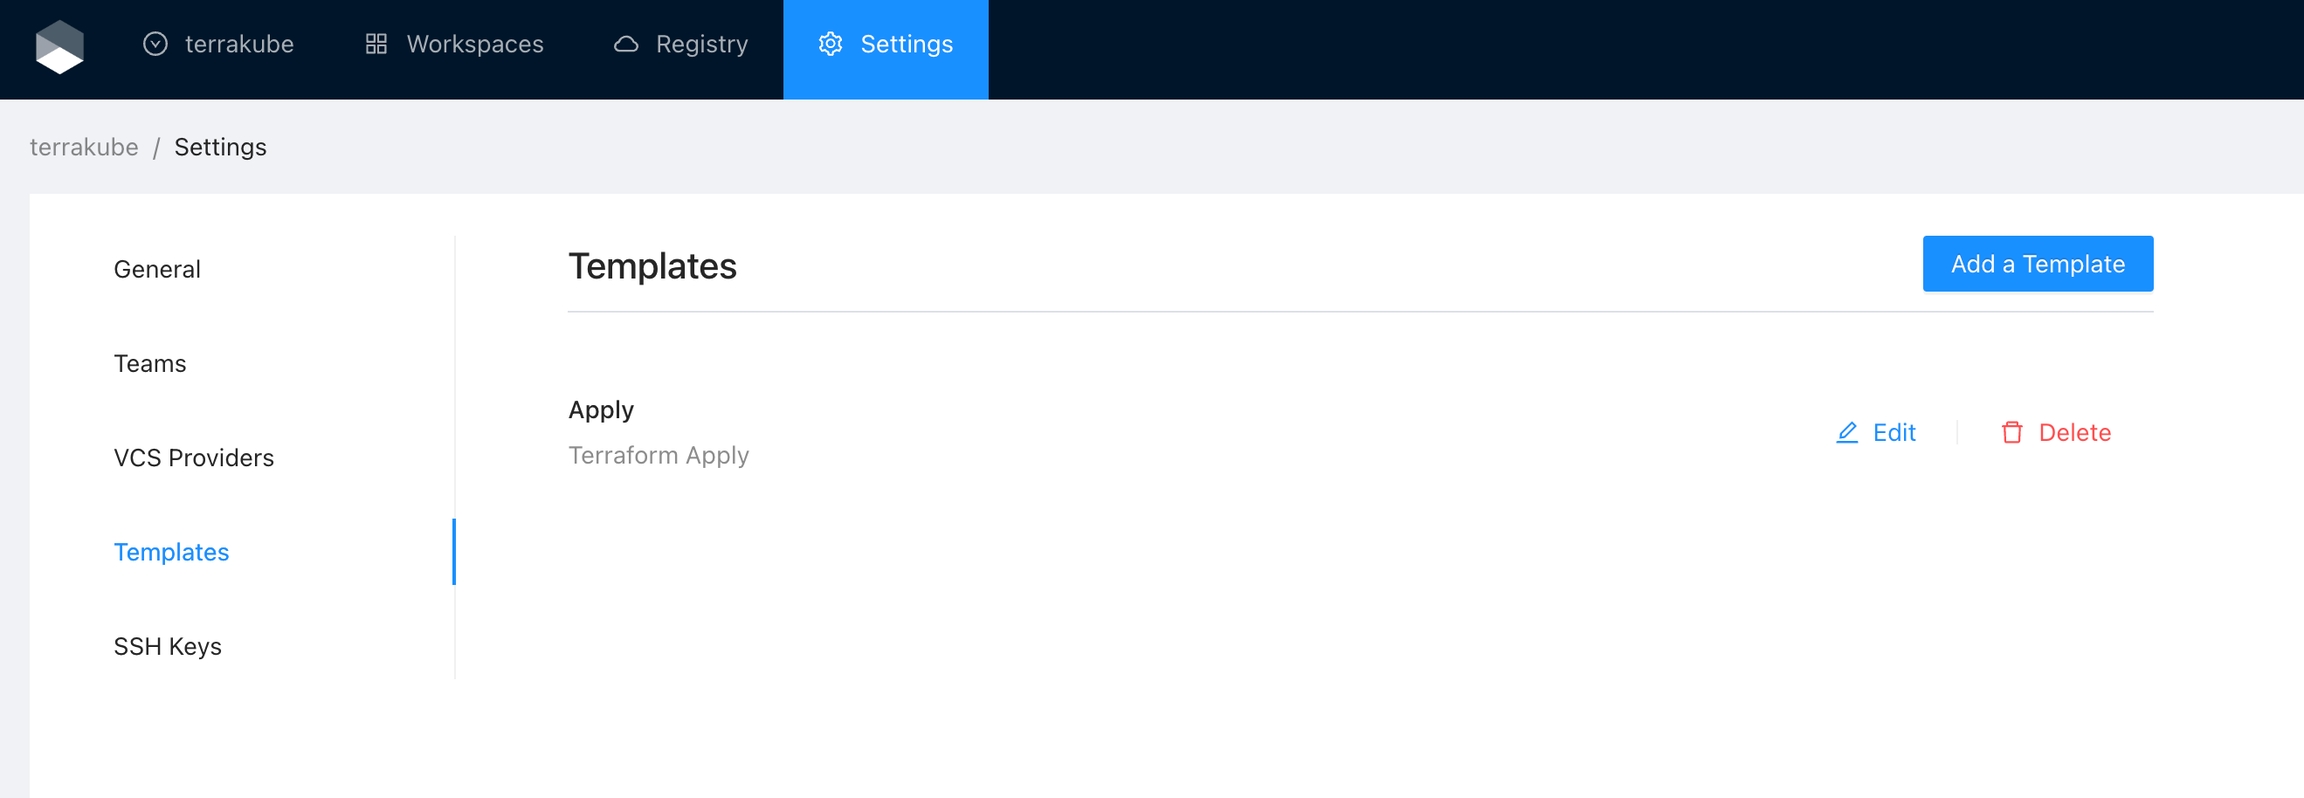
Once you are in the desired organization, click the Settings button, then in the left menu select the Templates option and click the Add Template button
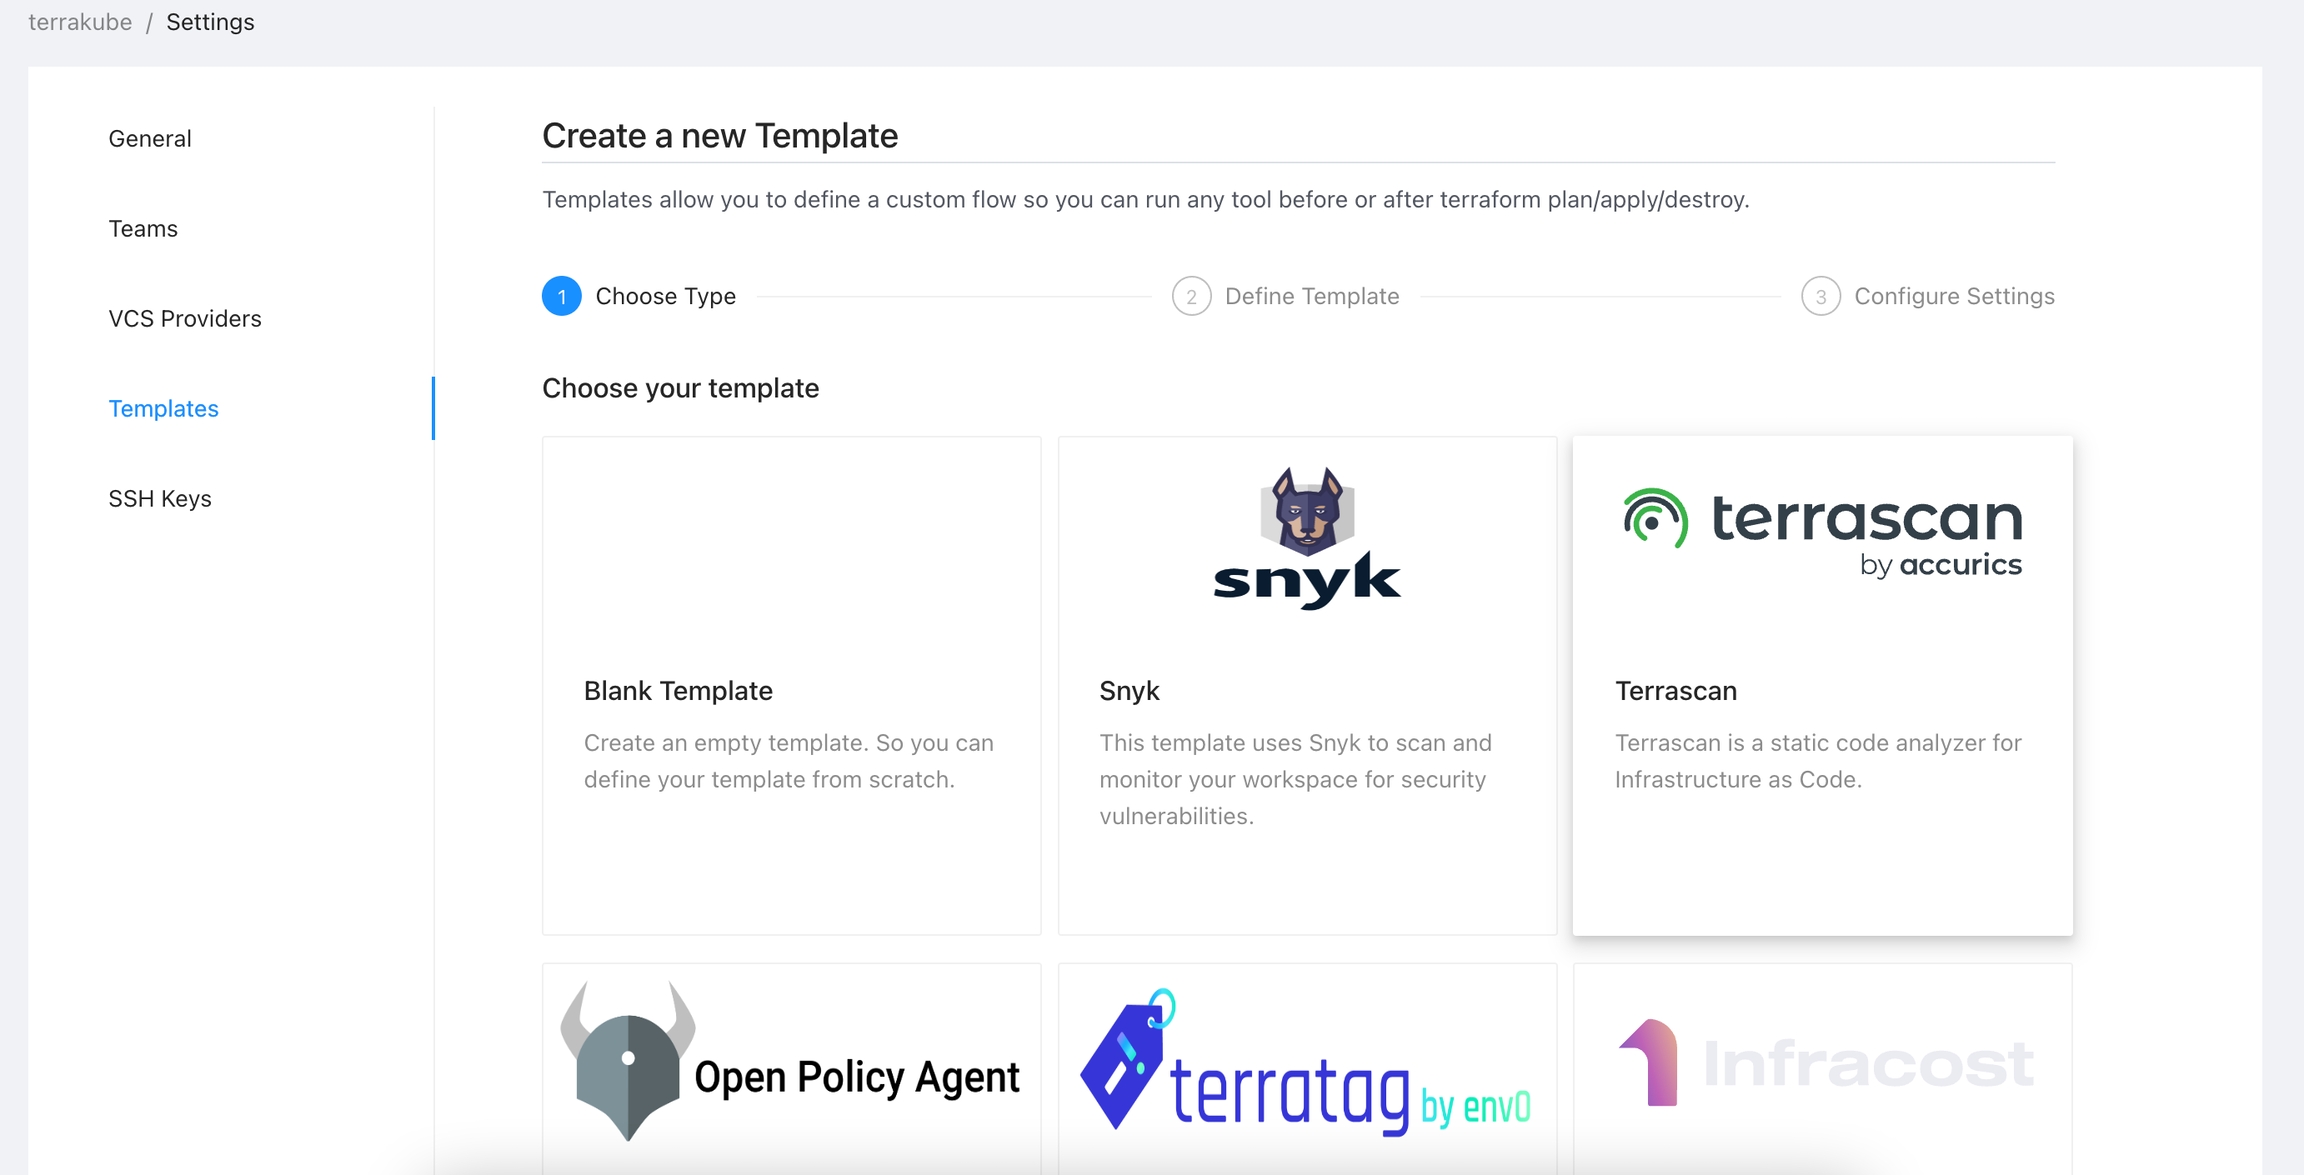
You will see a list of some predefined templates than you can utilize as a quick start or if you prefer you can click the Blank Template to start from scratch
In the next screen you can define your template and when you are ready click the Continue button.
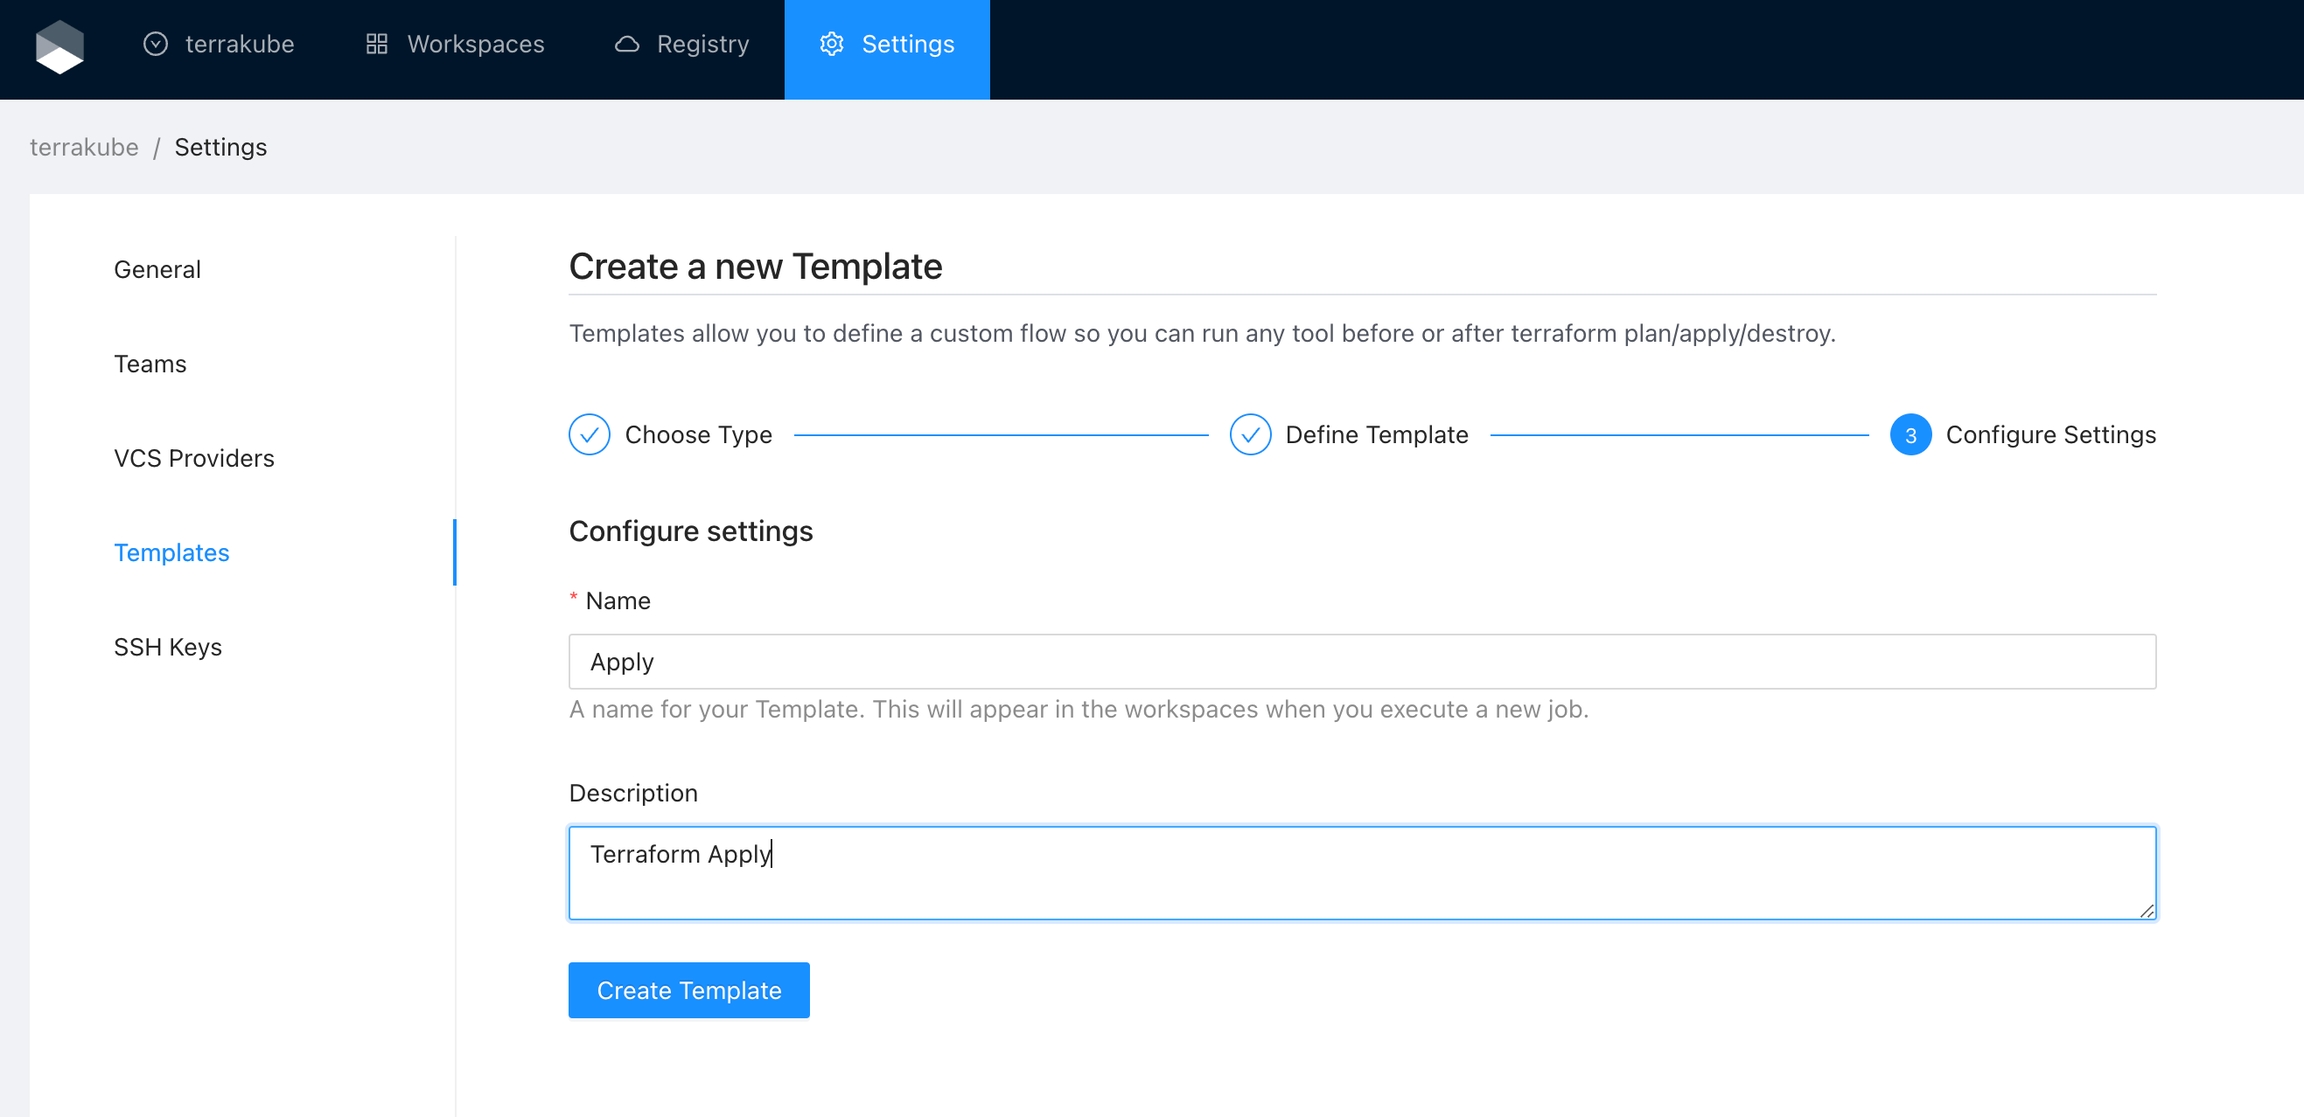
Finally, you can assign a name and description to your template and click the Create Template button.
Now you template is ready and you can start using it in any workspace within your organization.
By default Terrakube don't create any template, so you have to define the templates in your organization based on your requirements.
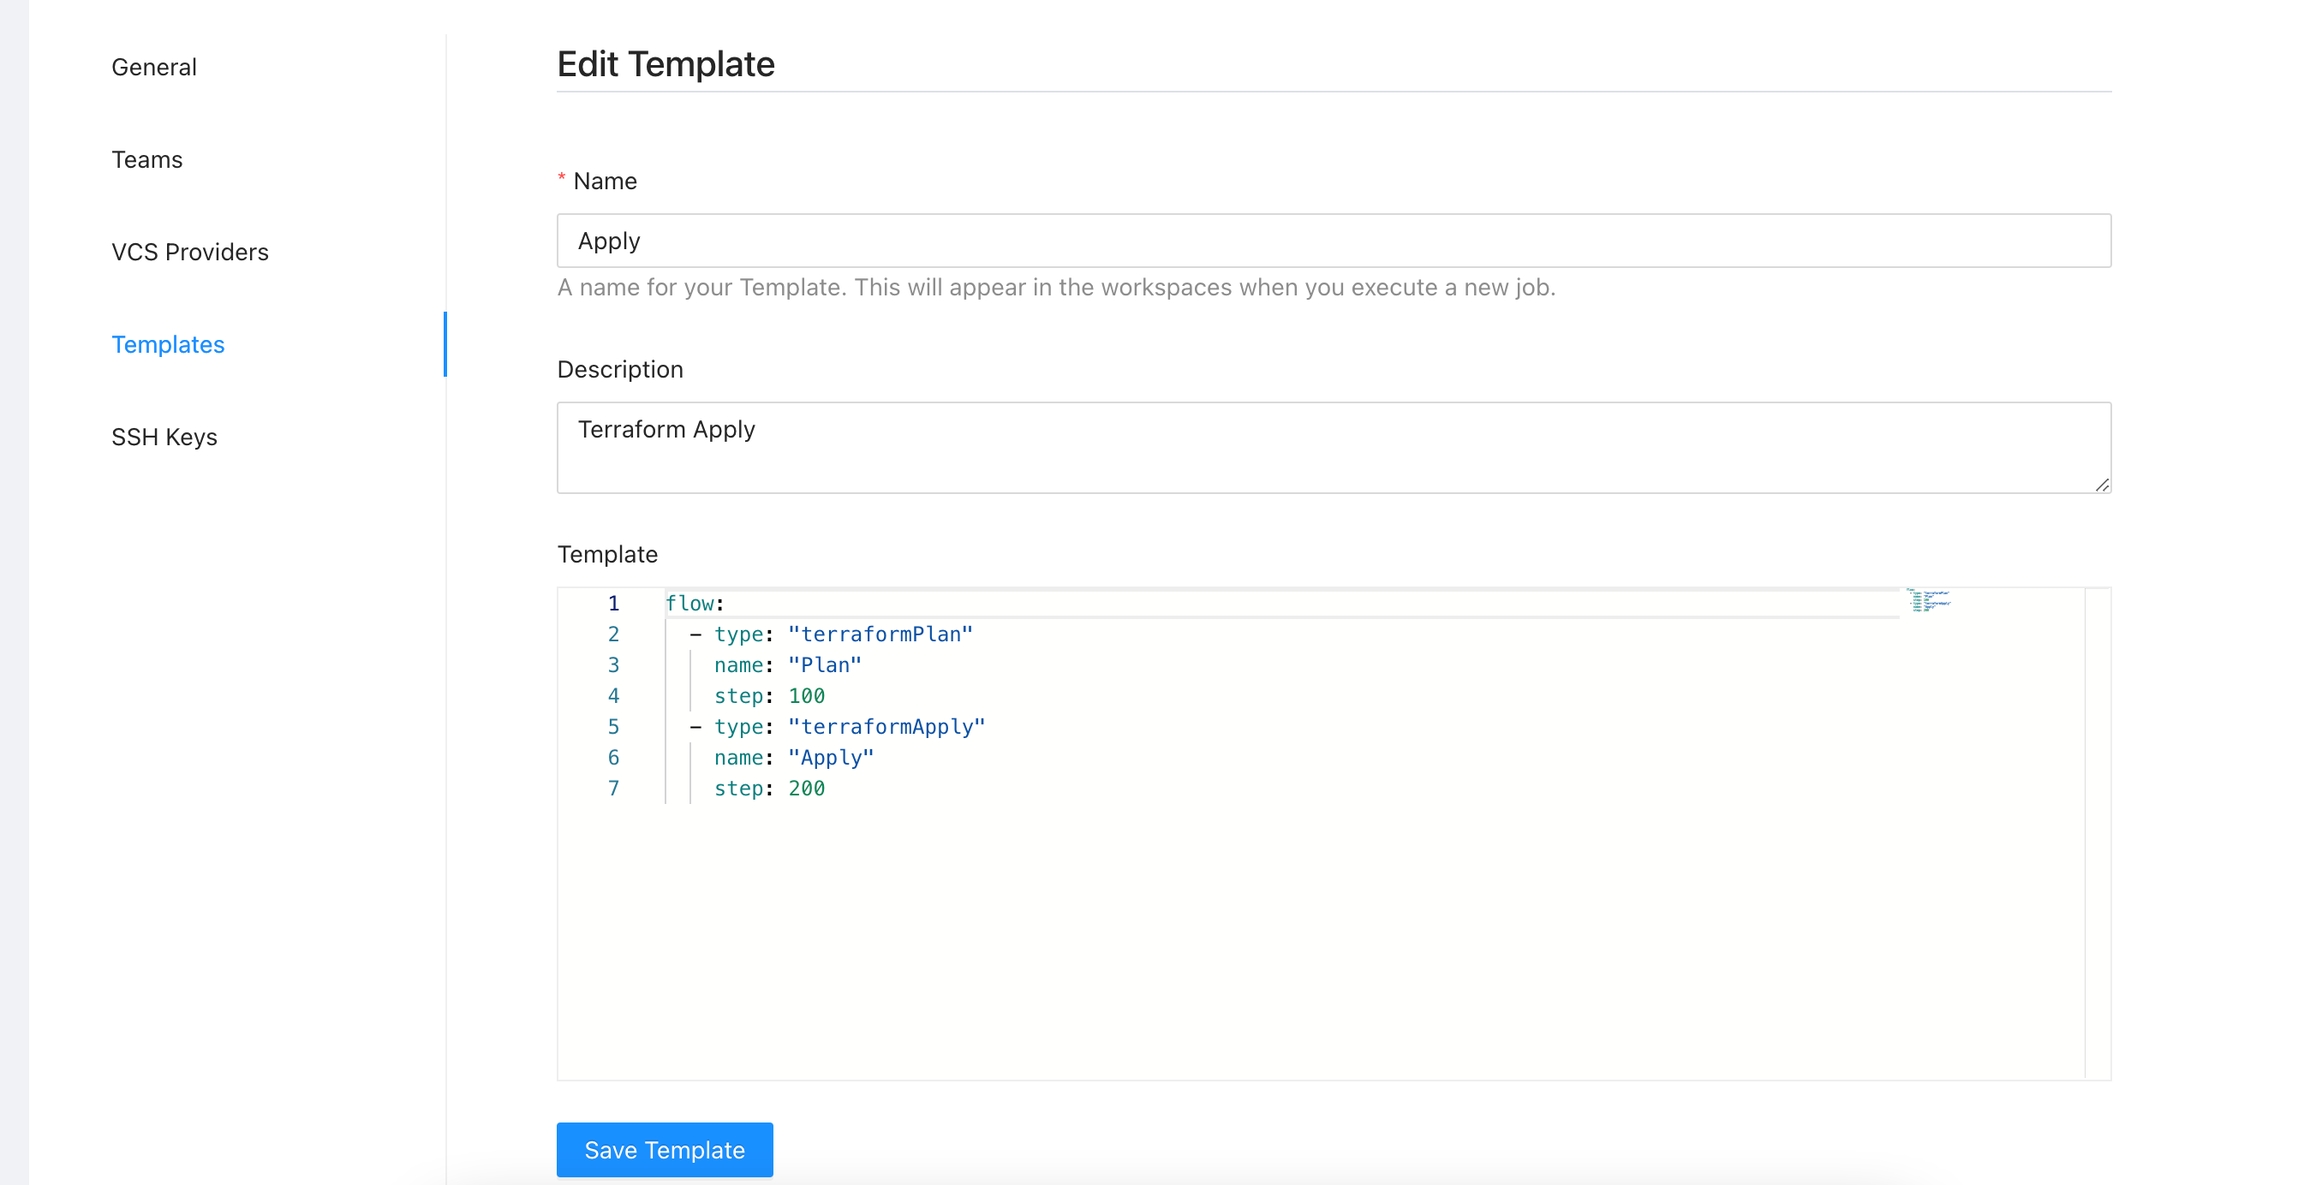
Click the Edit button next to the Template you would like to edit
Edit your template definition, description or name as desired and when you are ready click the Save Template button
Click the Delete button next to the Template you want to delete and then click Yes to confirm the deletion
Only users that belongs to Terrakube administrator group can create organizations. This group is defined in the terrakube settings during deployment, for more details see #administrator-group
Click the organizations list on the main menu and then click the Create new organization button
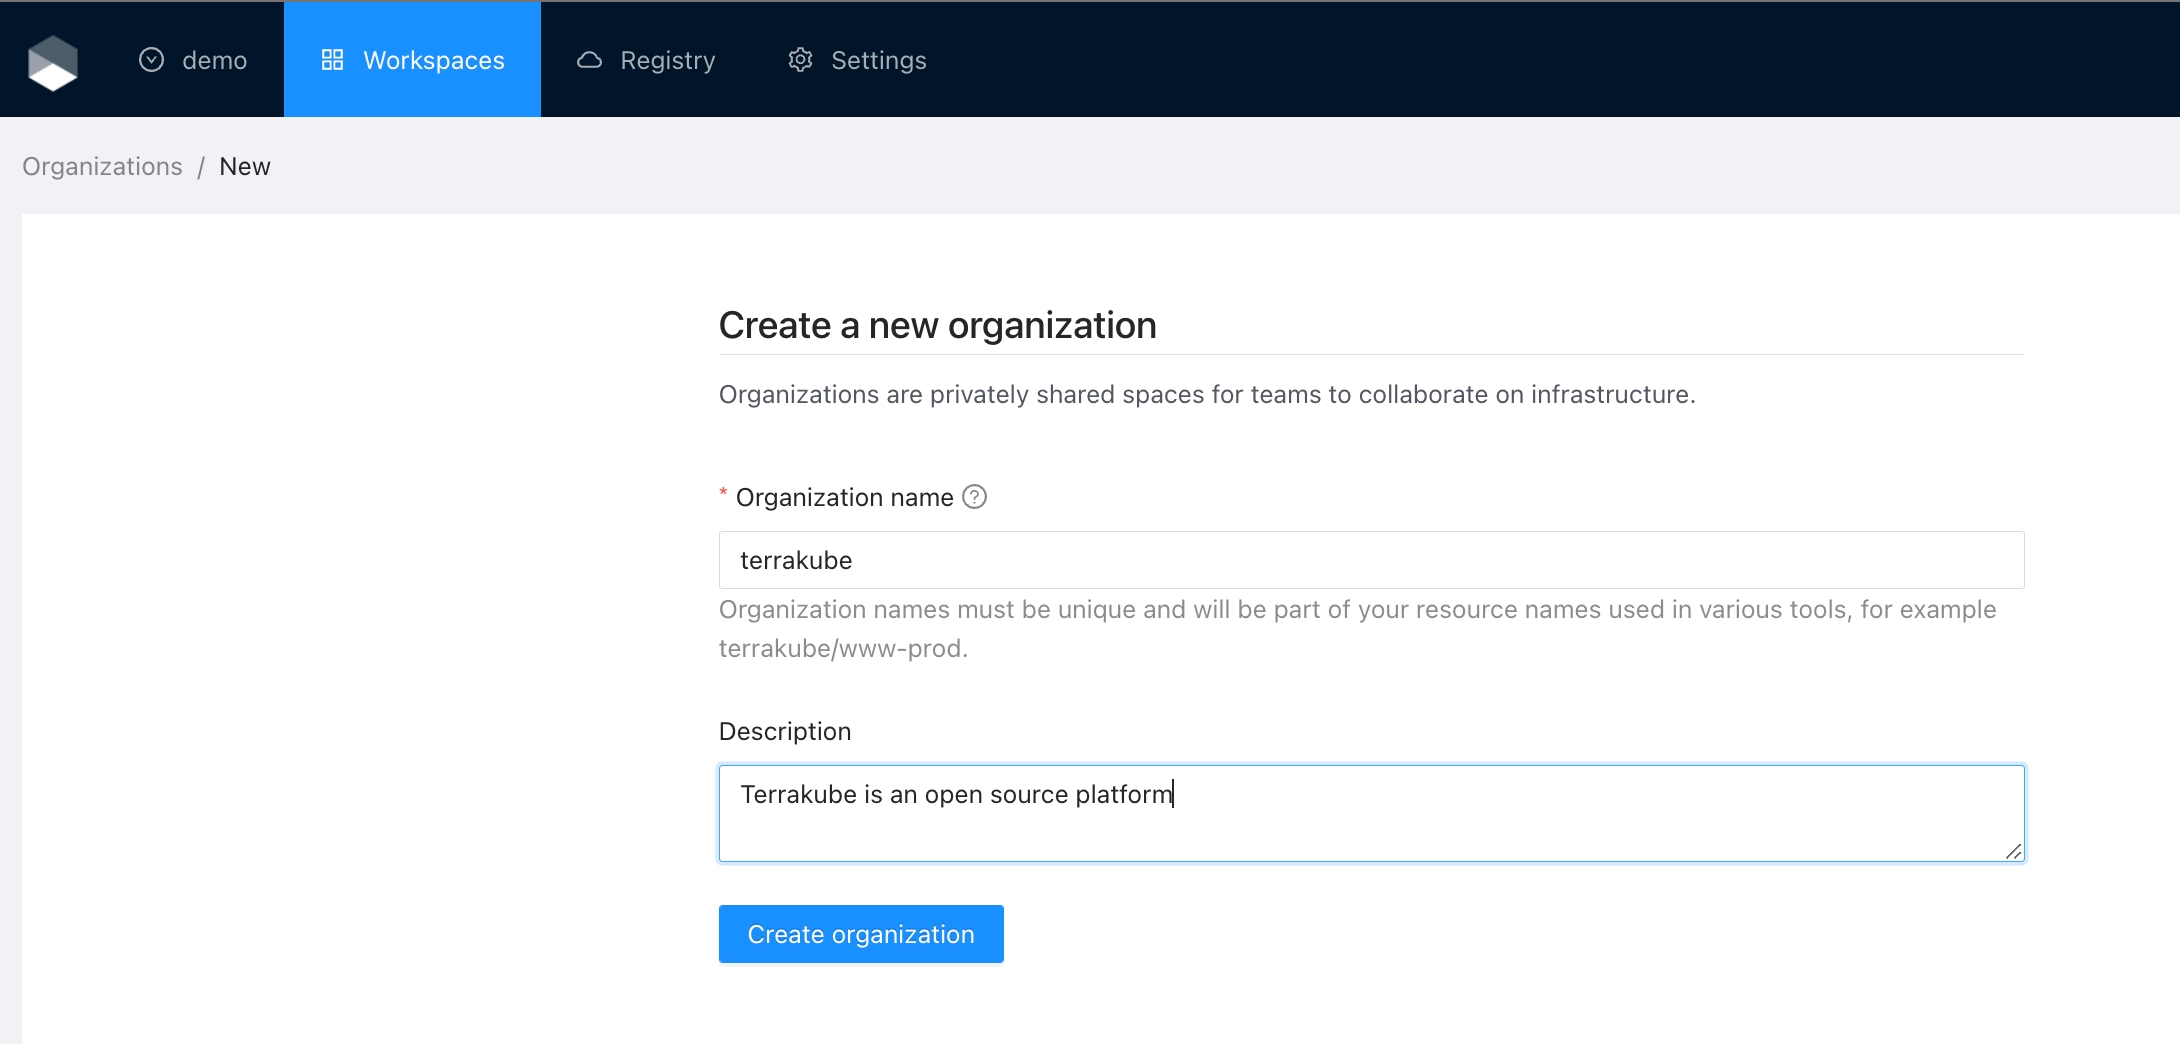
Provide organization name and description and click the Create organization button
Then you will redirected to the Organization Settings page where you can define your teams, this is step is important so you can assign the permissions to users, otherwise you won't be able to create workspaces and modules inside the organization.
In order to start using your organization you must add at least one team. Terrakube will create some default templates but you can add more based on your needs. See Creating a Team and Templates for further information.
Global Variables allow you to define and apply variables one time across all workspaces within an organization. For example, you could define a global variable of provider credentials and automatically apply it to all workspaces.
Workspace variables have priority over global variables if the same name is used.
Only users that belongs to Terrakube administrator group can create global variables. This group is defined in the terrakube settings during deployment, for more details see #administrator-group
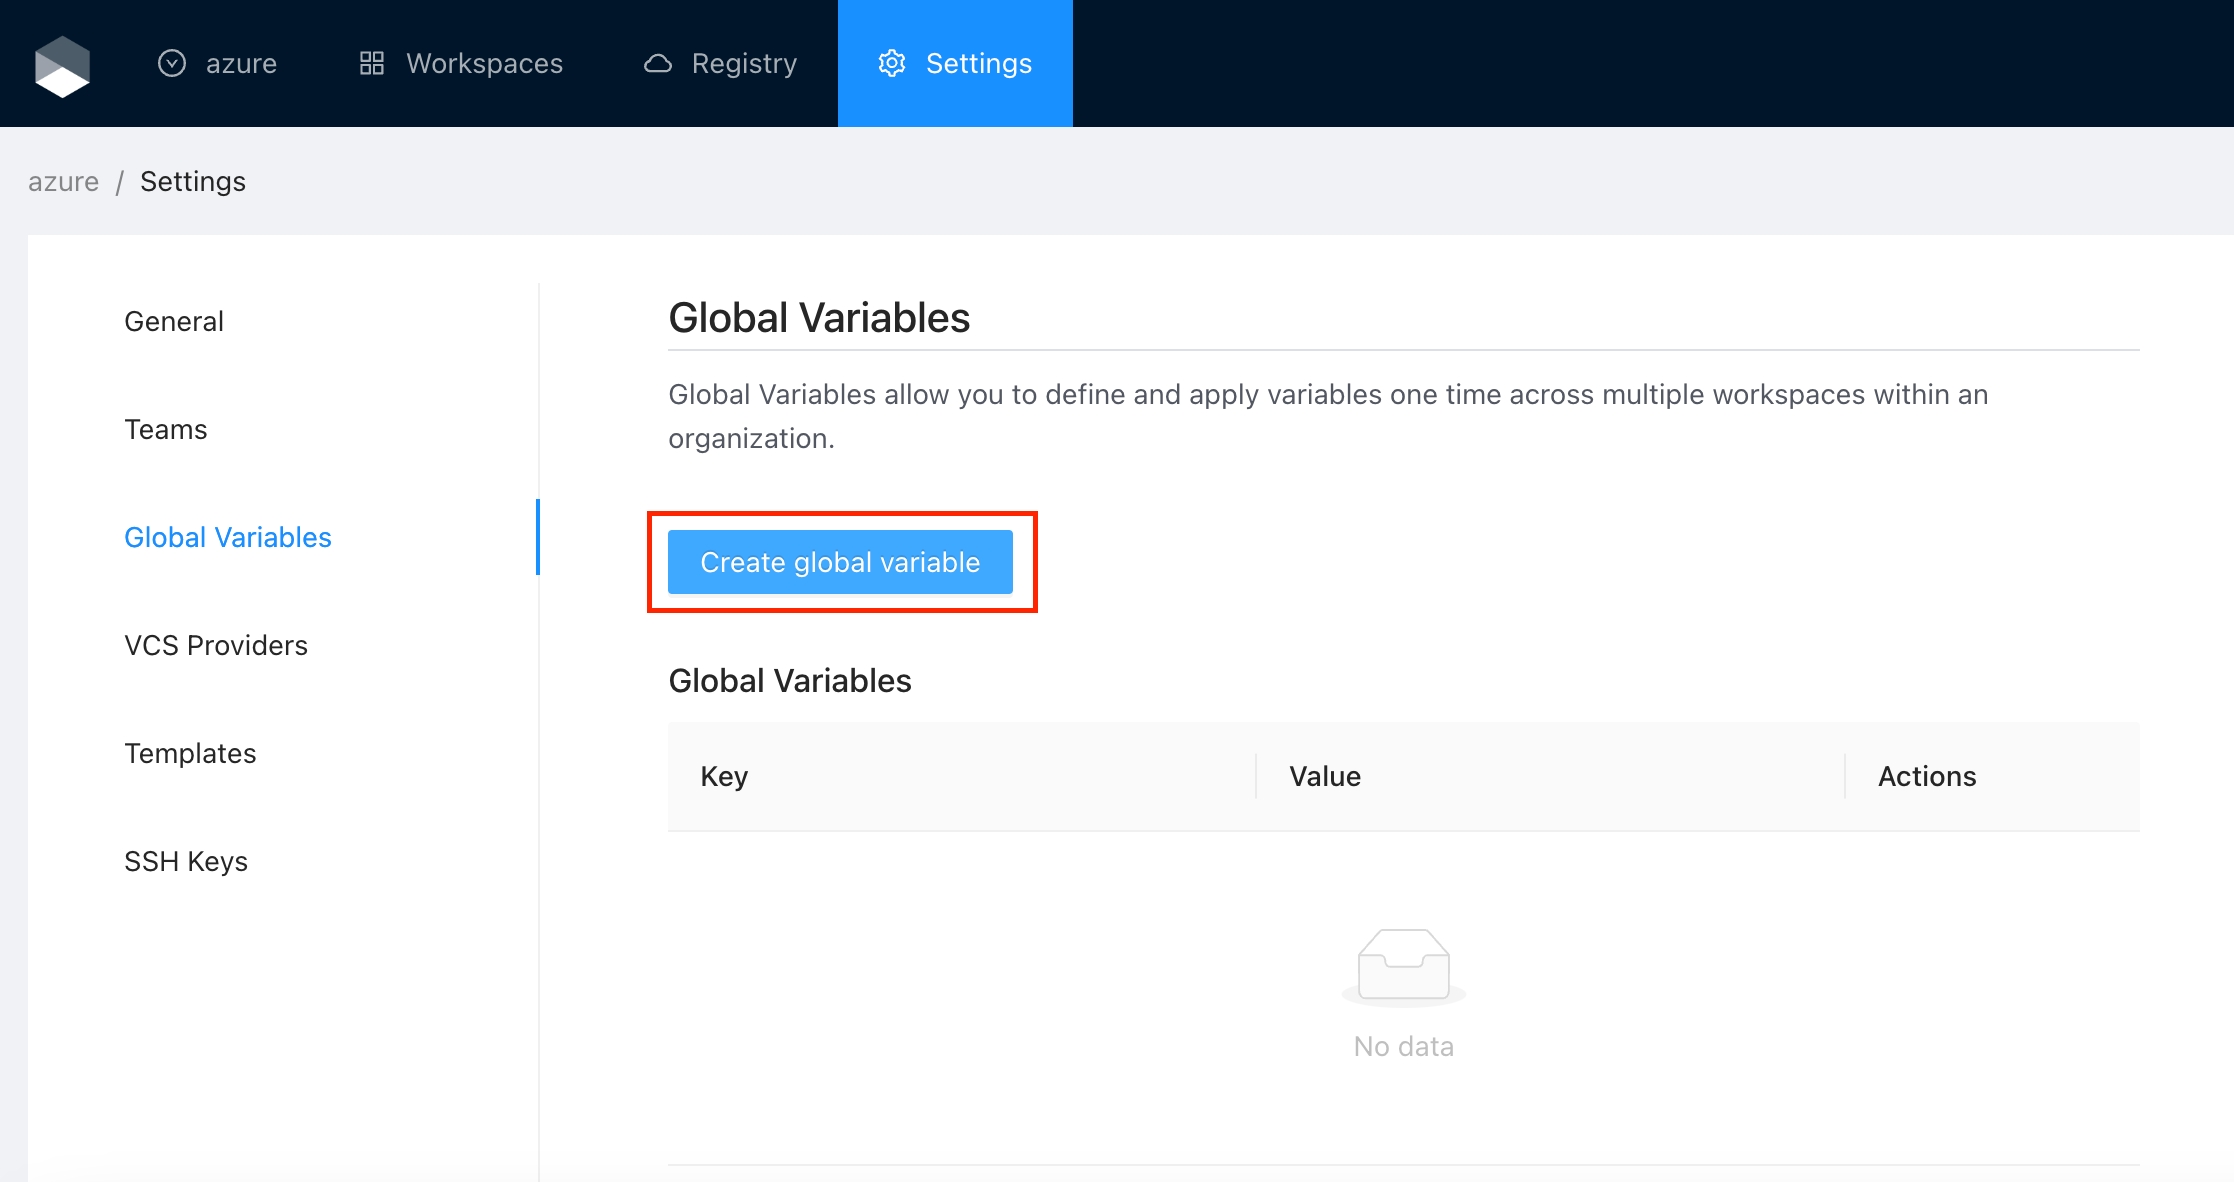
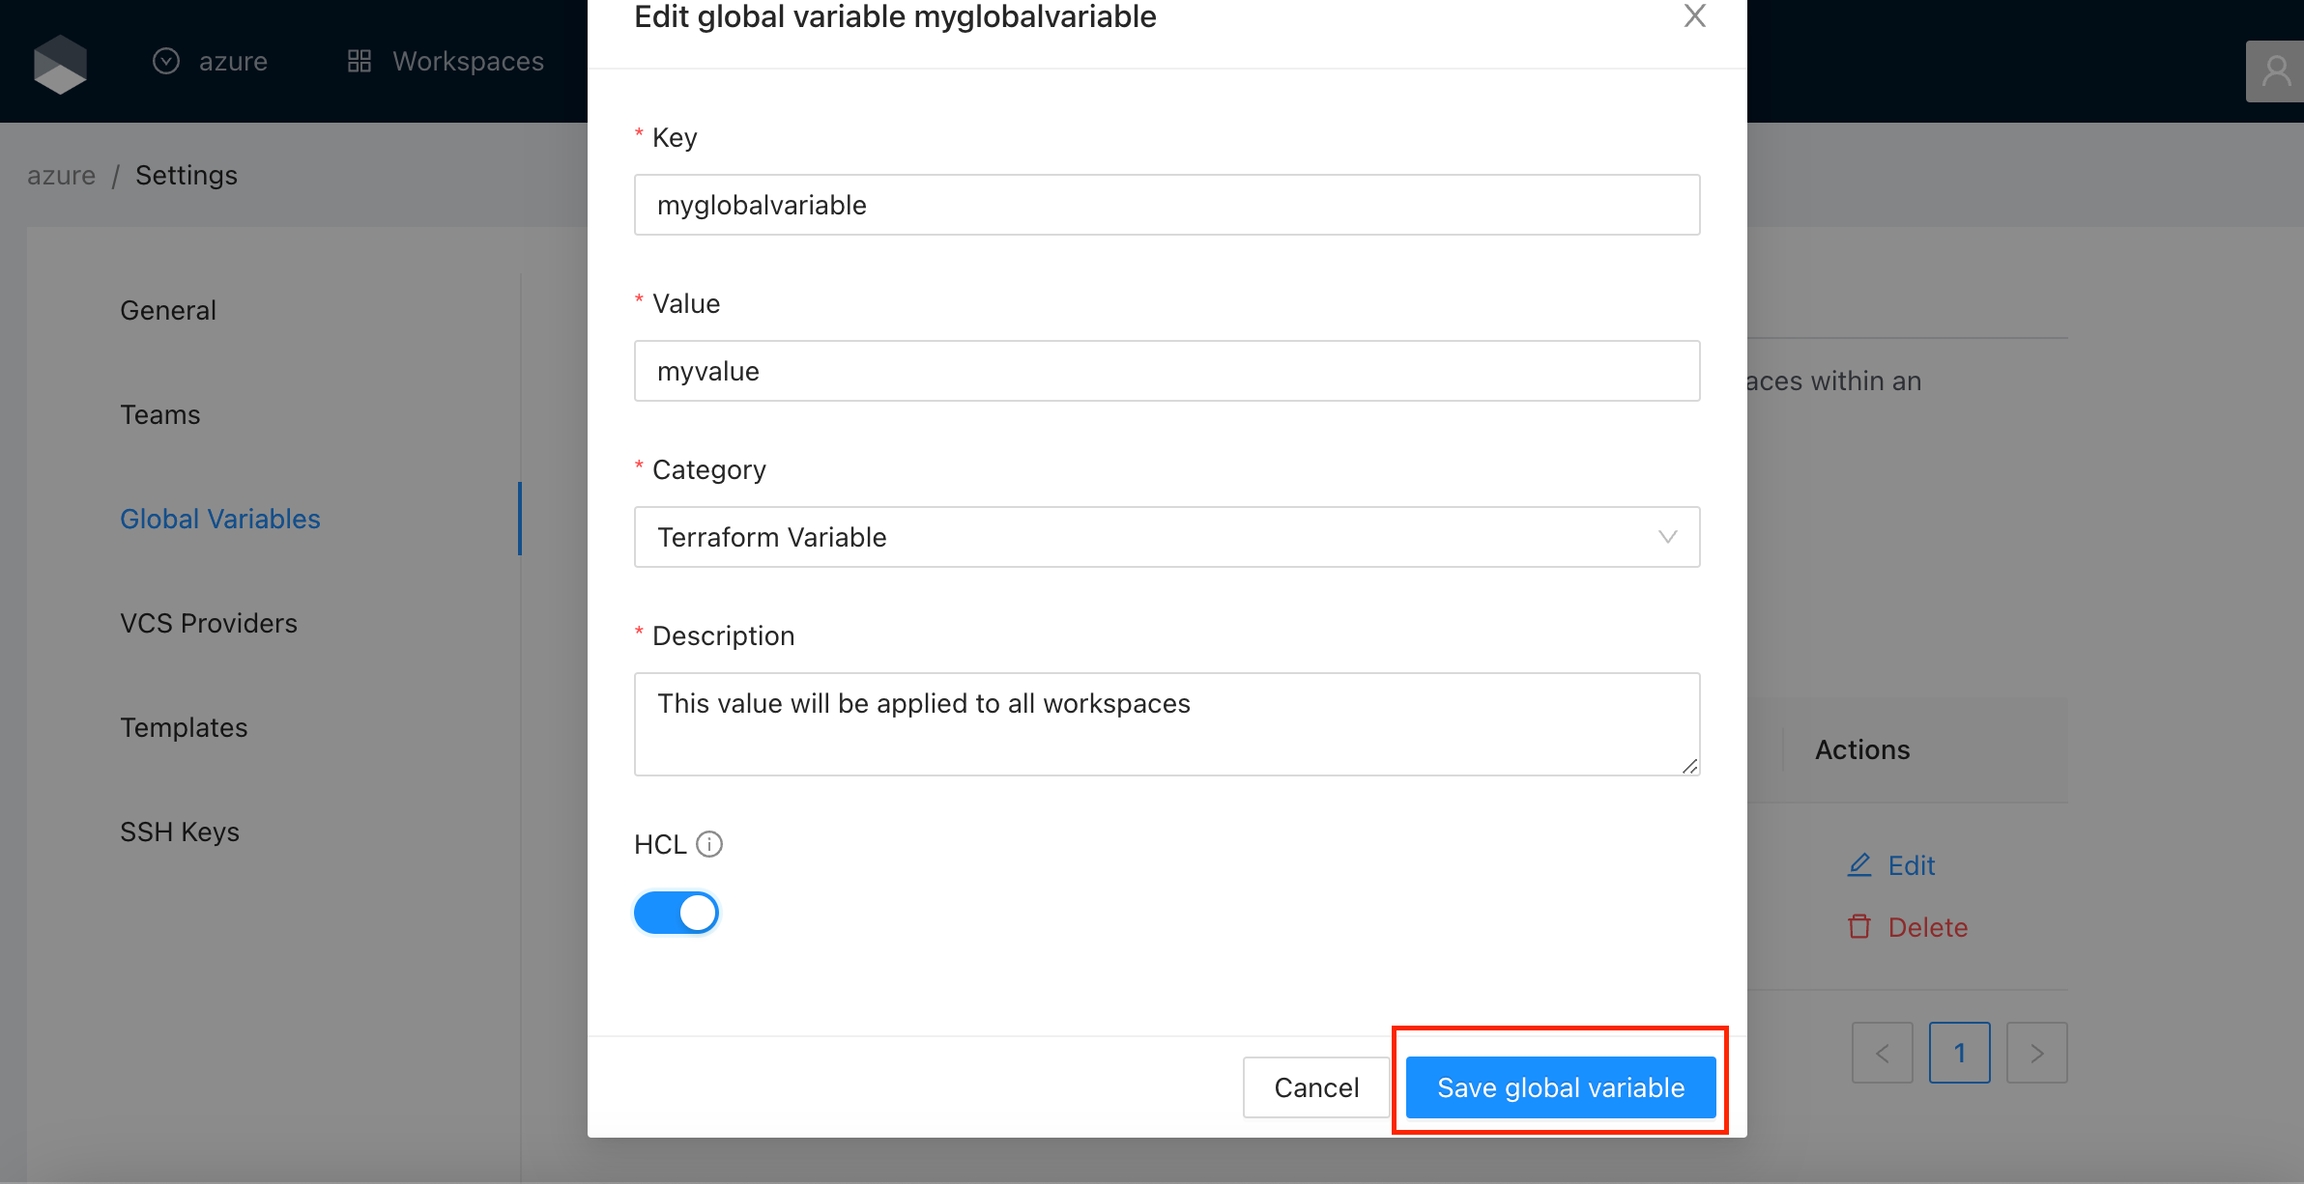
Once you are in the desired organization, click the Settings button, then in the left menu select the Global Variables option and click the Add global variable button
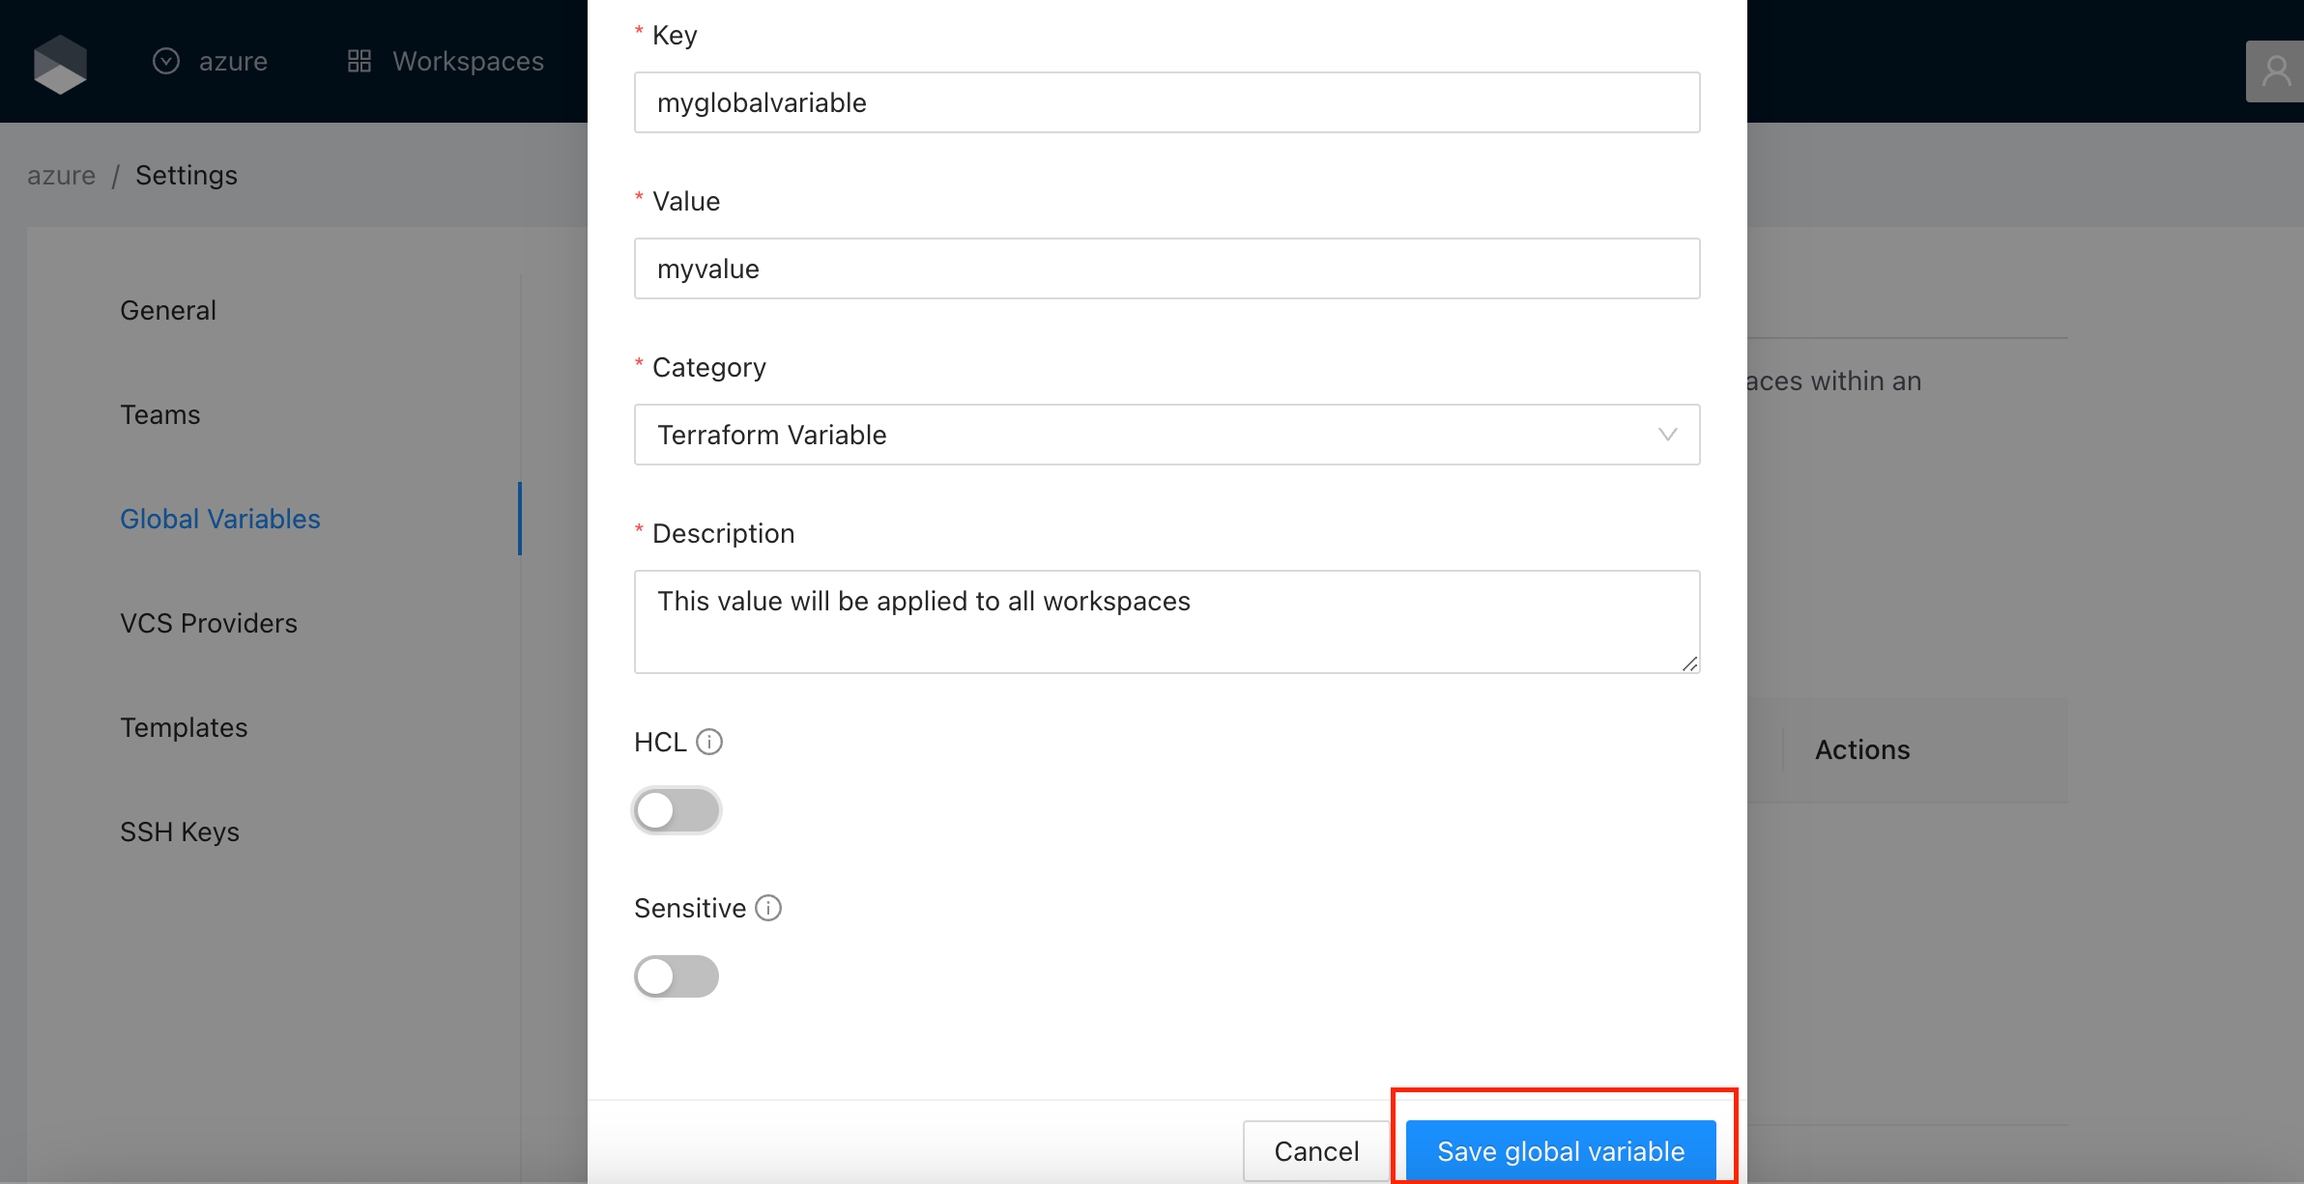
In the popup, provide the required values. Use the below table as reference:
Key
Unique variable name
Value
Key value
Category
Category could be Terraform Variable or Environment Variable
Description
Free text to document the reason for this global variable
HCL
Parse this field as HashiCorp Configuration Language (HCL). This allows you to interpolate values at runtime.
Sensitive
Sensitive variables are never shown in the UI or API. They may appear in Terraform logs if your configuration is designed to output them.
Finally click the Save global variable button and the variable will be created
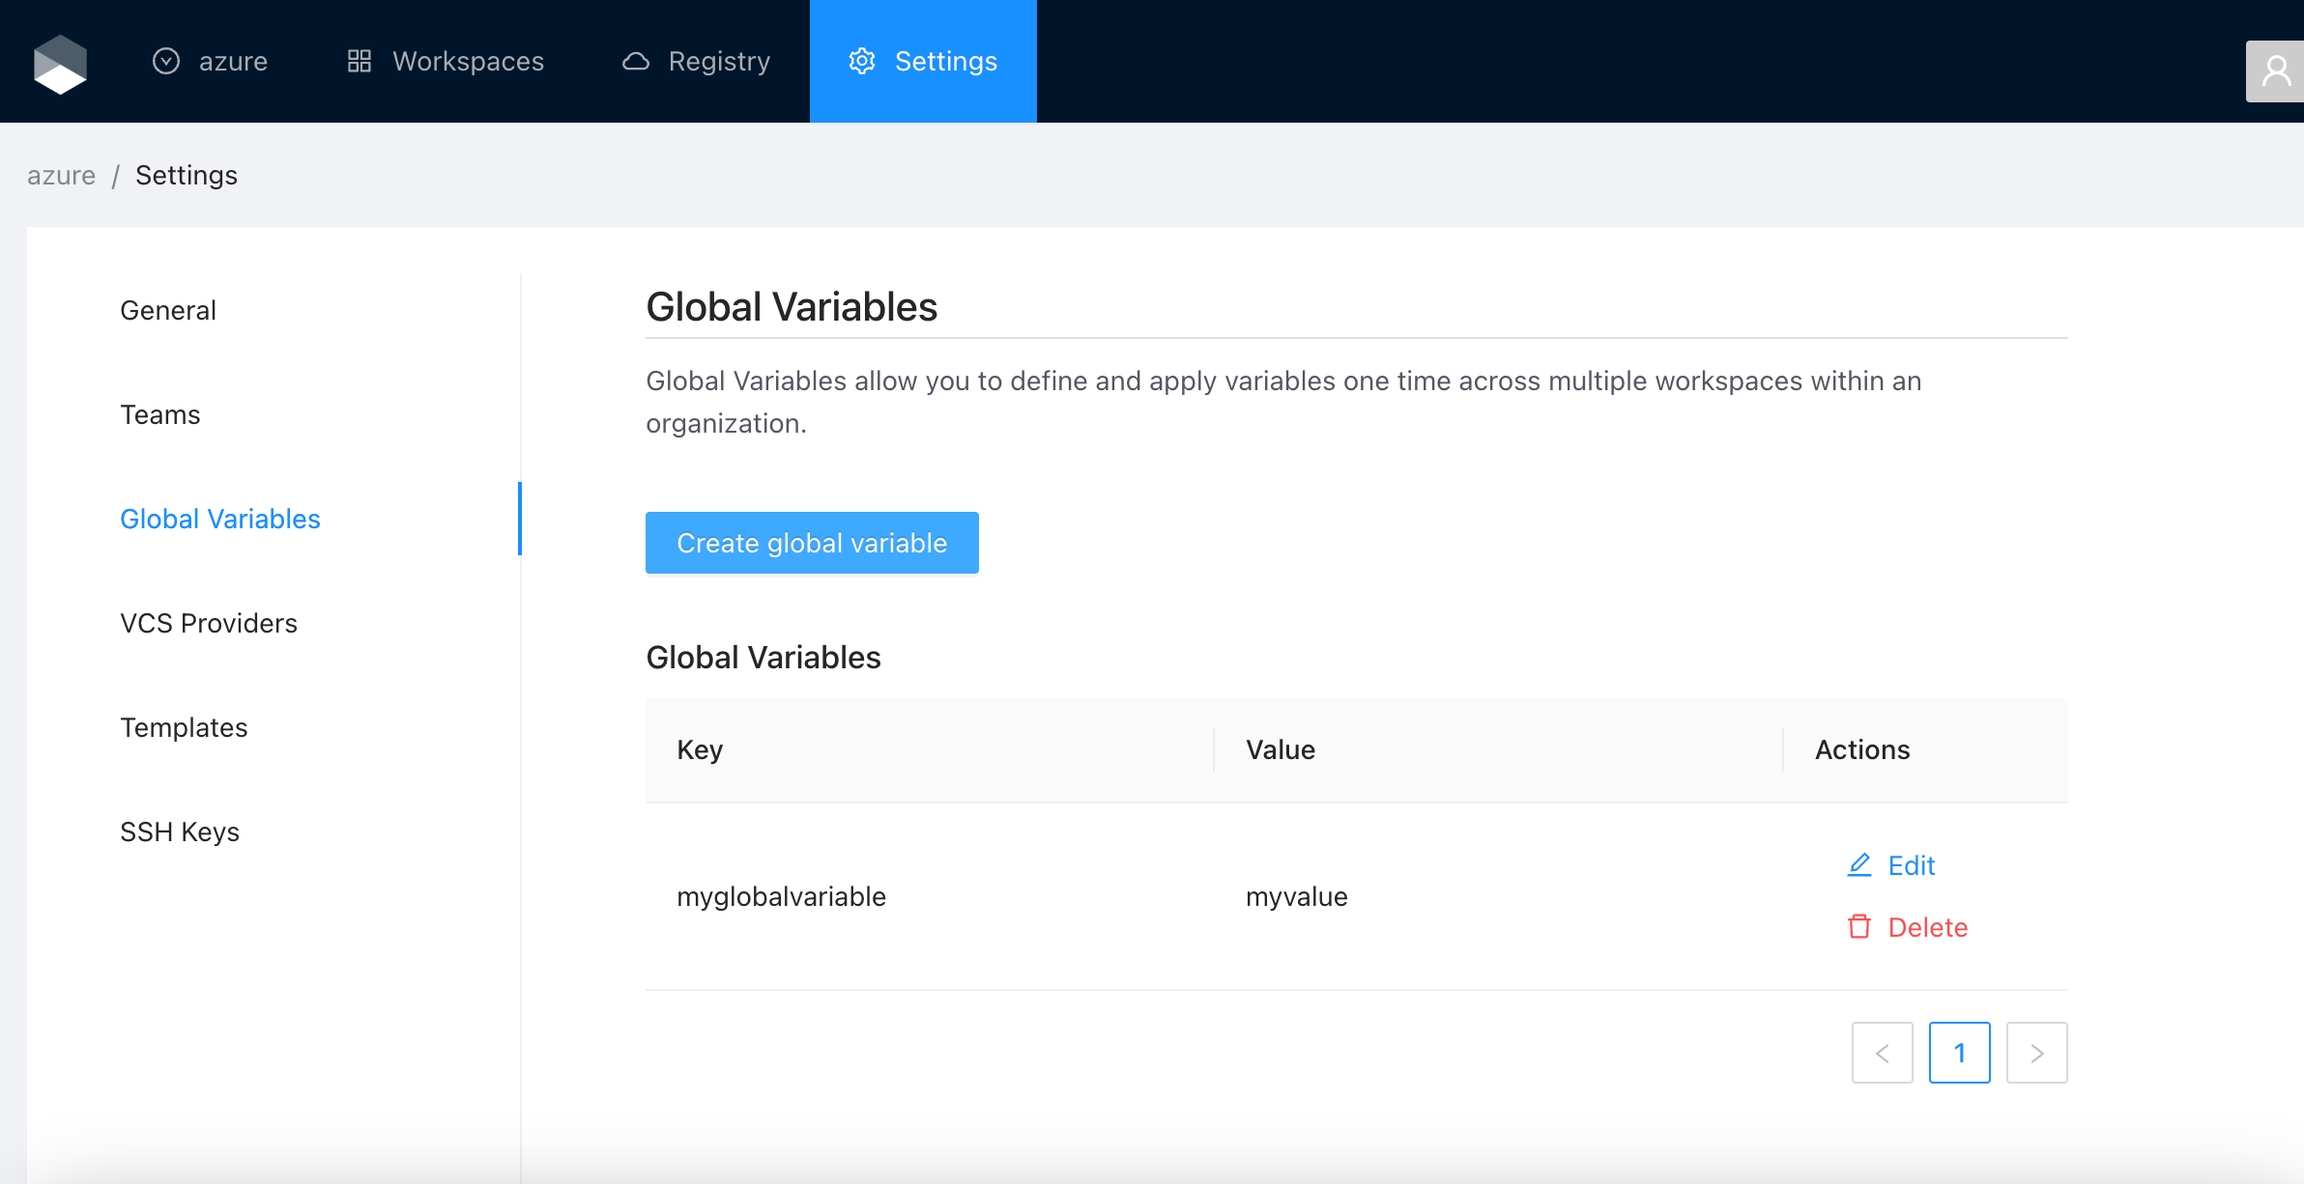
You will see the new global variable in the list. And now the variable will be injected in all the workspaces within the organization
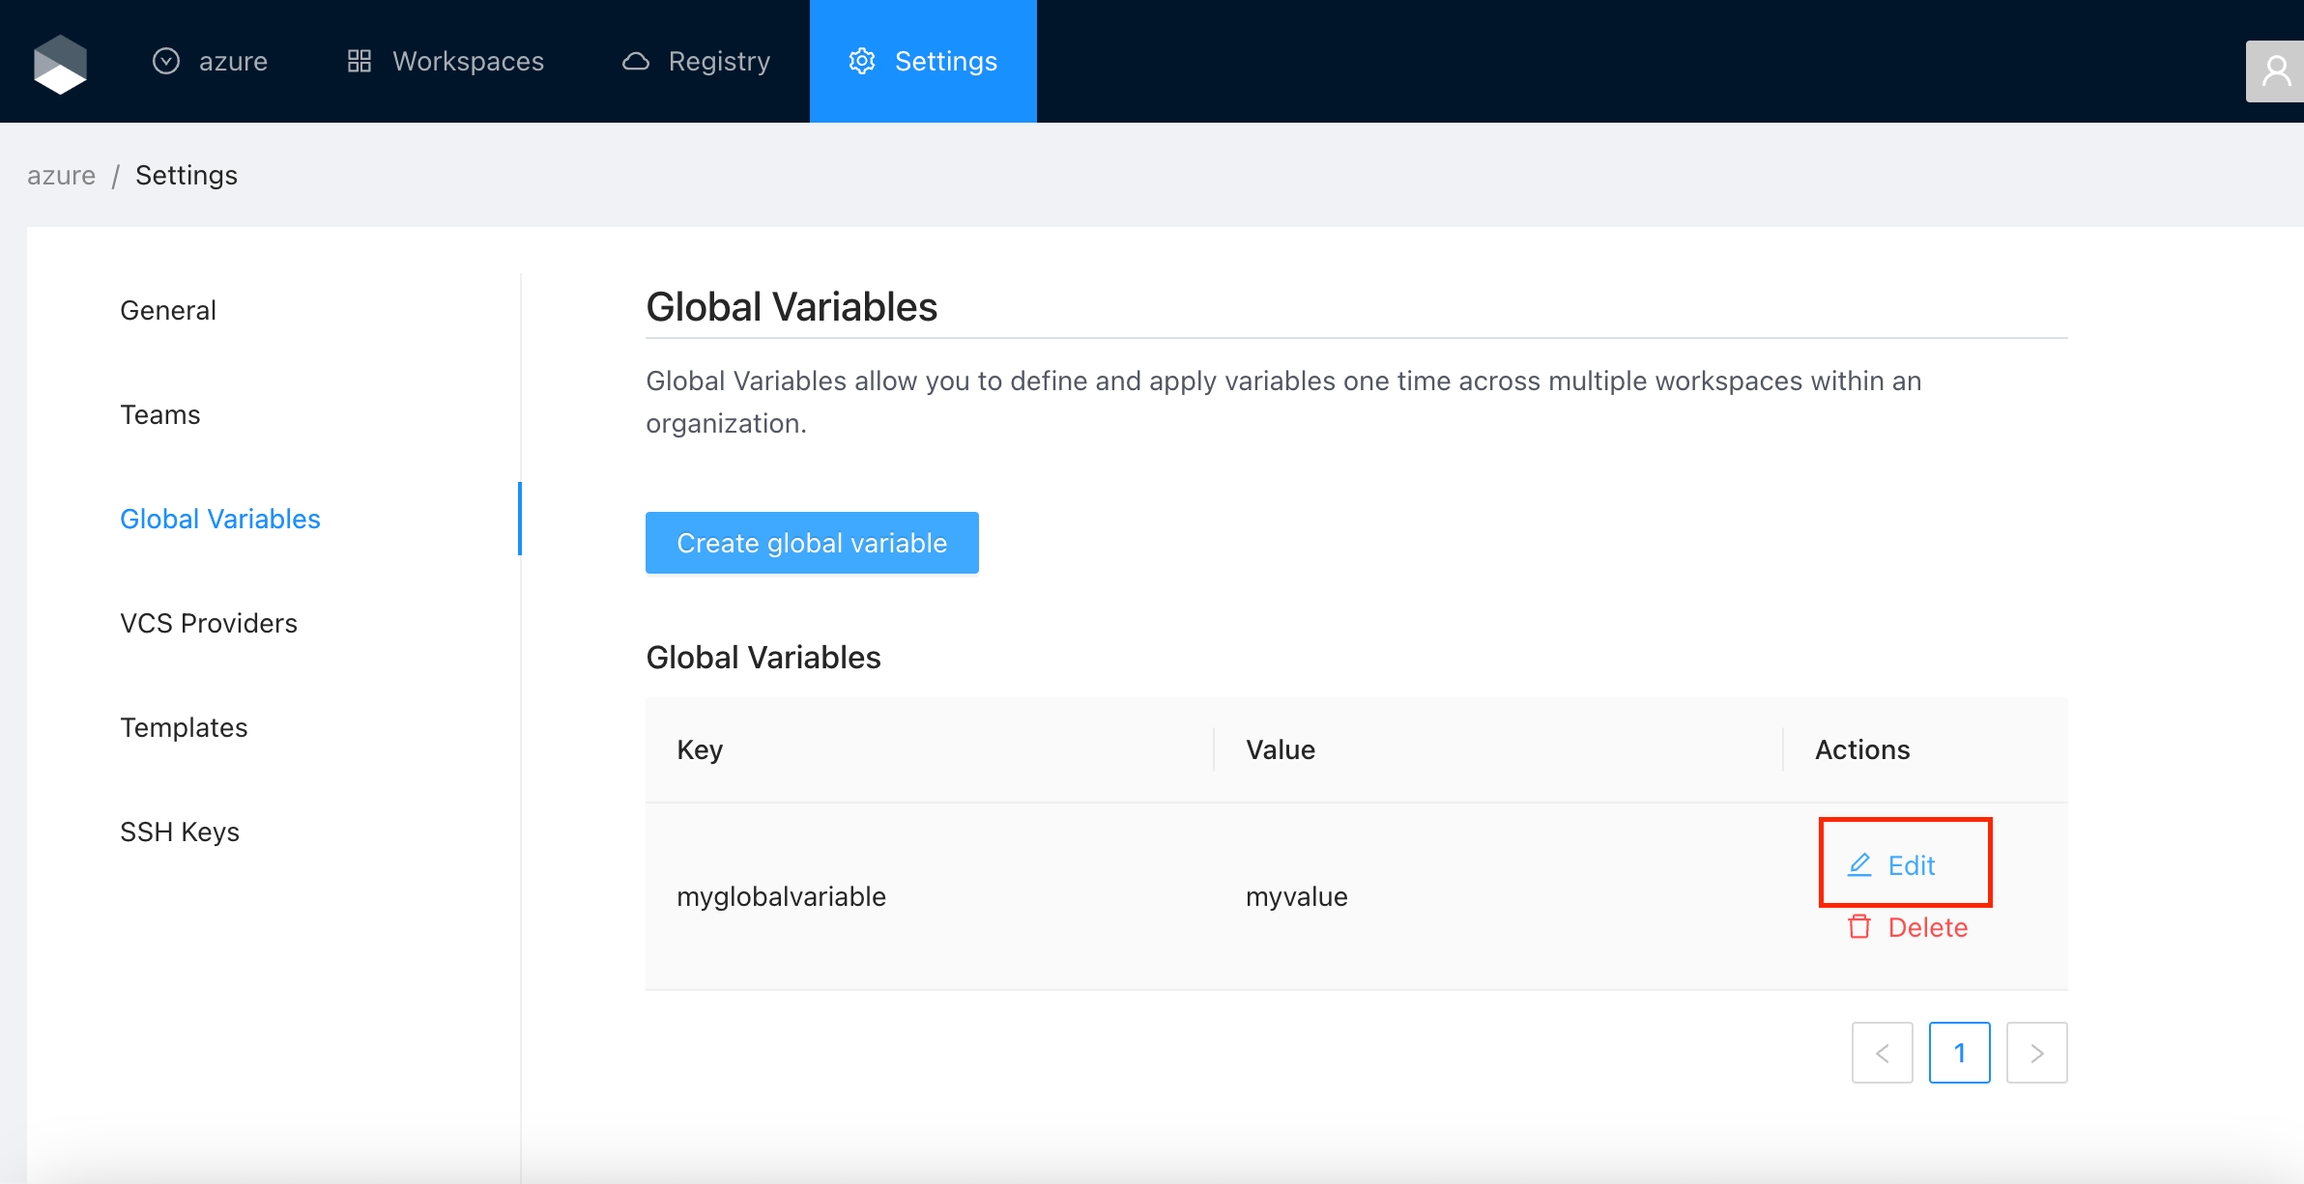
Click the Edit button next to the global variable you want to edit.
Change the fields you need and click the Save global variable button
For security, you can't change the Sensitive field. So if you want to change one global variable to sensitive you must delete the existing variable and create a new one
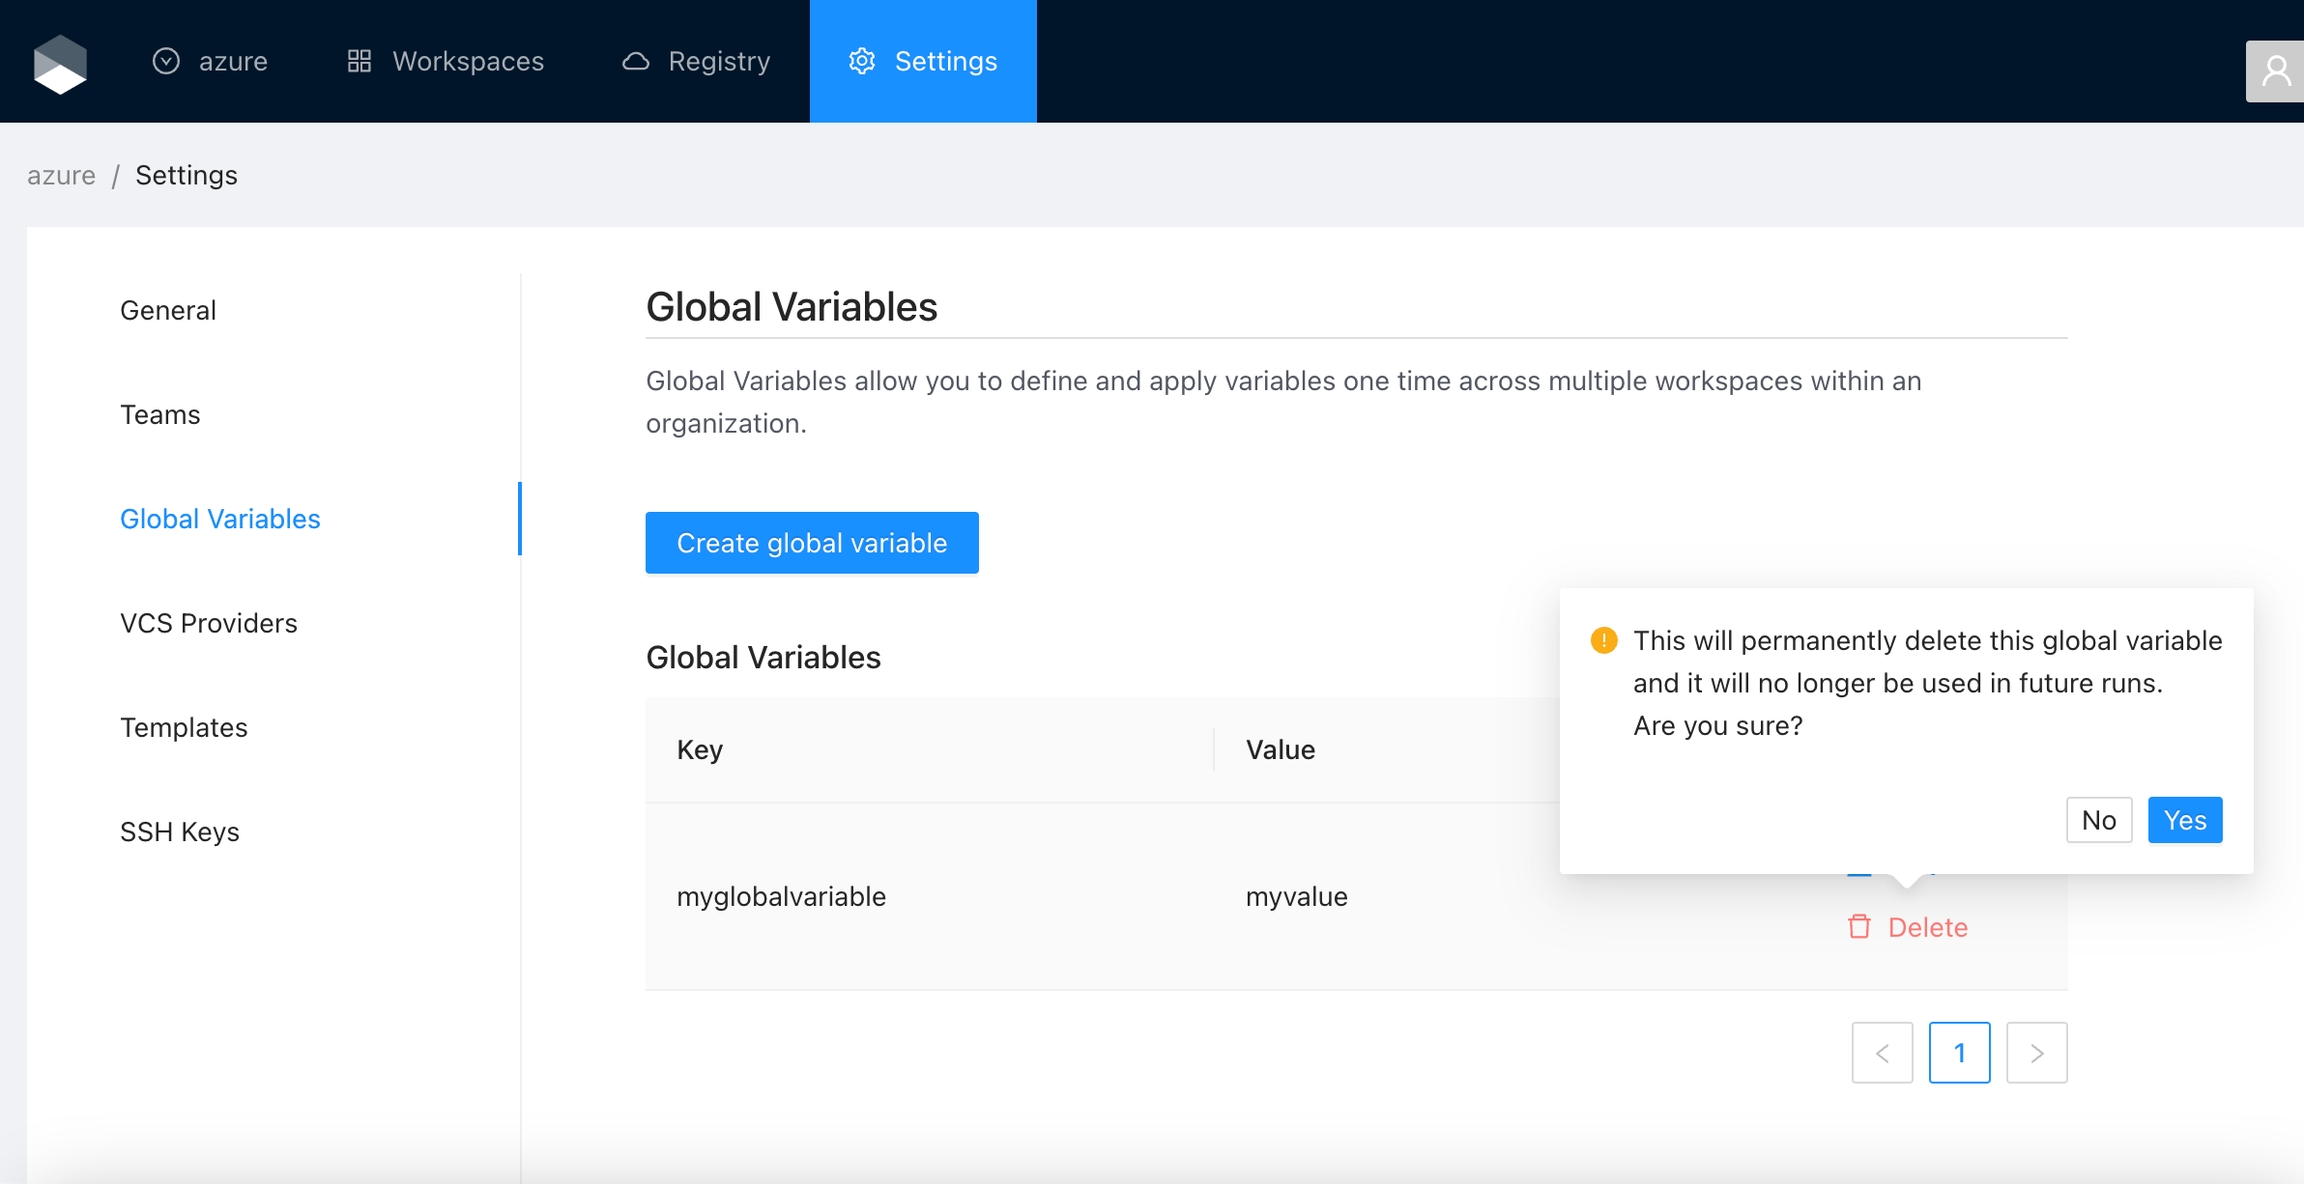
Click the Delete button next to the global variable you want to delete, and then click the Yes button to confirm the deletion. Please take in consideration the deletion is irreversible
The previous example is using to add the environment_id to all the resources in the workspace. To acomplish that, the template defines some additional commands during the Terraform Plan, in this case a groovy class is utilized to download the Terratag binary, and a bash script is used to execute the terratag cli to append the required tags.
Using templates you can define all the business logic you need to execute in your workspace, basically you can integrate terrakube with any external tool. For example you can use to calculate the cost of the resources to be created in your workspace or verify some policies using .
Terrakube extensions can be stored inside a GIT repository that you can configure when staring the platform. This is an example repository that you can fork or customiza to create your custom extensions
There are some tools that are very common, and you don't want repeat the same code everytime or maybe other engineer already created the code and the logic to integrate with a specific tool. For these cases, inside the template is possible to reuse some logic using . Basically if someone else developed an integration with an external third party service, you don't need to implement it again, you can use the extension. Let's see how the template looks like using the :
If you notice the above script is more compact as is reusing some logic. If you want to simplify and reuse some templates in your organization, please check .
Using Templates you can even customize the UI for each job, see for more details.
To see the complete list for terrakube extensions see the . This repo is always growing so its possible the tool you need is already there. In this repo you can also see more templates examples for things like approvals, variable injection and so on.
If you need to store information generated on the steps defined in your template, you can use .
Manage VCS Templates permission is required to perform this action, please check for more info
Templates can become big over time while adding steps to execute additional business logic.
Example before template import:
Terrakube supports having the template logic in an external git repository like the following:
This feature is only available from Terrakube 2.11.0
Using import templates become simply and we can reuse the logic accross several Terrakube organizations
The sample template can be found here.
The import commands are using a public repository, we will add support for private repositories in the future.
Organizations are privately shared spaces for teams to collaborate on infrastructure. Basically are logical containers that you can use to define your company hierarchy to organize the workspaces, modules in the private registry and assign fine grained permissions to your teams.
In this section:
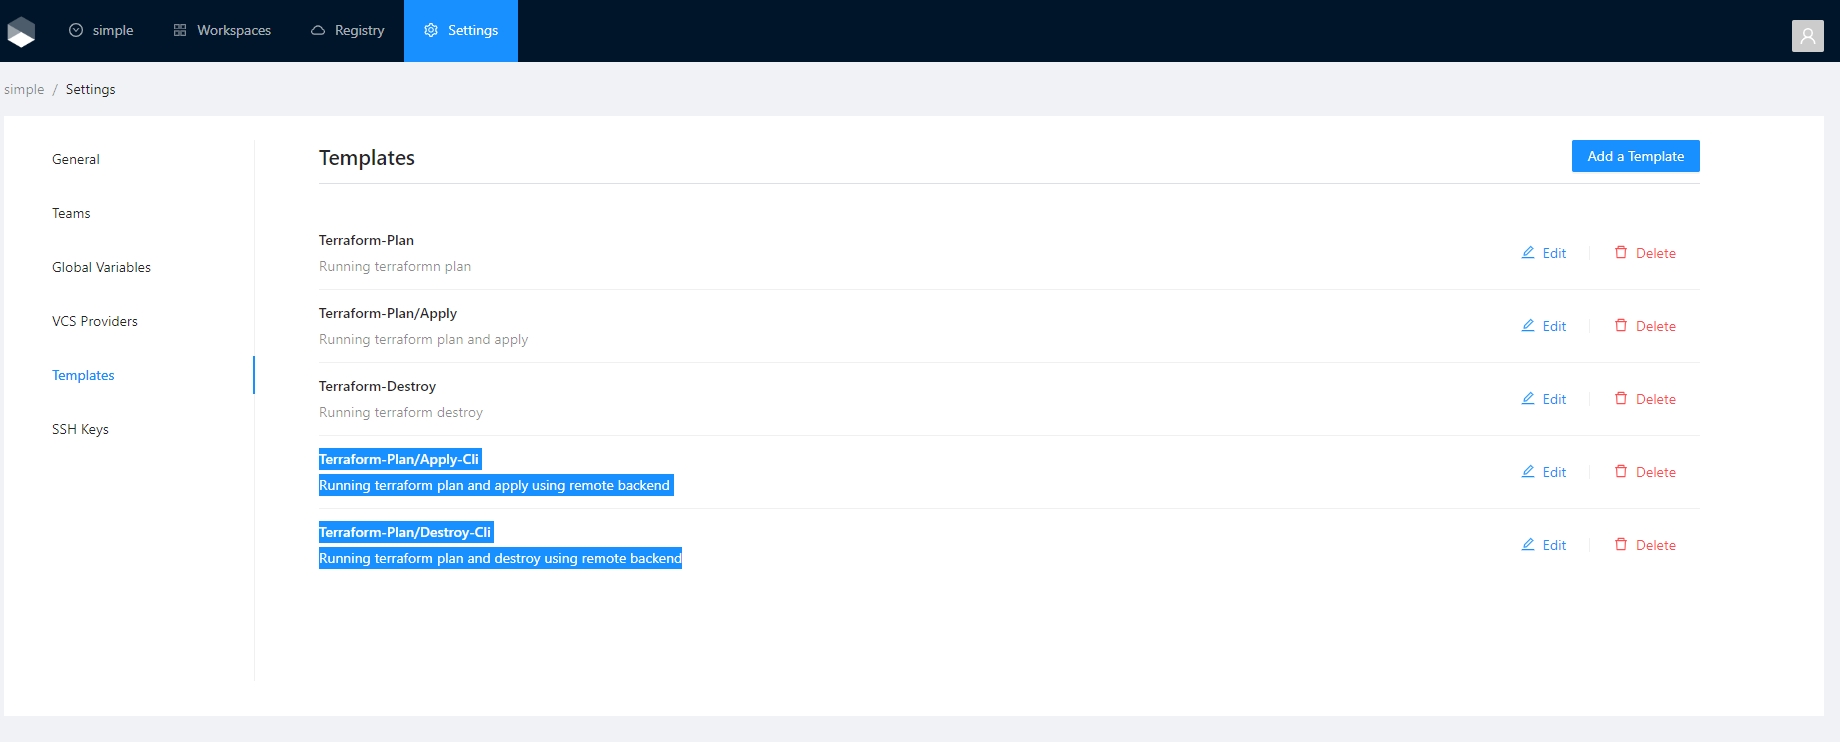
Terrakube creates the following default templates:
Terrakube use job templates for all executions, Terrakube automatically create the following templates that are used when using the terraform remote state backend operations. This templates are created in all organizations.
Will be used when you execute using the terraform cli
Will be used when you execute terraform destroyusing the terraform cli
This templates can be updated if need it but in order for the terraform remote state backed to work properly the step number and the template names should not be changed. So if you delete or modify this templates
When we deploy some infrastructure we can set some other template to execute in some specific time for example to destroy the infrascturture or resize it.
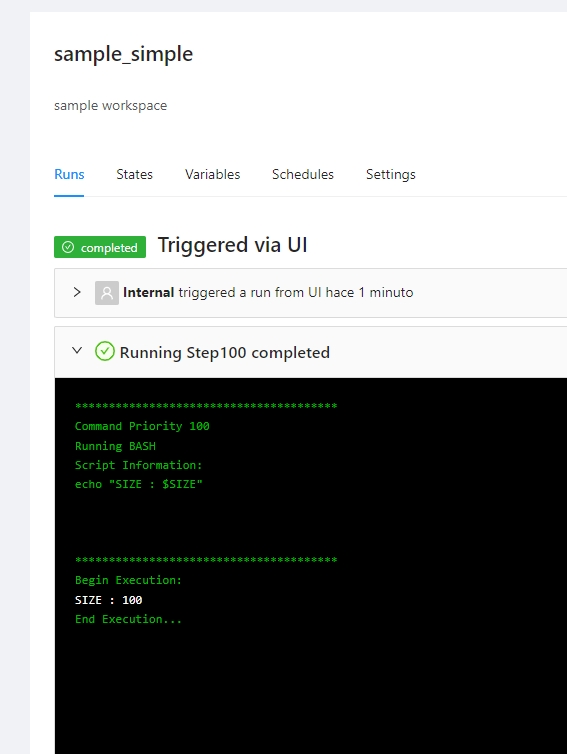
This example will show the basic logic to accomplish but it is not creaing a real VM it just running some scripts that are showing the injected terraform variables when running the job.
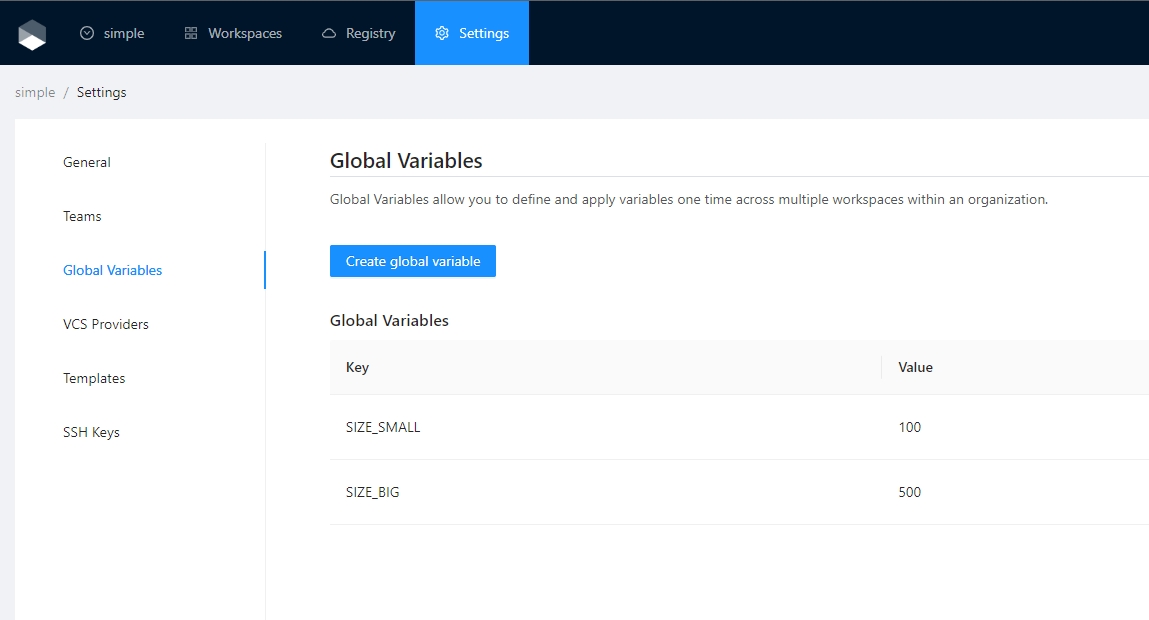
Define the size as global terraform variables for example SIZE_SMALL and SIZE_BIG, this terraform variables will be injected in our future templates "schedule1" and "schedule2" as terraform variables dynamically.
We define a job template that creates the infrasctucture using some small size and create two schedule at the end of the template.
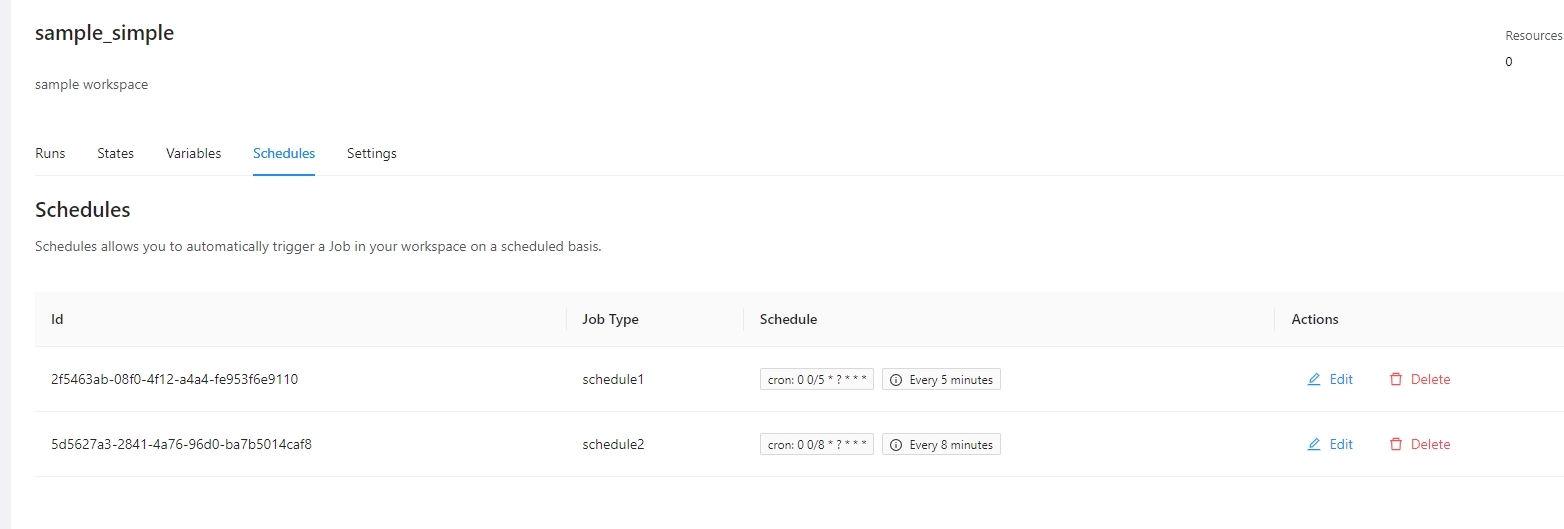
This will create our "virtual machine" using size small, after it will set two addtional schedules to run every 5 and 10 minutes to resize it.
We will have 3 templates, one to create the virtual machine and two to resize it
Once the workspace is executed creating the infrasctructure two automatic shedules will be define
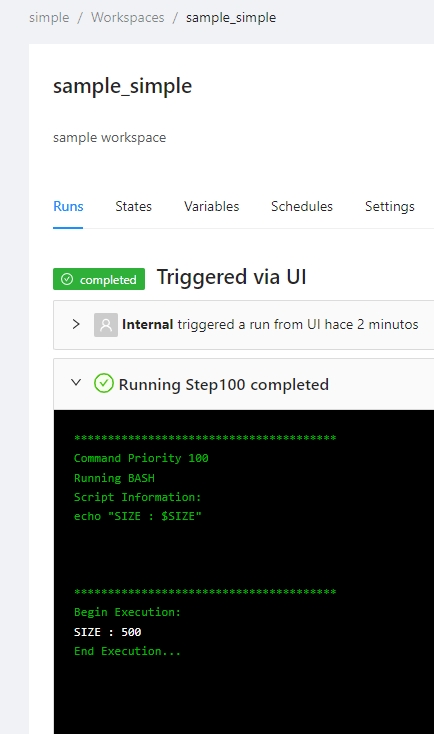
Differente jobs will be executed.
Inject the new size using global terraform variables
Inject the new size using global terraform variables
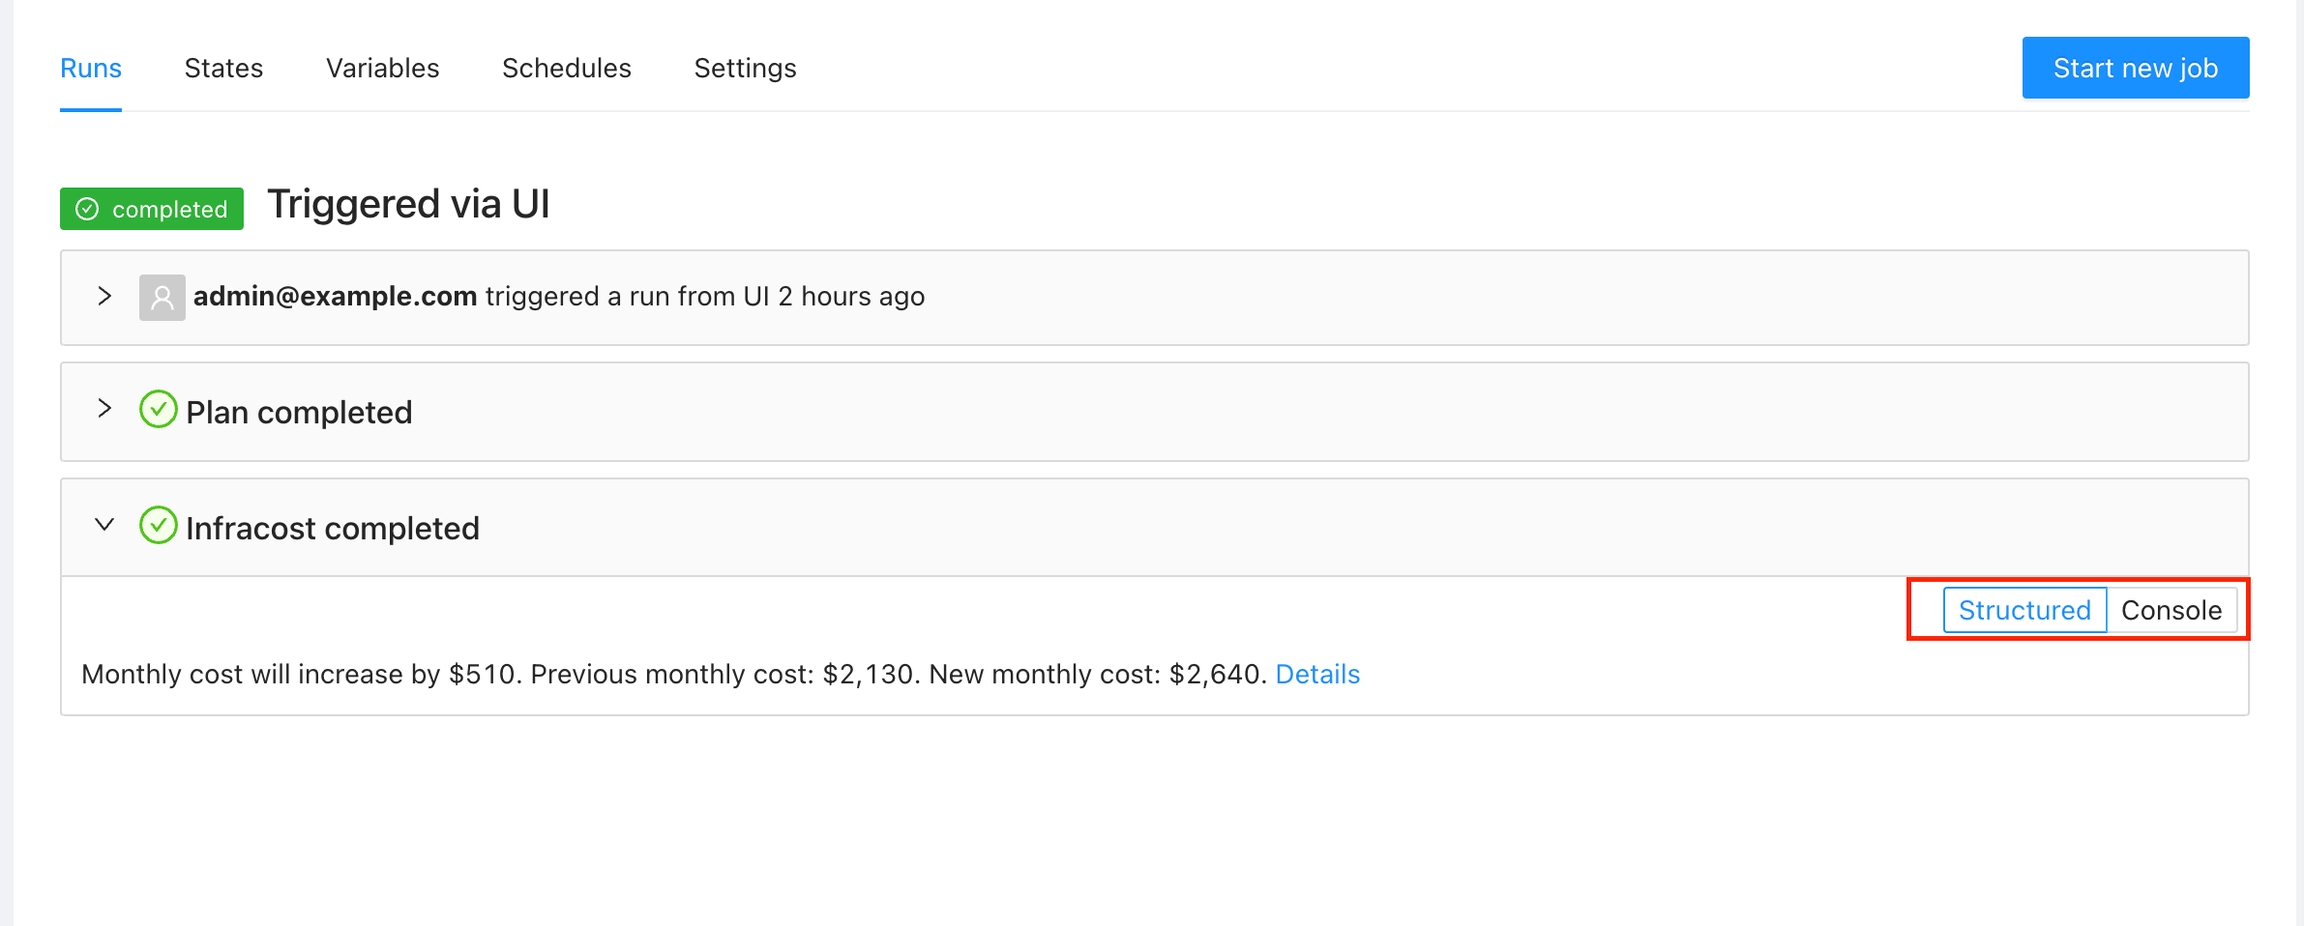
Terrakube allows you to customize the UI for each step inside your templates using standard HTML. So you can render any kind of content extracted from your Job execution in the Terrakube UI.
For example you can present the costs using Infracost in a friendly way:
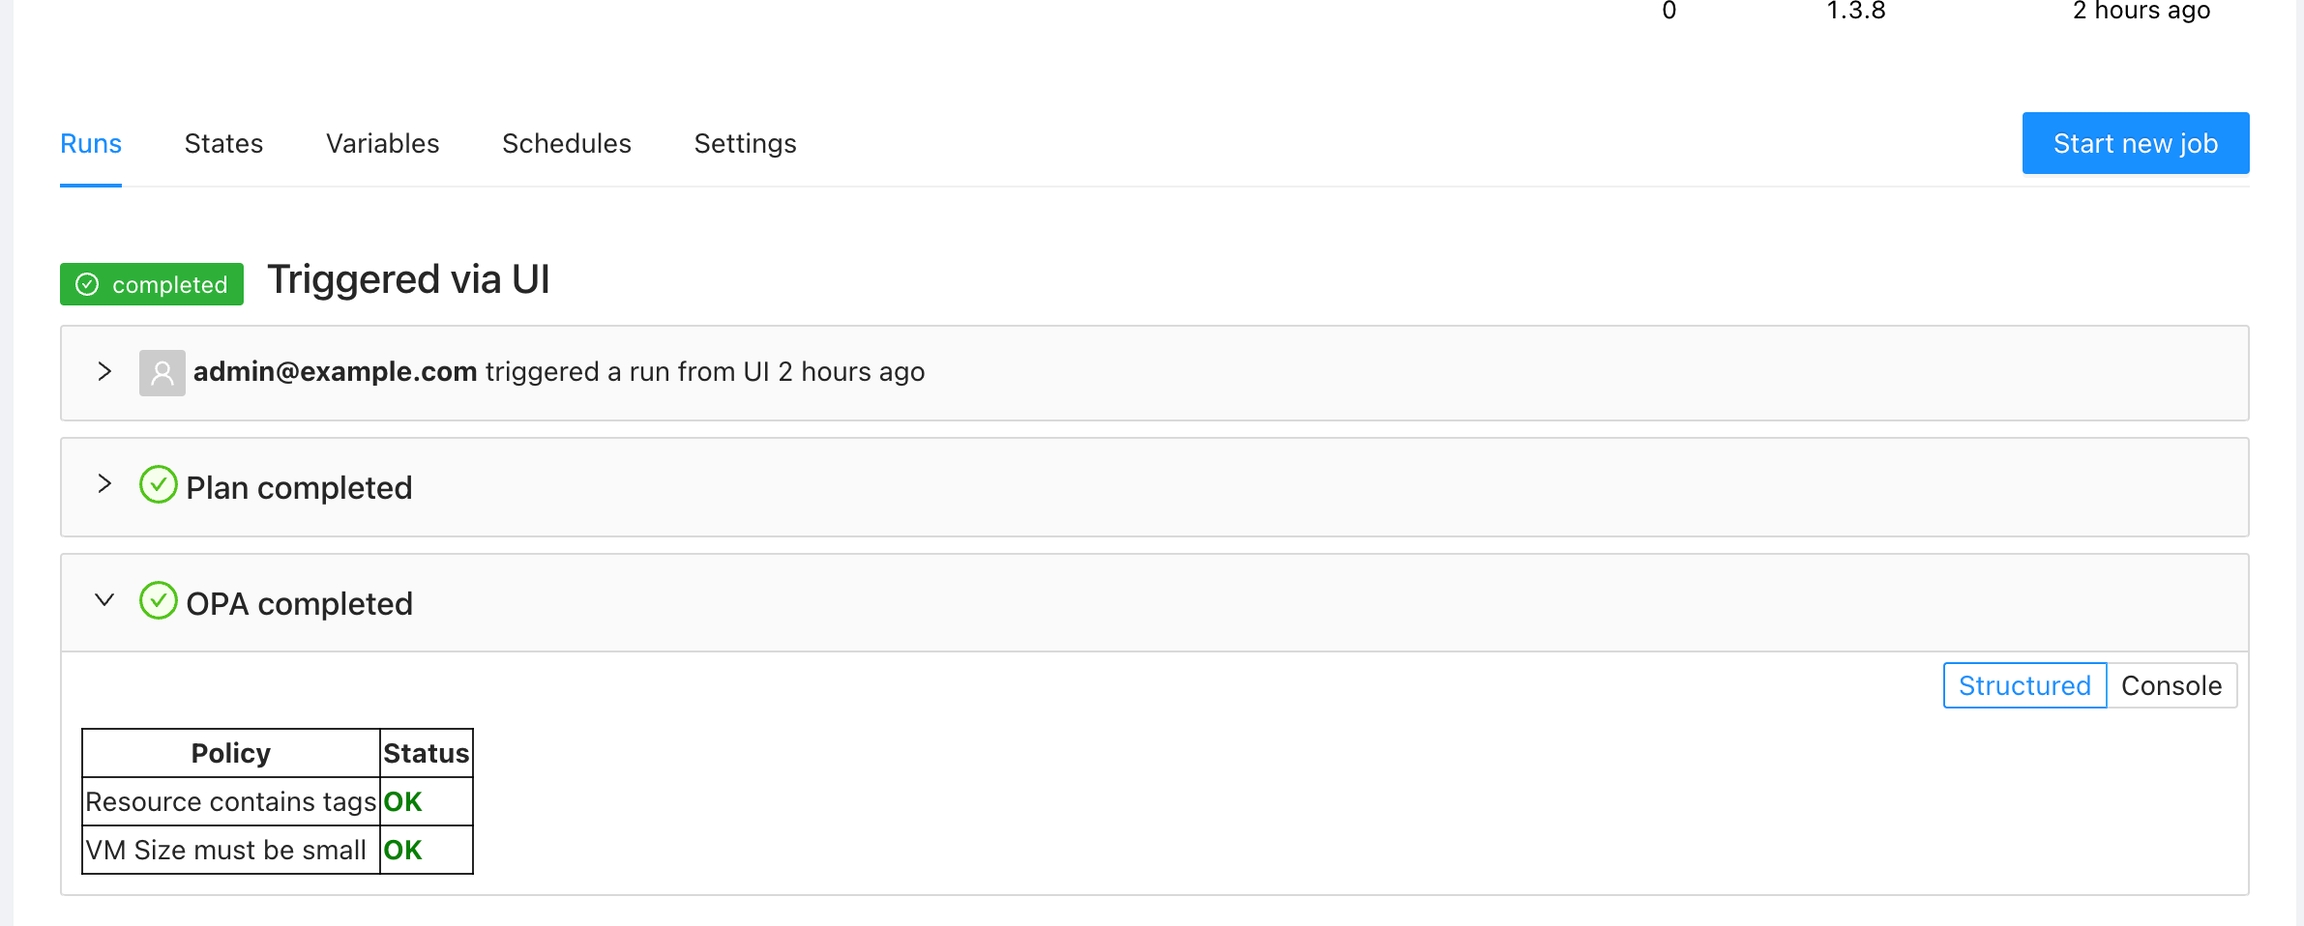
Or present a table with the OPA policies
In the above example the 100 property in the JSON refers to the step number inside your template. In order to save this value from the template you can use the Context extension. For example:
In order to use UI templates you will need to save the HTML for each template step using the . Terrakube expects the ui templates in the following format.
Persistent Context is helpfull when you need to save information from the job execution, for example it can be used to save the infracost or save the thread id when using the Slack extension. We can also use it to save any JSON information generated inside Terrakube Jobs.
In order to save the information the terrakube API exposes the following endpoint
Job context can only be updated when the status of the Job is running.
To get the context you can use the Terrakube API
The persistent context can be used using the Context extension from the Terrakube extension repository. It supports saving a JSON file or saving a new property inside the context JSON.
This is an example of a Terrakube template using the persistent job context to save the infracost information.
You can use persistent context to customize the Job UI, see UI templates for more details.
You can use tags to categorize, sort, and even filter workspaces based on the tags.
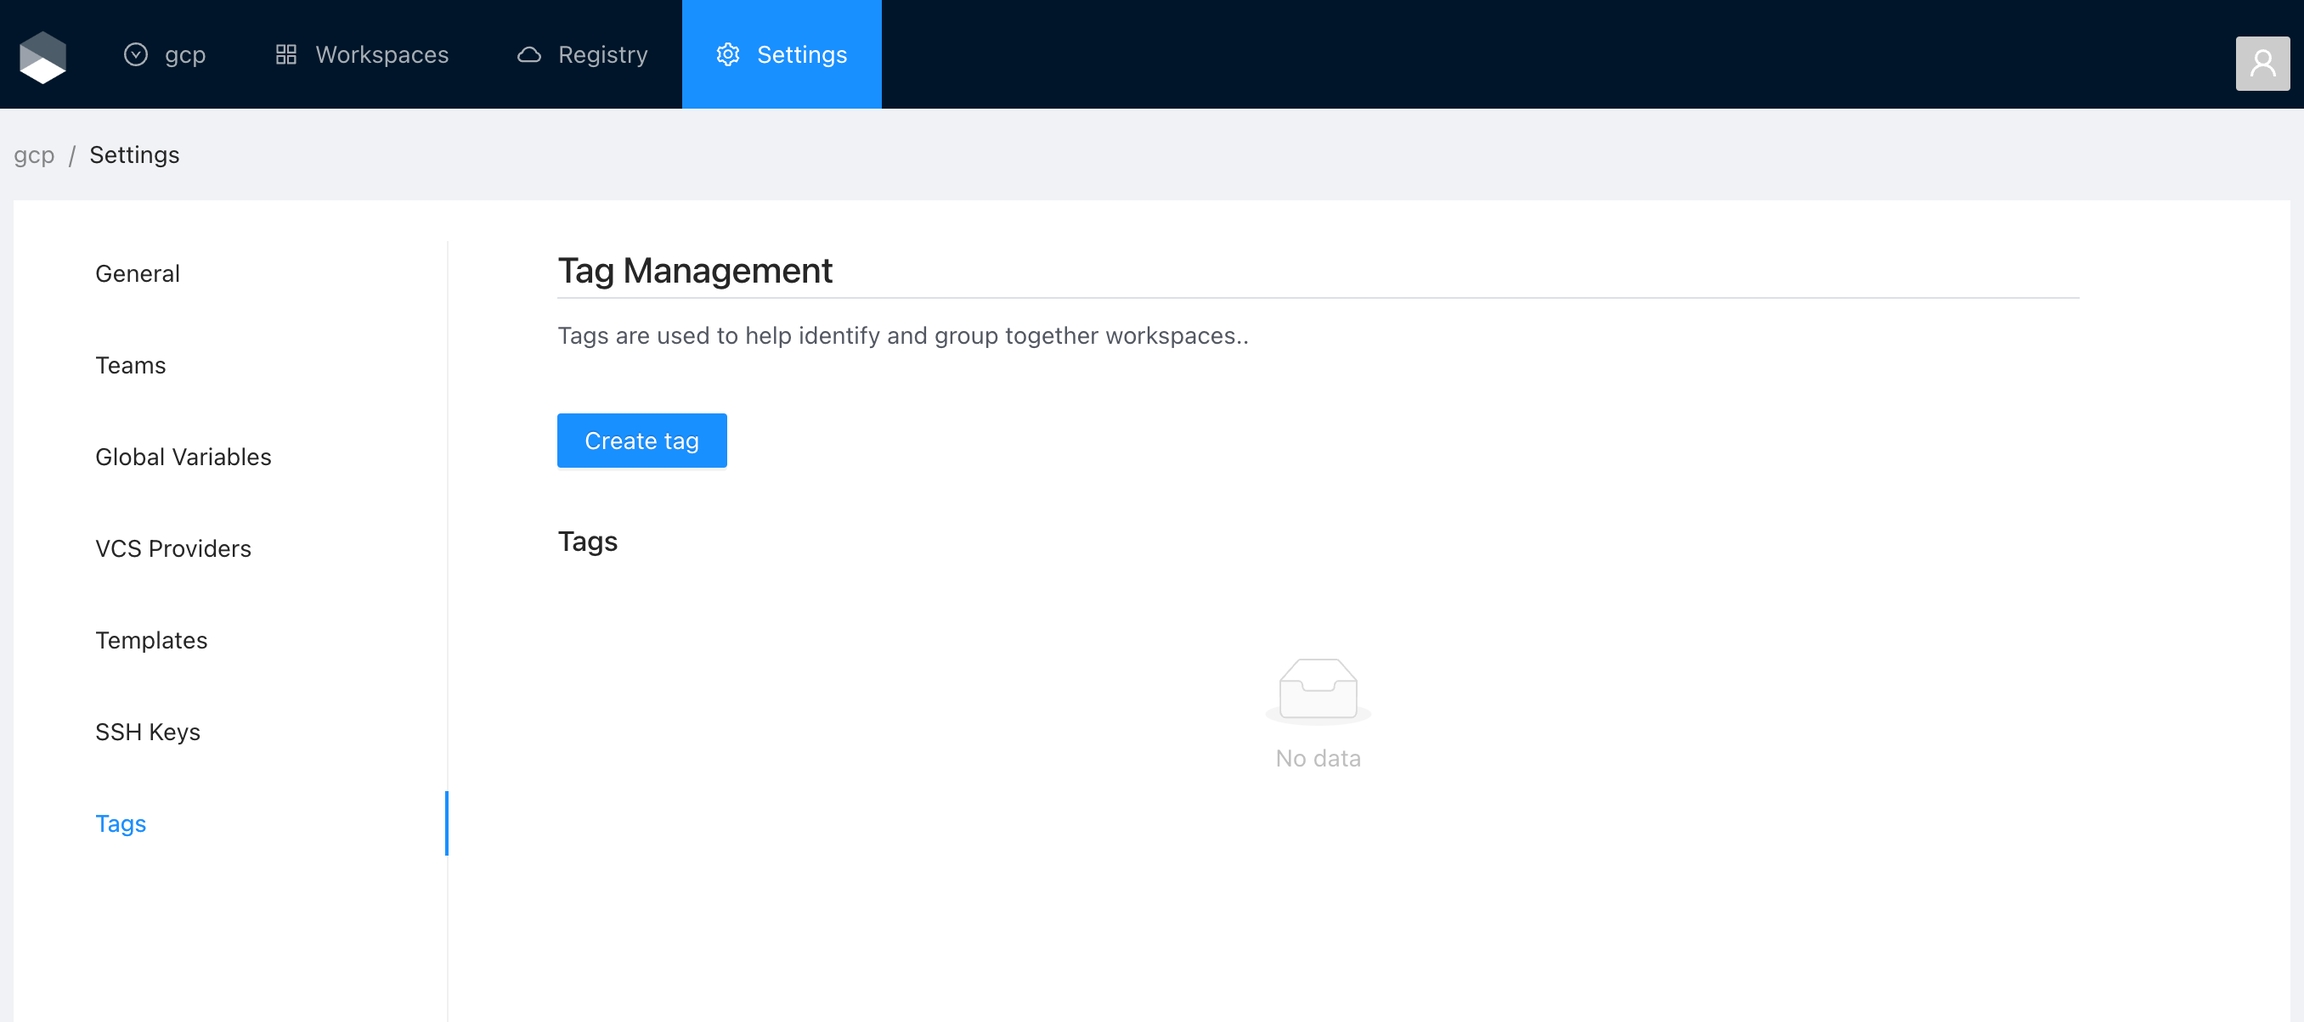
You can manage tags for the organization in the Settings panel. This section lets you create and remove tags. Alternatively, you can add existing tags or create new ones in the Workspace overview page.
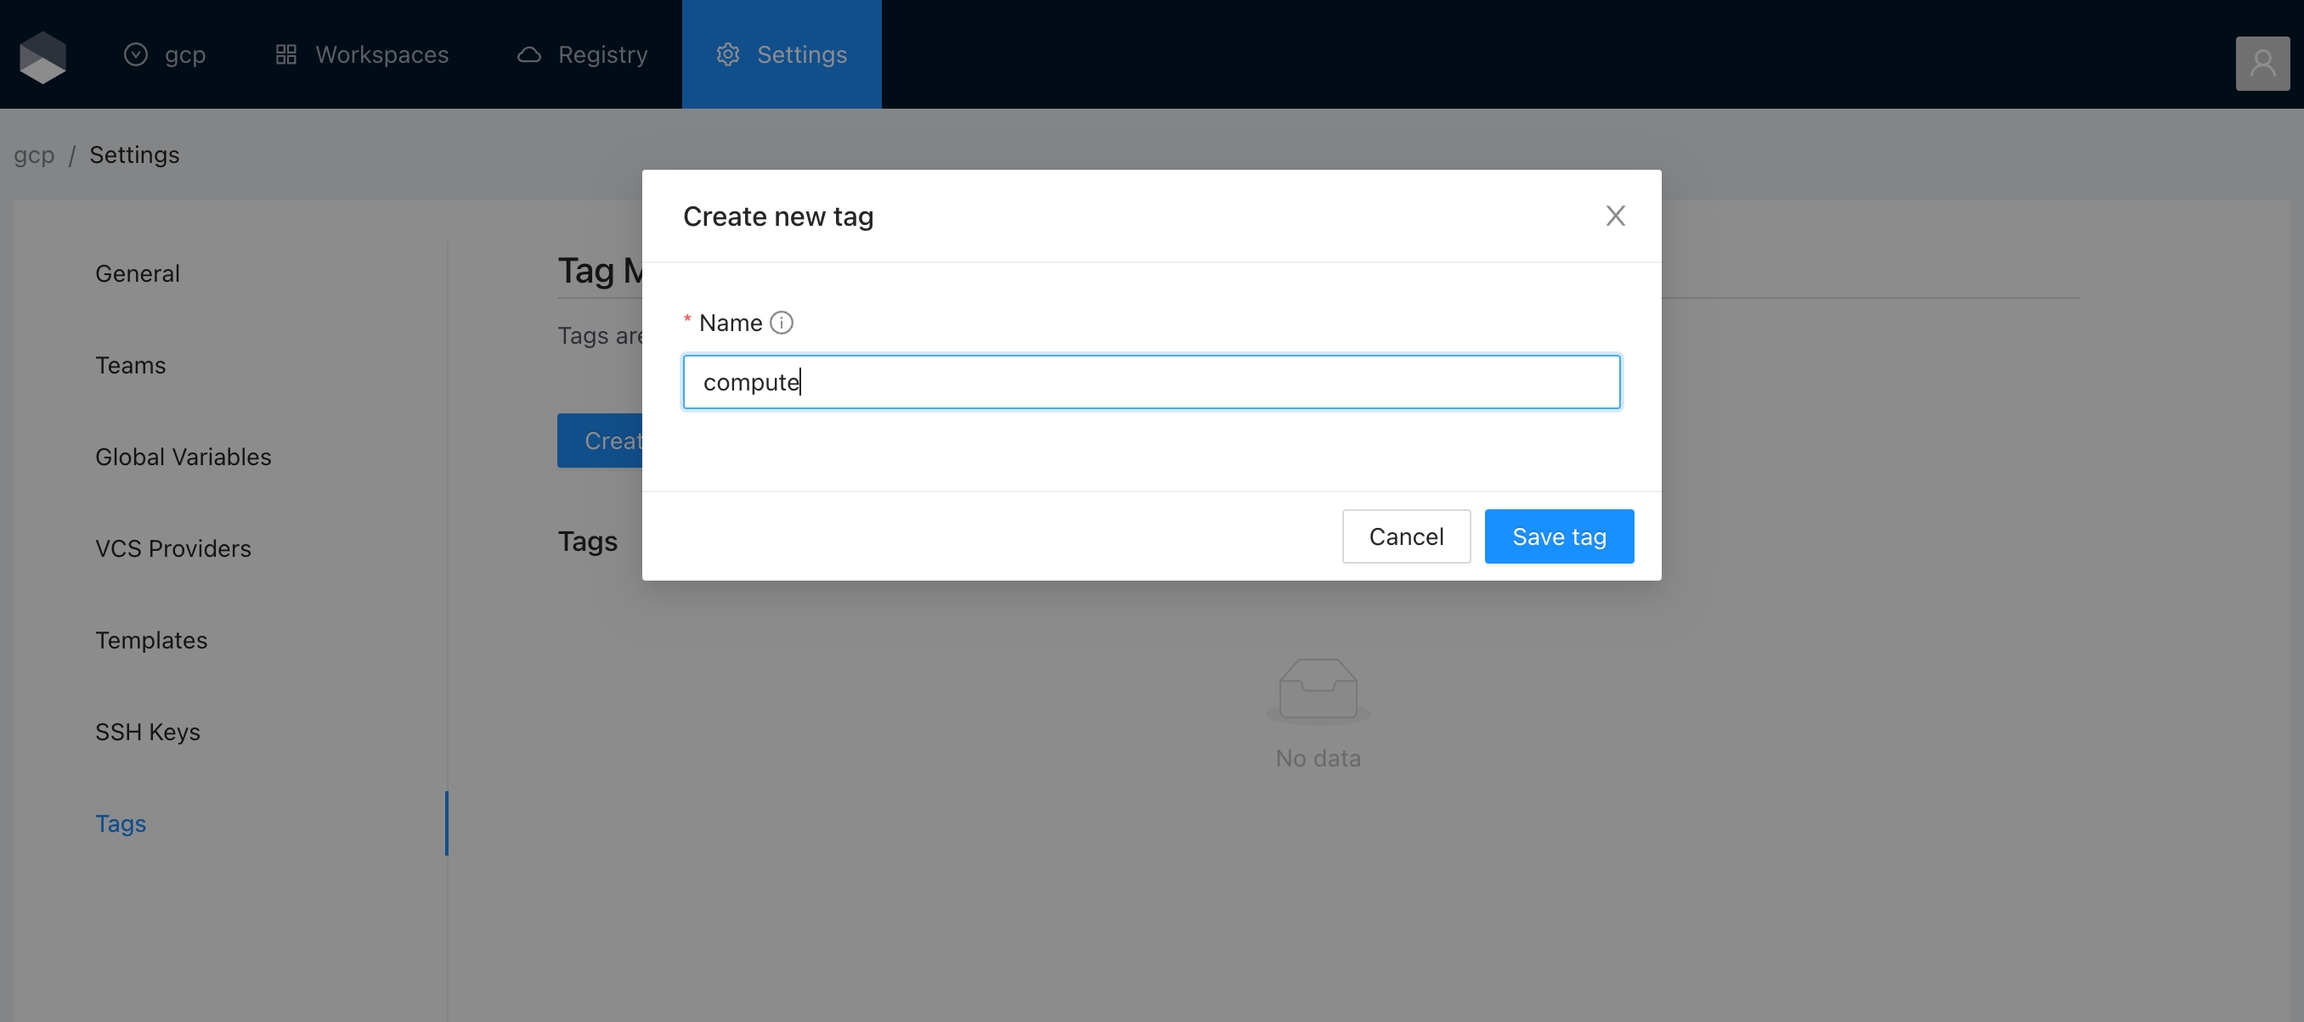
Once you are in the desired organization, click the Settings button, then in the left menu select the Tags option and click the Add global variable button
In the popup, provide the required values. Use the below table as reference:
Name
Unique tag name
Finally click the Save tag button and the variable will be created
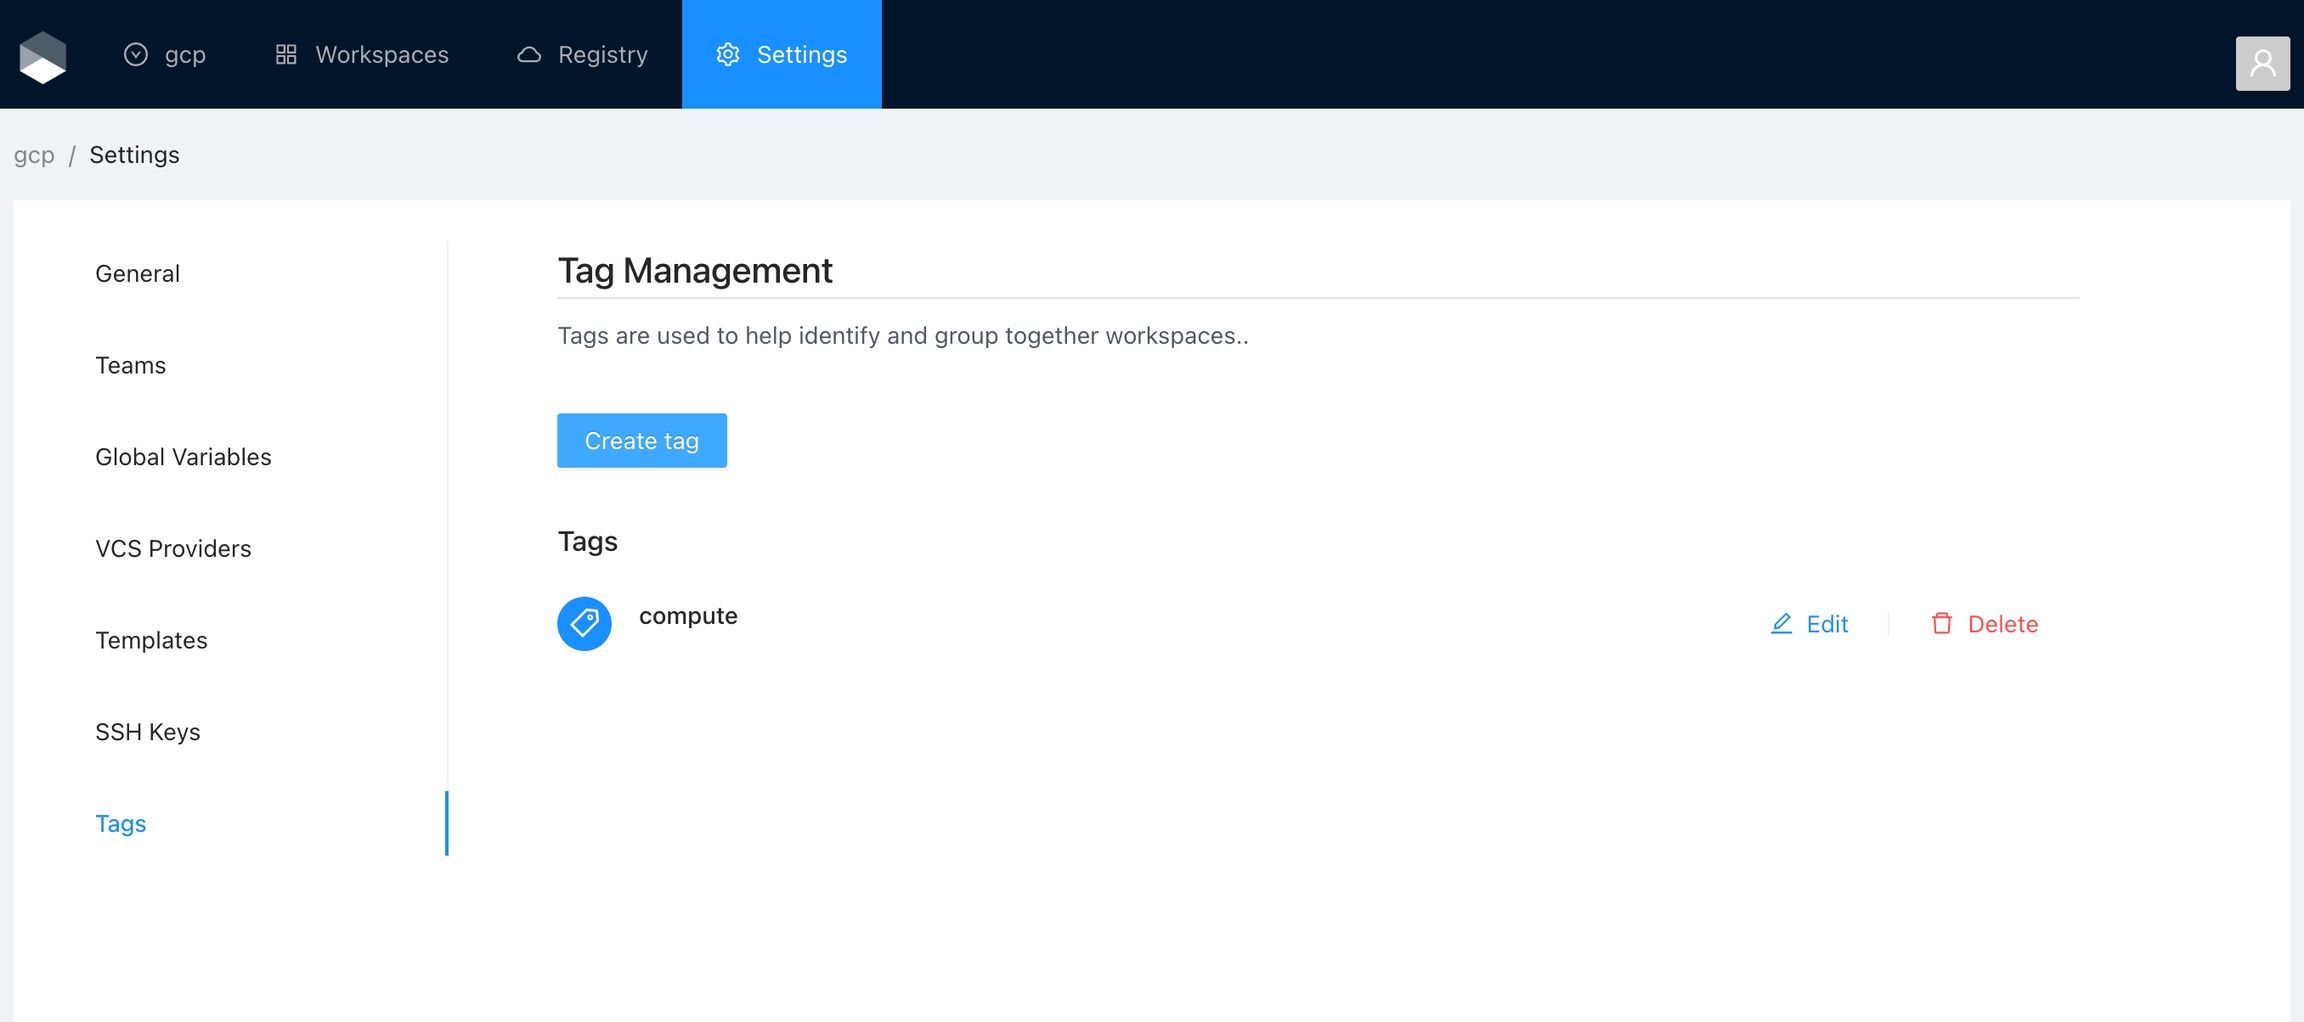
You will see the new tag in the list. And now you can use the tag in the workspaces within the organization
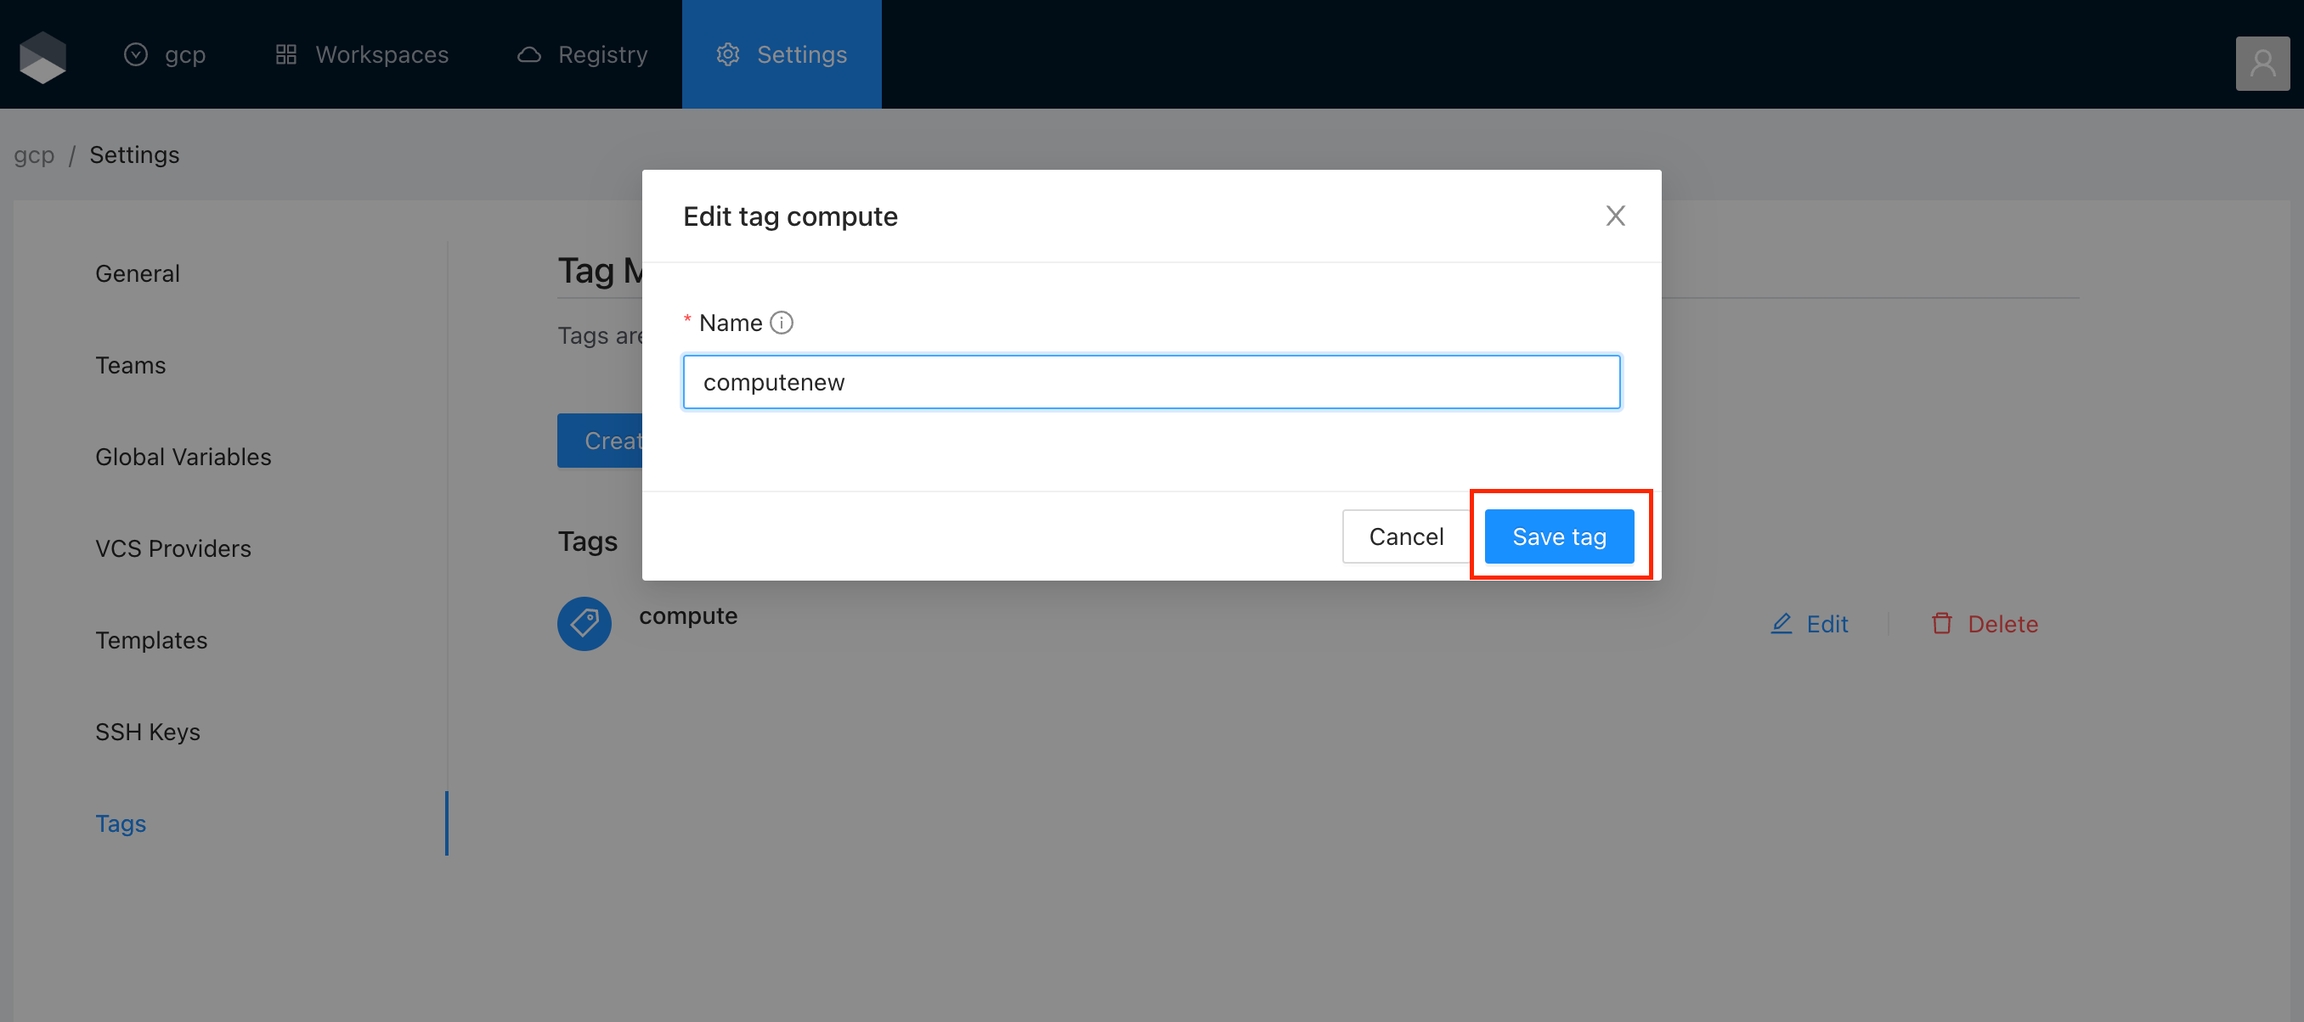
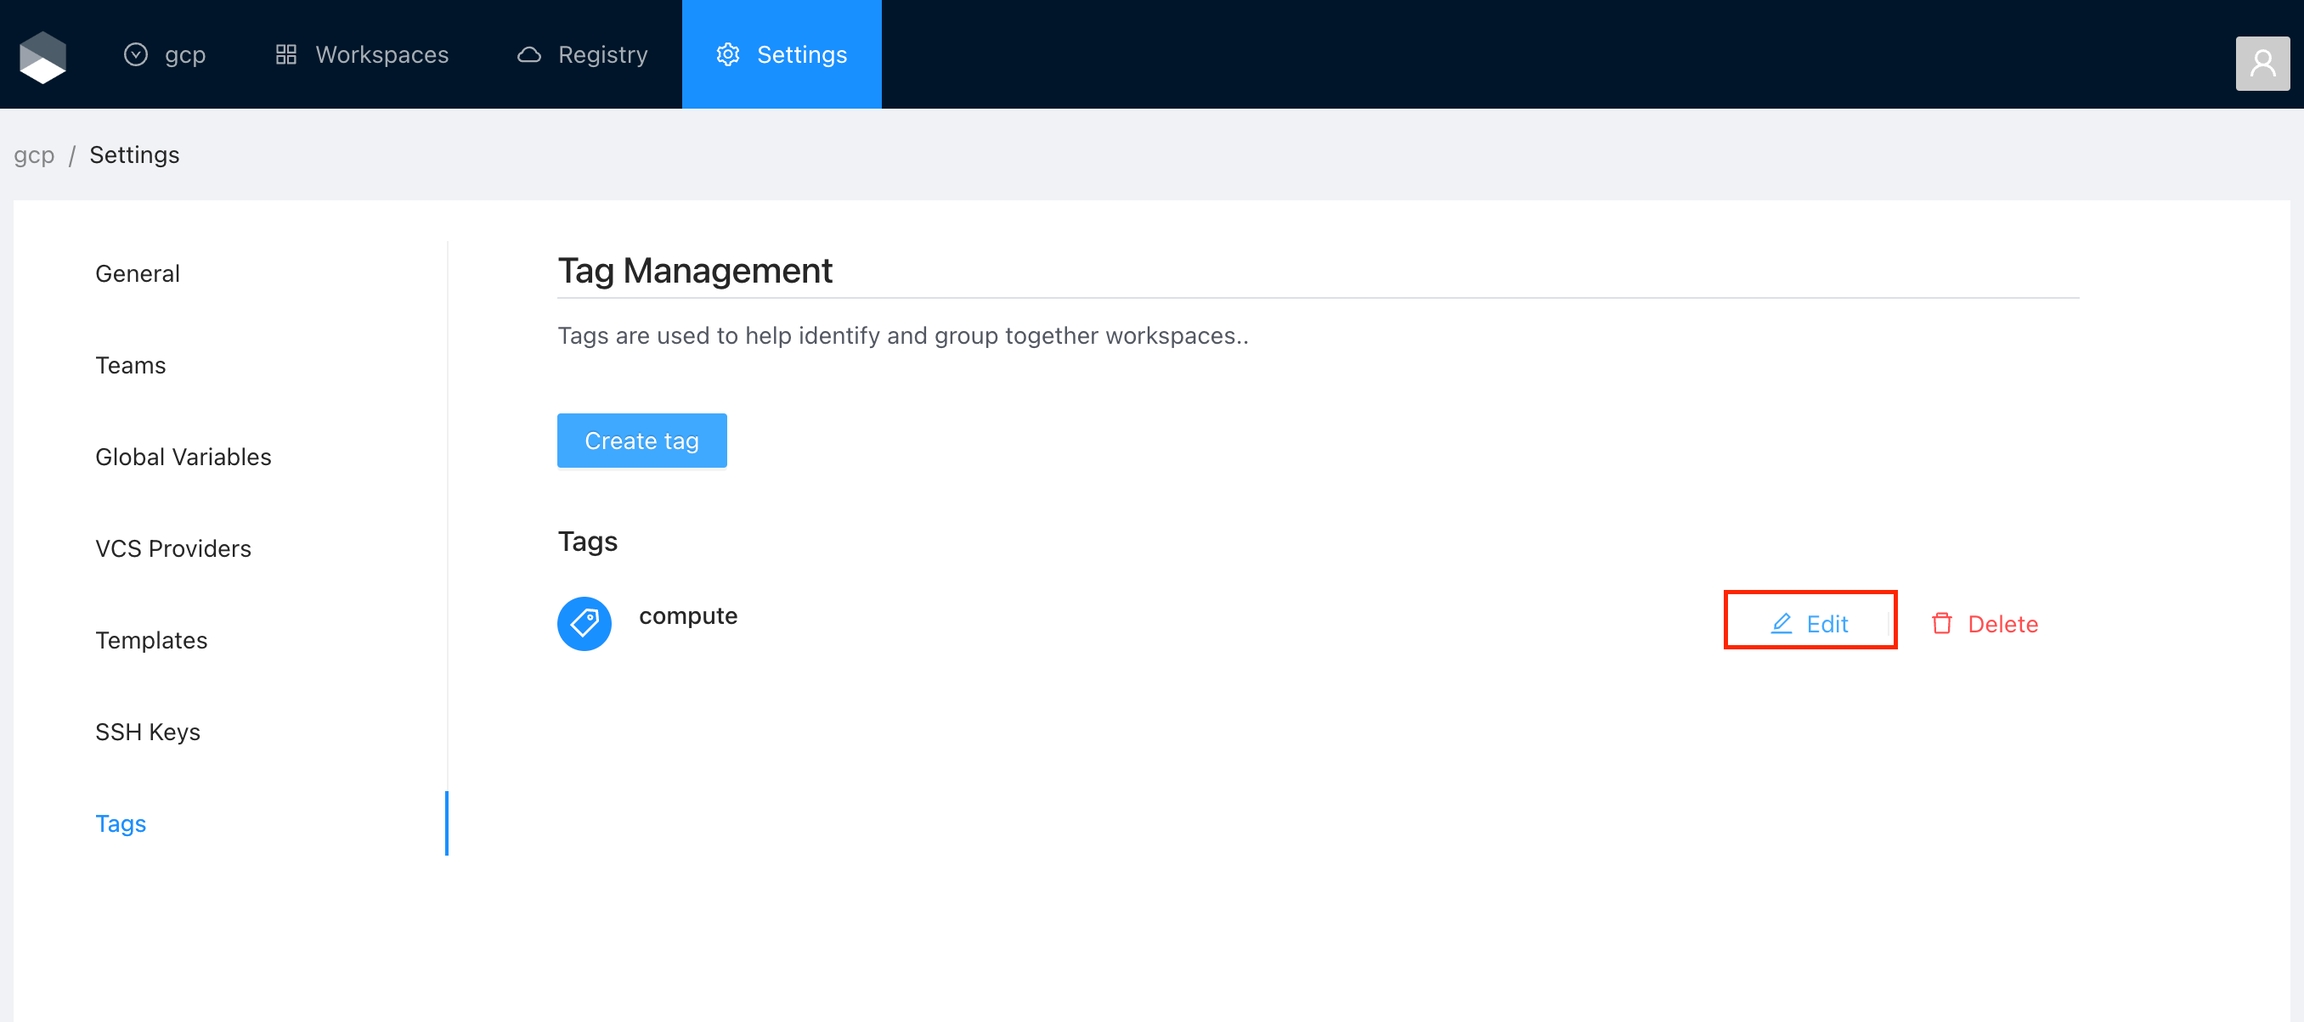
Click the Edit button next to the tag you want to edit.
Change the fields you need and click the Save tag button
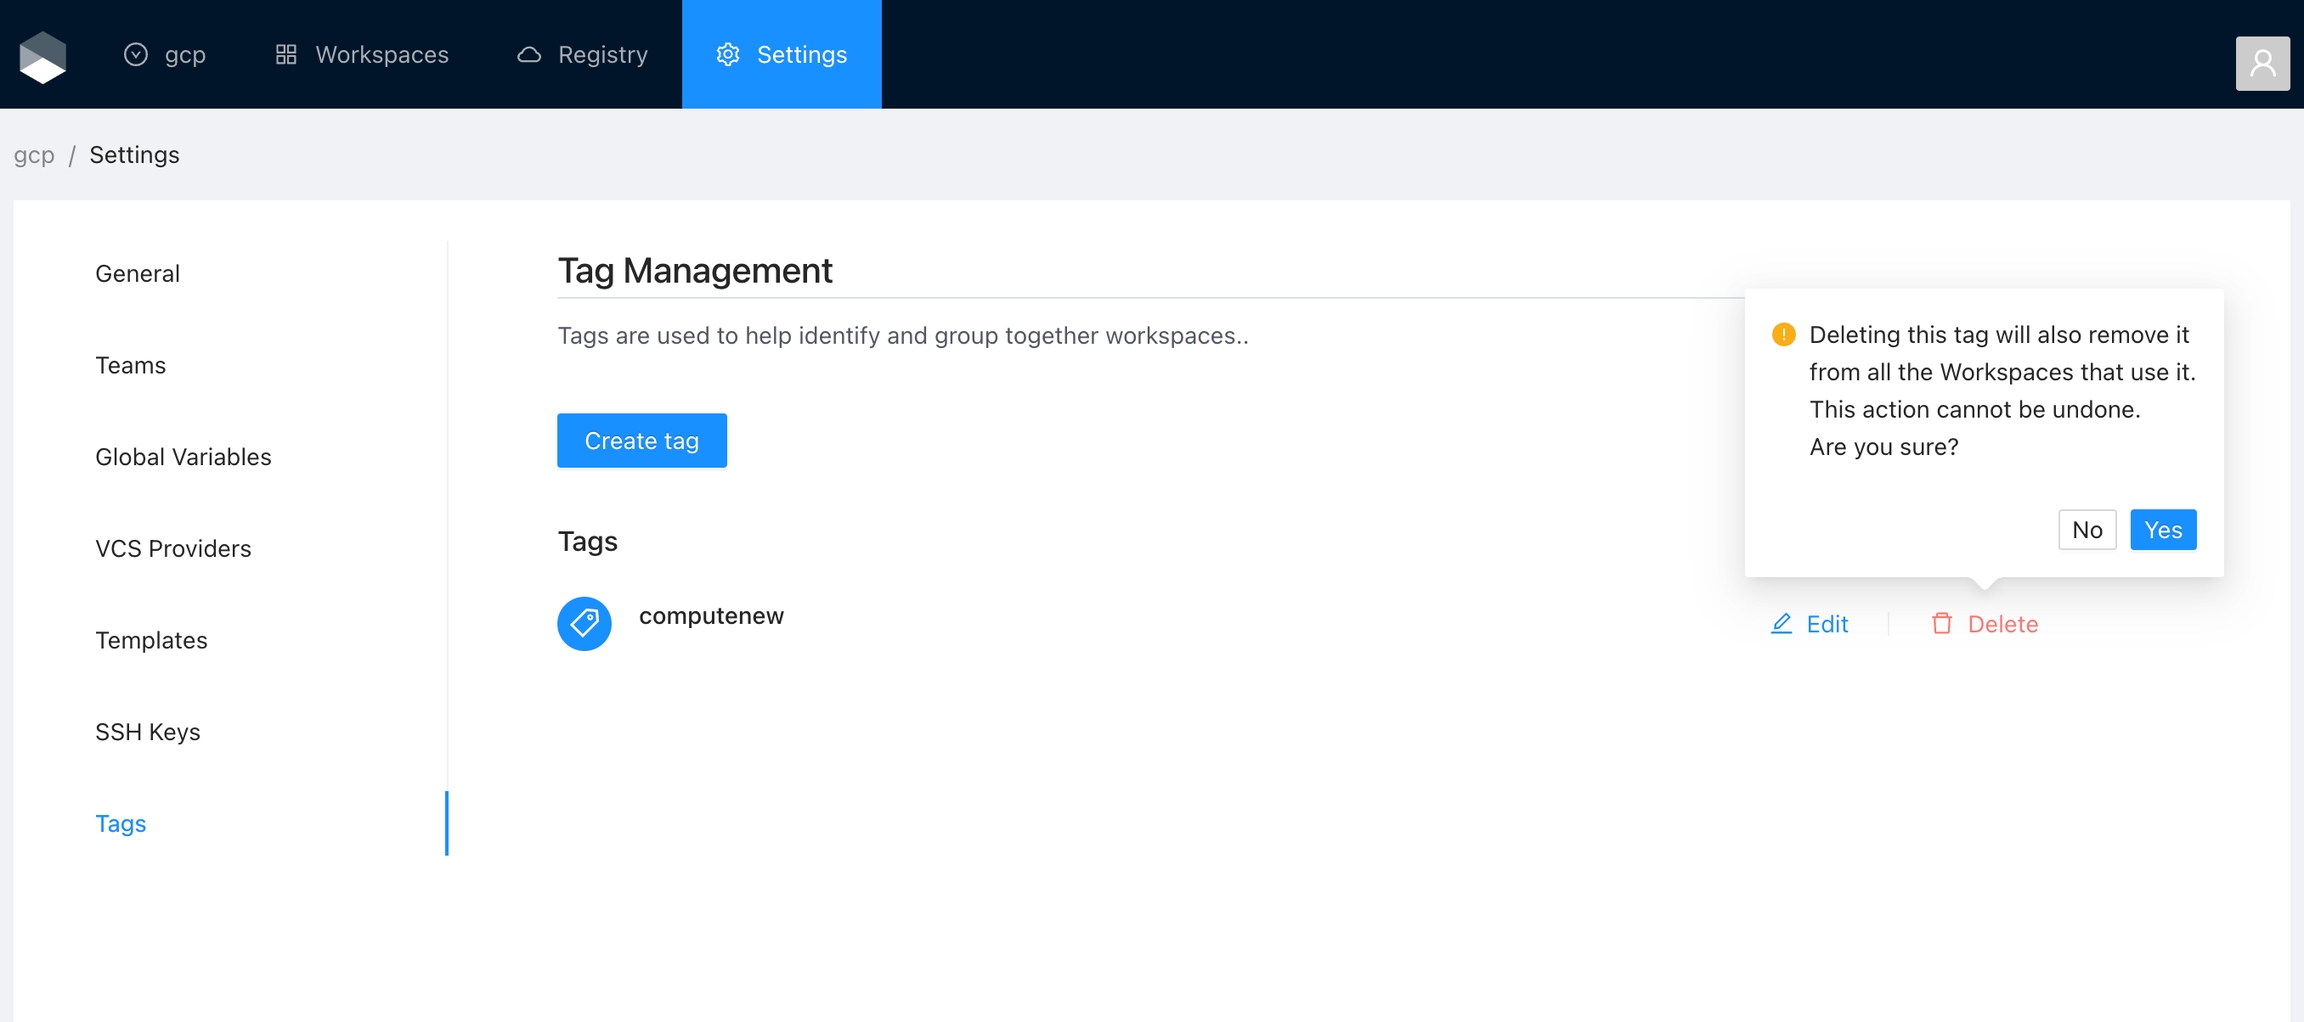
Click the Delete button next to the tag you want to delete, and then click the Yes button to confirm the deletion. Please take in consideration the deletion is irreversible and the tag will be removed from all the workspaces using it.
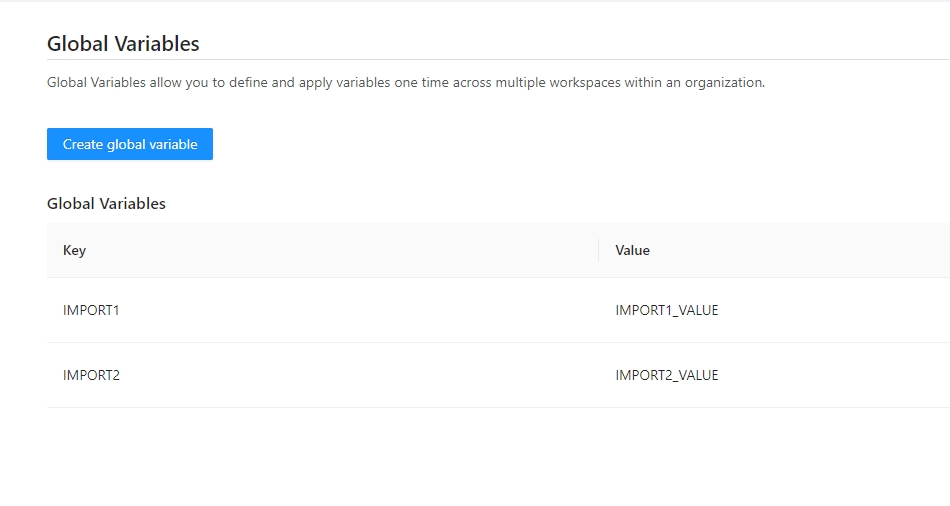
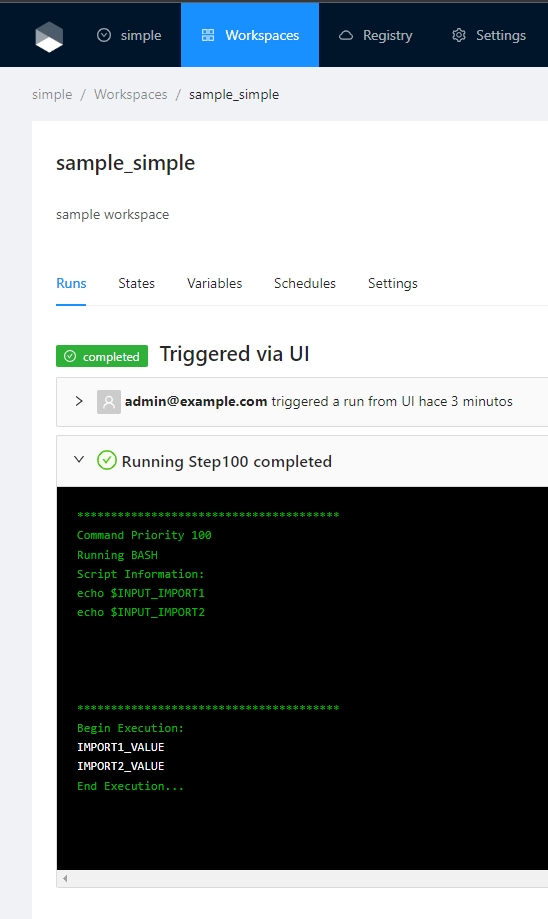
In some special cases it is necesarry to filter the global variables used inside the job execution, if the "inpursEnv" or "inpustTerraform" is not defined all global variables will be imported to the job context.
$IMPORT1 and $IMPORT2 will be added to the job context as env variable INPUT_IMPORT1 and INPUT_IMPORT2
workspace env variables > importComands env variables > Flow env variables workspace terraform variables > importComands terraform variables > Flow terraform variables


