Loading...
Loading...
Loading...
Loading...
Loading...
Loading...
Loading...
Loading...
Loading...
Loading...
Loading...
Loading...
Loading...
Loading...
Loading...
Loading...
Loading...
Loading...
Loading...
Loading...
Loading...
Loading...
Loading...
The easiest way to deploy Terrakube is using our Helm Chart, to learn more about this please review the following:
You can deploy Terrakube using different authentication providers for more information check
You can deploy Terrakube to any Kubernetes cluster using the helm chart available in the following repository:
https://github.com/AzBuilder/terrakube-helm-chart
To use the repository do the following:
The default ingress configuration for terrakube can be customize using a terrakube.yaml like the following:
Update the custom domains and the other ingress configuration depending of your kubernetes environment
The above example is using a simple ngnix ingress
Now you can install terrakube using the command
This following will install Terrakube using "HTTP" a few features like the Terraform registry and the Terraform remote state won't be available because they require "HTTPS", to install with HTTPS support locally with minikube check this
Terrakube can be installed in minikube as a sandbox environment to test, to use it please follow this:
Copy the minikube ip address ( Example: 192.168.59.100)
It will take some minutes for all the pods to be available, the status can be checked using
kubectl get pods -n terrakube
If you found the following message "Snippet directives are disabled by the Ingress administrator", please update the ingres-nginx-controller configMap in namespace ingress-nginx adding the following:
The environment has some users, groups and sample data so you can test it quickly.
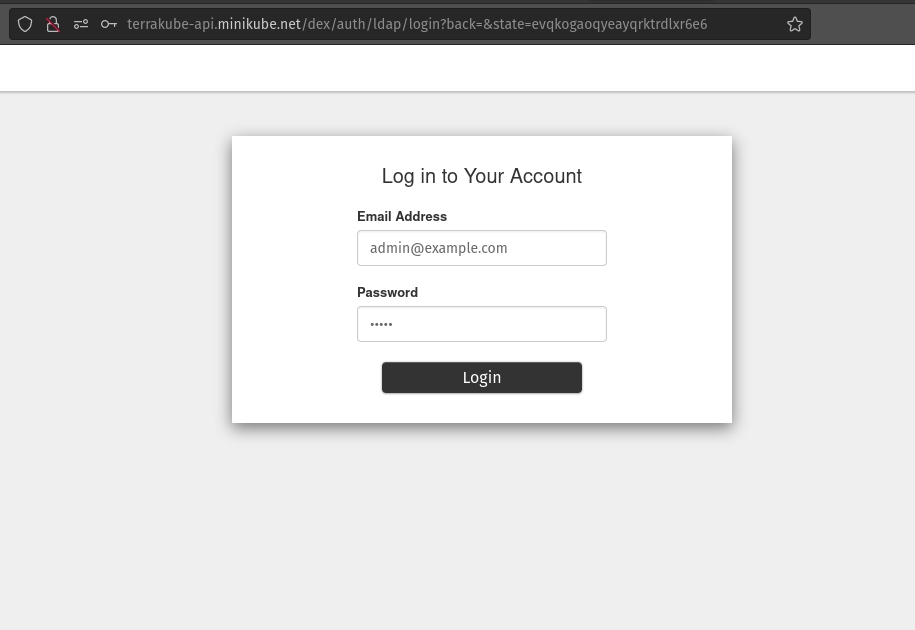
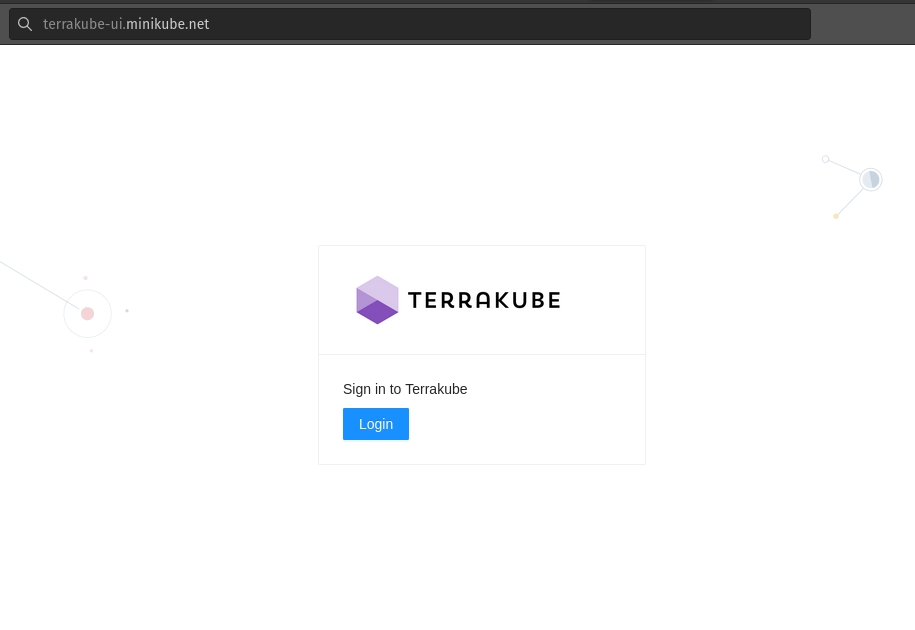
Visit http://terrakube-ui.minikube.net and login using admin@example.com with password admin
You can login using the following user and passwords
admin@example.com
admin
TERRAKUBE_ADMIN, TERRAKUBE_DEVELOPERS
aws@example.com
aws
AWS_DEVELOPERS
gcp@example.com
gcp
GCP_DEVELOPERS
azure@example.com
azure
AZURE_DEVELOPERS
TERRAKUBE_ADMIN
TERRAKUBE_DEVELOPERS
AZURE_DEVELOPERS
AWS_DEVELOPERS
GCP_DEVELOPERS
The sample user and groups information can be updated in the kubernetes secret:
terrakube-openldap-secrets
Minikube will use a very simple OpenLDAP, make sure to change this when using in a real kubernetes environment. Using the option security.useOpenLDAP=false in your helm deployment.
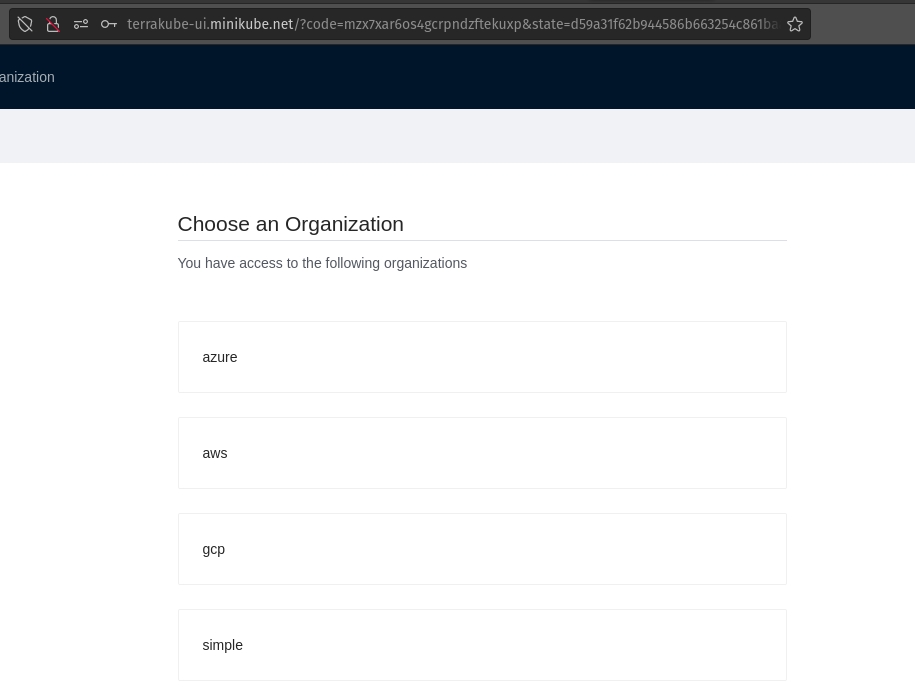
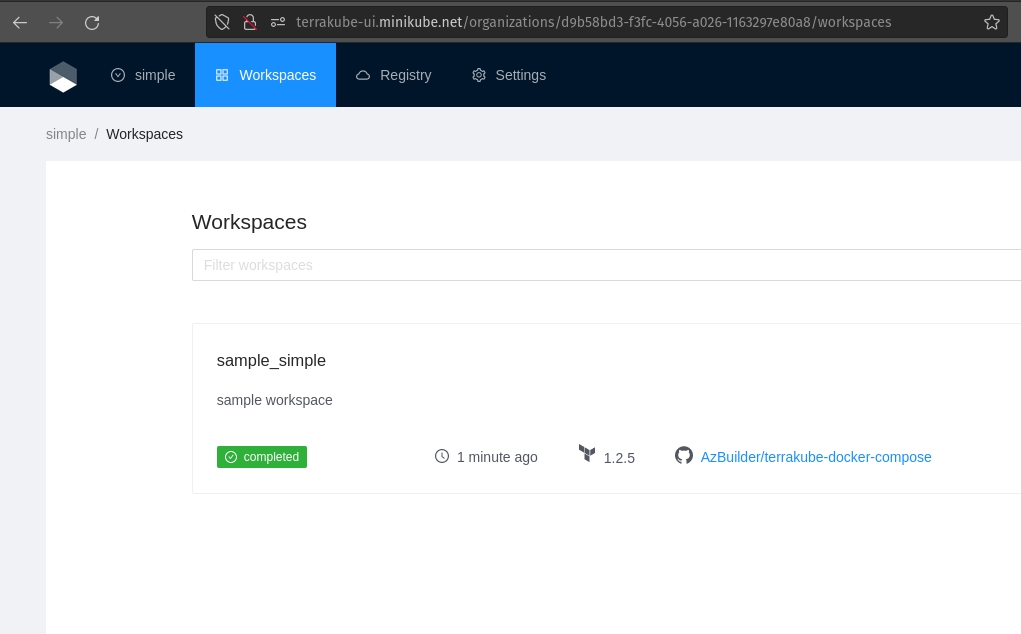
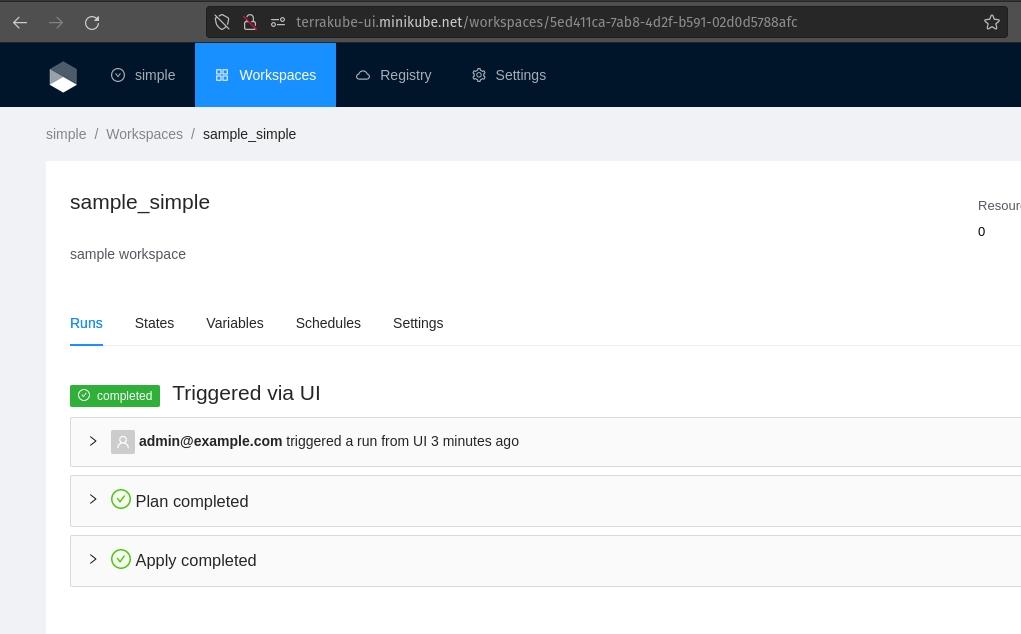
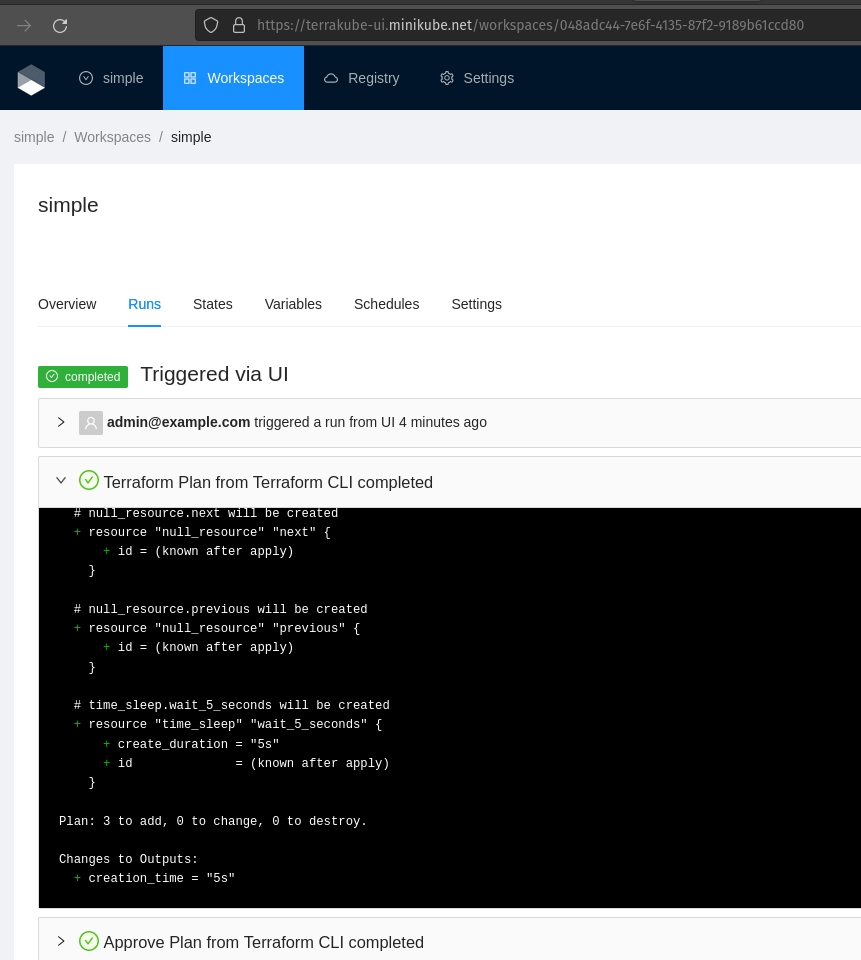
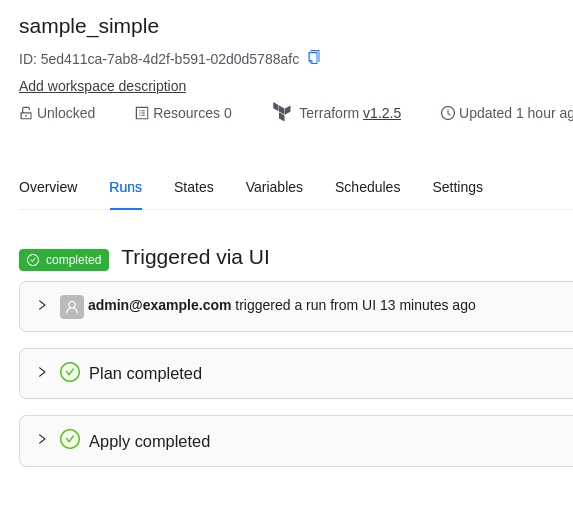
Select the "simple" organization and the "sample_simple" workspace and run a job.
For more advance configuration options to install Terrakube visit:
Terrakube can be installed in minikube as a sandbox environment with HTTPS, using terrakube with HTTPS will allow to use the Terraform registry and the Terraform remote state backend to be used locally without any issue.
Please follow these instructions:
Requirements:
Install mkcert to generate the local certificates.
We will be using following domains in our test installation:
These command will generate two files key.pem and cert.pem that we will be using later.
Now we have all the necessary to install Terrakube with HTTPS
Copy the minikube ip address ( Example: 192.168.59.100)
We need to generate a file called value.yaml with the following using the content of our rootCa.pem from the previous step:
If you found the following message "Snippet directives are disabled by the Ingress administrator", please update the ingres-nginx-controller configMap in namespace ingress-nginx adding the following:
The environment has some users, groups and sample data so you can test it quickly.
Visit https://terrakube-ui.minikube.net and login using admin@example.com with password admin
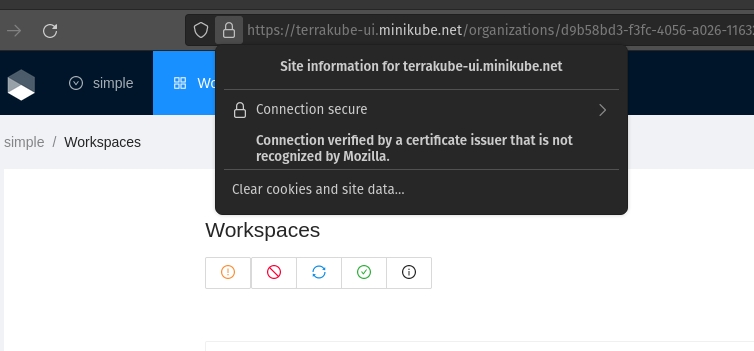
We should be able to use the UI using a valid certificate.
Using terraform we can connect to the terrakube api and the private registry using the following command with the same credentials that we used to login to the UI.
Lets create a simple Terraform file.
This guide will assume that you are using the minikube deployment, but the storage backend can be used in any real kubernetes environment.
The first step will be to create one google storage bucket with private access
Create storage bucket tutorial
Once the google storage bucket is created you will need to get the following:
project id
bucket name
JSON GCP credentials file with access to the storage bucket
Now you have all the information we will need to create a terrakube.yaml for our terrakube deployment with the following content:
Now you can install terrakube using the command:
This guide will assume that you are using the minikube deployment, but the storage backend can be used in any real kubernetes environment.
The first step will be to create one azure storage account with the folling containers:
content
registry
tfoutput
tfstate
Create Azure Storage Account tutorial
Once the storage account is created you will have to get the ""
Now you have all the information we will need to create a terrakube.yaml for our terrakube deployment with the following content:
Now you can install terrakube using the command
To authenticate users Terrakube implement so you can authenticate using differente providers using like the following:
Azure Active Direcory
Google Cloud Identity
Amazon Cognito
Github Authentication
Gitlab Authentictaion
OIDC
LDAP
Keycloak
etc.
Any dex connector that implements the "groups" scope should work without any issue
The Terrakube is using DEX as dependency, so you can quickly implement it using any exiting dex configuration.
Make sure to update the dex configuration when deploying terrakube in a real kubernetes environment, by default it is using a very basic openLDAP with some sample data. To disable udpate security.useOpenLDAP in your terrakube.yaml
To customize the DEX setup just create a simple terrakube.yaml and update the configuration like the following example:
Dex configuration examples can be found .
WIP
This guide will assume that you are using the minikube deployment, but the storage backend can be used in any real kubernetes environment.
The first step will be to deploy a minio instance inside minikube in the terrakube namespace
MINIO helm deployment link
Create the file minio-setup.yaml that we can use to create the default user and buckets
Once the minio storage is installed lets get the service name.
The service name for the minio storage should be "miniostorage"
Once minio is installed with a bucket you will need to get the following:
access key
secret key
bucket name
endpoint (http://miniostorage:9000)
Now you have all the information we will need to create a terrakube.yaml for our terrakube deployment with the following content:
Now you can install terrakube using the command:
To use a SQL Azure with your Terrakube deployment create a terrakube.yaml file with the following content:
loadSampleData this will add some organization, workspaces and modules by default in your database if need it
Now you can install terrakube using the command.
This guide will assume that you are using the minikube deployment, but the storage backend can be used in any real kubernetes environment.
The first step will be to create one s3 bucket with private access
Create S3 bucket tutorial link
Once the s3 bucket is created you will need to get the following:
access key
secret key
bucket name
region
Now you have all the information we will need to create a terrakube.yaml for our terrakube deployment with the following content:
Now you can install terrakube using the command:
By default the helmchart deploy a postgresql database in your terrakube namespace but if you want to customize that you can change the default deployment values.
To use a PostgreSQL with your Terrakube deployment create a terrakube.yaml file with the following content:
loadSampleData this will add some organization, workspaces and modules by default in your database if need it
Now you can install terrakube using the command.
Postgresql SSL mode can be use adding databaseSslMode parameter by default the value is "disable", but it accepts the following values; disable, allow, prefer, require, verify-ca, verify-full. This feature is supported from Terrakube 2.15.0. Reference: https://jdbc.postgresql.org/documentation/publicapi/org/postgresql/PGProperty.html#SSL_MODE
To use a MySQL with your Terrakube deployment create a terrakube.yaml file with the following content:
loadSampleData this will add some organization, workspaces and modules by default in your database
Now you can install terrakube using the command.
Terrakube componentes (api, registry and executor) are using to create the docker images
When using buildpack to add a custom CA certificate at runtime you need to do the following:
Provide the following environment variable to the container:
Inside the path there is a folder call "ca-certificates"
We need to mount some information to that path
Inside this folder we should put out custom PEM CA certs and one additional file call type
The content of the file type is just the text "ca-certificates"
Finally your helm terrakube.yaml should look something like this because we are mounting out CA certs and the file called type in the following path " /mnt/platform/bindings/ca-certificates"
When mounting the volume with the ca secrets dont forget to add the key "type", the content of the file is already defined inside the helm chart
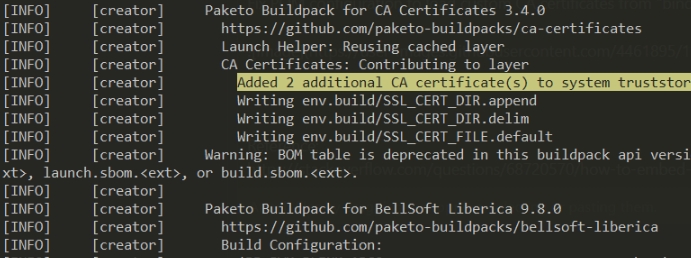
Checking the terrakube component two additional ca certs are added inside the sytem truststore
Additinal information about buildpacks can be found in this link:
Terrakube allow to add the certs when building the application, to use this option use the following:
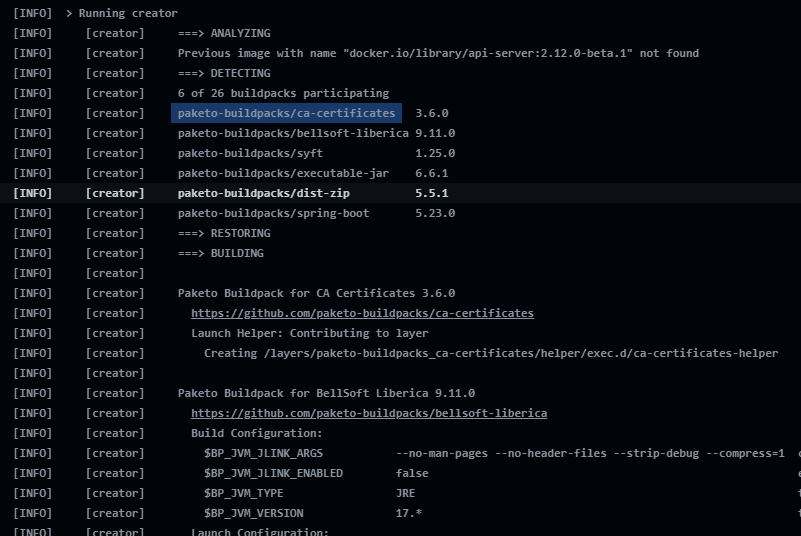
The certs will be added at runtime as the following image.
To use a H2 with your Terrakube deployment create a terrakube.yaml file with the following content:INT
H2 database is just for testing, each time the api pod is restarted a new database will be created
loadSampleData this will add some organization, workspaces and modules by default in your database, keep databaseHostname, databaseName, databaseUser and databasePassword empty
Now you can install terrakube using the command.
Terrakube will support terraform cli custom builds or custom cli mirrors, the only requirement is to expose an endpoint with the following structure:
Support is available from version 2.12.0
Example Endpoint:
https://eov1ys4sxa1bfy9.m.pipedream.net/
This is usefull when you have some network restrictions that does not allow to get the information from https://releases.hashicorp.com/terraform/index.json in your private kuberentes cluster.
To support custom terrafom cli releases when using the helm chart us the following:
This feature is supported from version 2.20.0 and helm chart version 3.16.0
Terrakube allow to have one or multiple agents to run jobs, you can have as many agents as you want for a single organization.
To use this feature you could deploy a single executor component using the following values:
The above values are assuming the we have deploy terrakube using the domain "minikube.net" inside a namespace called "terrakube"
Now that we have our values.yaml we can use the following helm command:
Now we have a single executor component ready to accept jobs or we could change the number or replicas to have multiple replicas like a pool of agent:
When Terrrakube needs to run behind a corporate proxy the following environment variable can be used in each container:
When using the official helm chart the environment variable setting can be set like the following:
Terrakube use two secrets internally to sign the personal access token and one internal token for intercomponent comunnication when using the helm deployment you can change this values using the following keys:
Make sure to change the default values in a real kubernetes deployment.
The secret should be 32 character long and it should be base64 compatible string.
This feature is supported from version 2.22.0
The following will explain how to run the executor component in"ephemeral" mode.
These environment variables can be used to customize the API component:
ExecutorEphemeralNamespace (Default value: "terrakube")
ExecutorEphemeralImage (Defatul value: "azbuilder/executor:2.22.0" )
ExecutorEphemeralSecret (Default value: "terrakube-executor-secrets" )
The above is basically to control where the job will be created and executed and to mount the secrets required by the executor component
Internally the Executor component will use the following to run in "ephemeral" :
EphemeralFlagBatch (Default value: "false")
EphemeralJobData, this contains all the data that the executor need to run.
To use Ephemeral executors we need to create the following configuration:
Once the above configuration is created we can deploy the Terrakube API like the following example:
Add the environment variable TERRAKUBE_ENABLE_EPHEMERAL_EXECUTOR=1 like the image below
Now when the job is running internally Terrakube will create a K8S job and will execute each step of the job in a "ephemeral executor"
Internal Kubernetes Job Example:
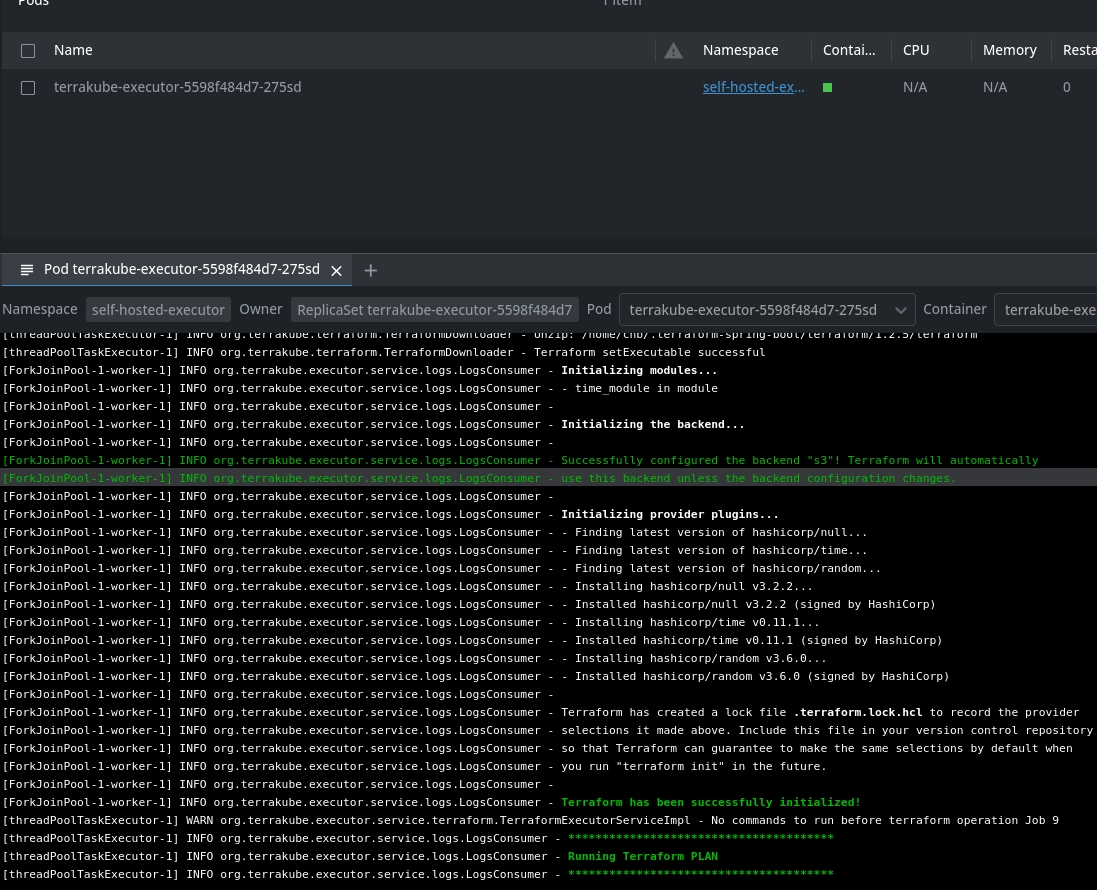
Plan Running in a pod:
Apply Running in a different pod:
If required you can specify the node selector configuration where the pod will be created using something like the following:
The above will be the equivalent to use the Kubernetes YAML like:
Adding node selector configuration is available from version 2.23.0
Terrakube components support Open Telemetry by default to enable effective observability.
To enable telemetry inside the Terrakube components please add the following environment variable:
Terrakube API, Registry and Executor support the setup for now from version 2.12.0.
UI support will be added in the future.
Once the open telemetry agent is enable we can use other environment variables to setup the monitoring for our application for example to enable jaeger we could add the following using addtional environment variables:
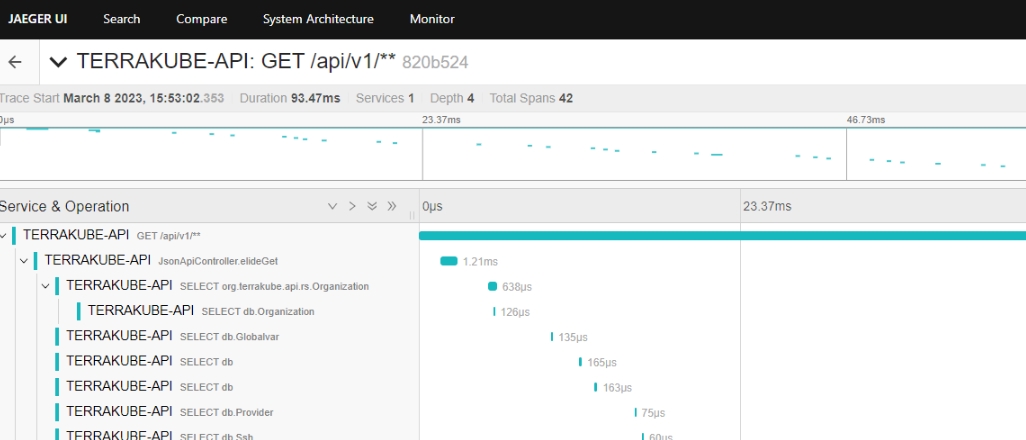
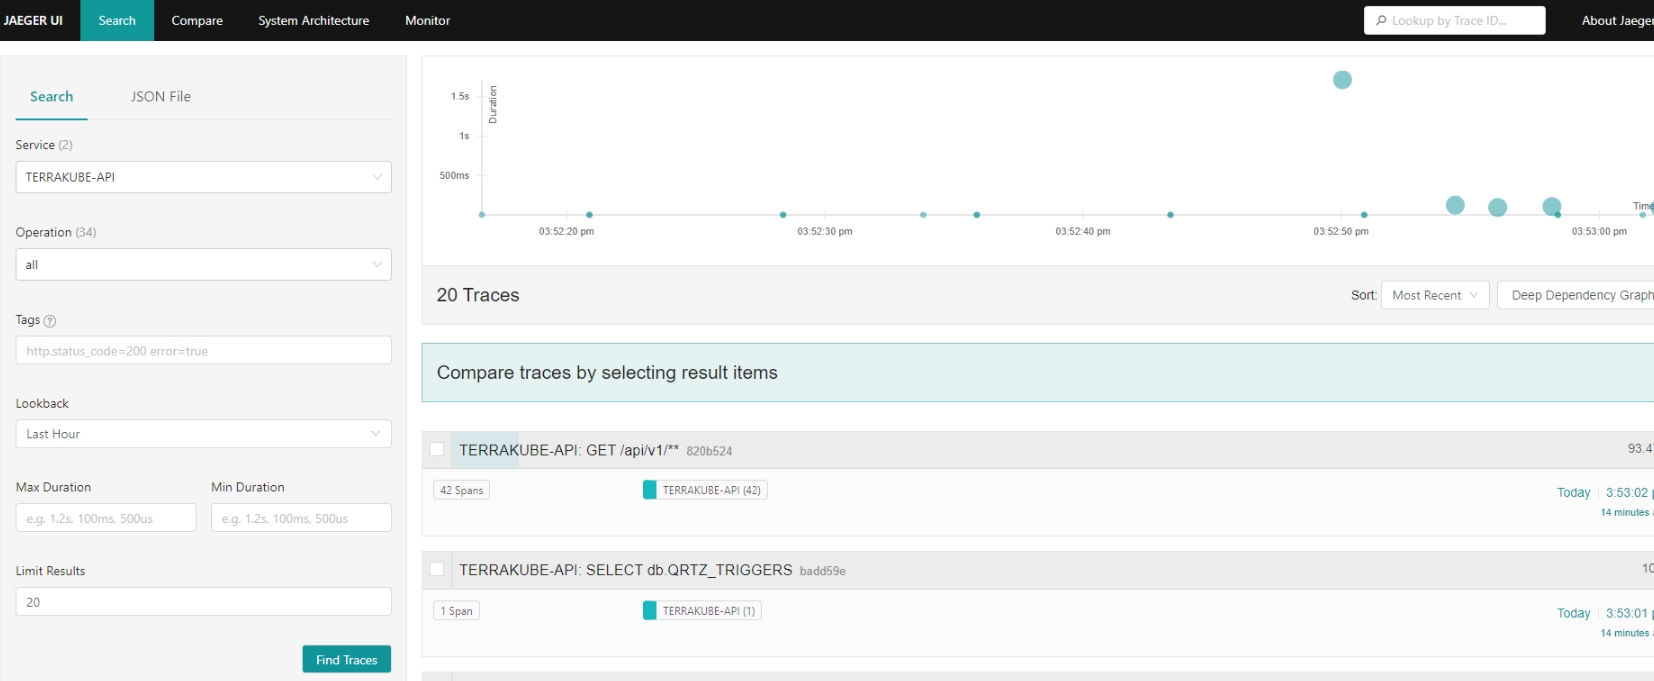
Now we can go the jaeger ui to see if everything is working as expected.
There are several differente configuration options for example:
The Jaeger exporter. This exporter uses gRPC for its communications protocol.
otel.traces.exporter=jaeger
OTEL_TRACES_EXPORTER=jaeger
Select the Jaeger exporter
otel.exporter.jaeger.endpoint
OTEL_EXPORTER_JAEGER_ENDPOINT
The Jaeger gRPC endpoint to connect to. Default is http://localhost:14250.
otel.exporter.jaeger.timeout
OTEL_EXPORTER_JAEGER_TIMEOUT
The maximum waiting time, in milliseconds, allowed to send each batch. Default is 10000.
The Zipkin exporter. It sends JSON in Zipkin format to a specified HTTP URL.
otel.traces.exporter=zipkin
OTEL_TRACES_EXPORTER=zipkin
Select the Zipkin exporter
otel.exporter.zipkin.endpoint
OTEL_EXPORTER_ZIPKIN_ENDPOINT
The Zipkin endpoint to connect to. Default is http://localhost:9411/api/v2/spans. Currently only HTTP is supported.
The Prometheus exporter.
otel.metrics.exporter=prometheus
OTEL_METRICS_EXPORTER=prometheus
Select the Prometheus exporter
otel.exporter.prometheus.port
OTEL_EXPORTER_PROMETHEUS_PORT
The local port used to bind the prometheus metric server. Default is 9464.
otel.exporter.prometheus.host
OTEL_EXPORTER_PROMETHEUS_HOST
The local address used to bind the prometheus metric server. Default is 0.0.0.0.
For more information please check, the official open telemetry documentation.
Open Telemetry Example
One small example to show how to use open telemetry with docker compose can be found in the following URL:

